Alky6
150cc
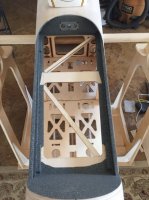
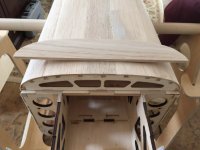
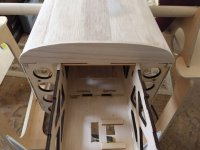
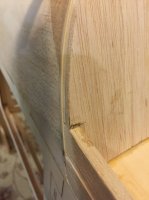
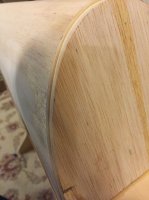
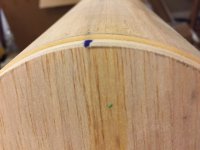
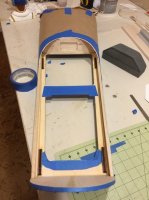
hatch work, and more hatch work. Not happy with the cowl ring installation. didn't do a good enough job with the clamps, and after trying to go back and fix it, I ended up with a bunch of waves. This kit is designed to have the cowl extend past the back of the cowl ring 1/4" to go over the F1 former. With my travishamockery of a cowl/ring attachment I ended up cutting the cowl flush with the back of the ring and then trimming off the top of the F1 former. Added the 1/4" piece back to the front of the hatch. This is now more like the 3.1m version. I also added a 1/16" skin to the top of the hatch to make the cowl hatch line seemless and get rid of some holes in the hatch line I created when being overzelous gluing up the hatch. Very happy with the end result, just added a lot of sanding as most of it was sanded back off.
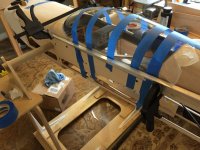
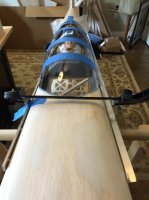
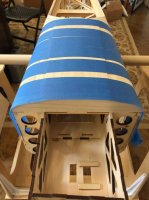
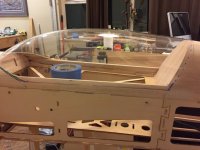
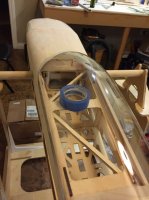
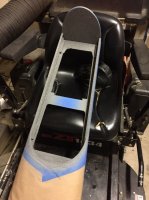
I also got the canopy set up and trimmed on the hatch. One benefit of adding the additional skin is that it provided a pocket the canopy will but up against in the front. I also needed to sand down the rear hatch former a bit to make the canopy line run even with the turtle deck. Not thinking ahead, I sanded the turtle deck even with the rear hatch former eliminating the recess for the canopy. I also sanded a bit in the side of the hatch and tapered it in. Getting closer. I can finally start to see the light at the end of the tunnel!
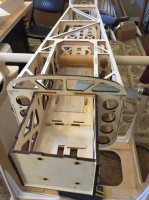
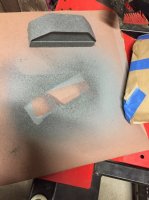
Added a bit of paint. Hopeful to get the canopy glued on this weekend.


