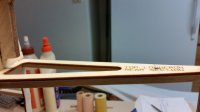
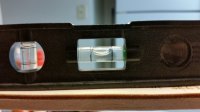
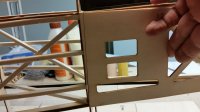
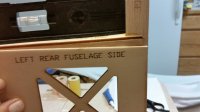
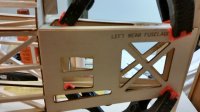
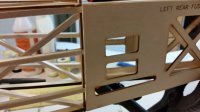
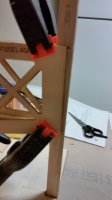
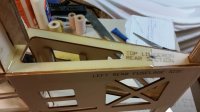
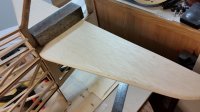
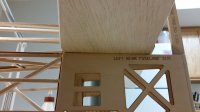
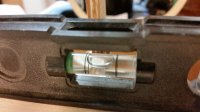
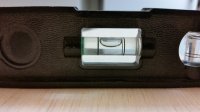
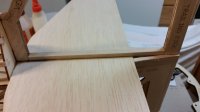
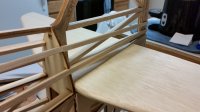
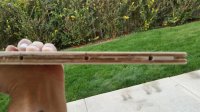
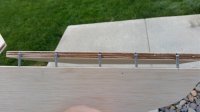
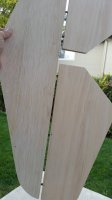
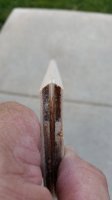
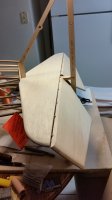
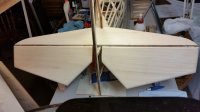
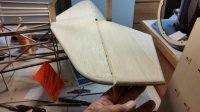
Just a little bit more accomplished tonight. I desperately wanted to get the fin finished up and the stab glued in place. So that is what I attacked this evening. First thing I did however was to make sure the resting structure for the stab was perfectly level. I most definitely do not want any twists in this fuse. So far, I think I have done pretty good at keeping it all straight. But it is usually when closing in on the end that I find (for myself) that I somehow didn't get something as straight as I wanted. Hence, part of the reason I have been reluctant to build all these years. But then again, kits are just so much better these days than they used to be. Plus, I think I might have just picked up a few things from all the awesome builders on here. But before I placed the stab in its permanent location, I wanted to get the "aft" fuse sides put in place. These were just a little weird in a way. They should sit flush against the back side of F7 and rest on the vertical fin trailing edge post. They had an angle that just did not allow for a good fit, so I chose to "angle" cut them to fit where they needed to be. Then at the aft edge, I added 1/8" x 1/4" balsa stringer pieces to finish out the trailing edge of the fuse sides. With all aligned and glued in place, I was satisfied enough to move on to the placement of the stab. With that being said, I used my little 6" level to check both laterally and longitudinally the level of the upper longeron where the stab sets. Seeing that it was perfectly level both directions, I mixed up some 30 minute epoxy and spread a generous amount on top of the upper longeron. Setting the stab in place and checking first one side, then the other, then left trailing edge tip against F7. Then the right trailing edge tip against the opposite side of F7. Measuring back and forth, the distance from the fuse side to the edge of the stab on both sides. One handy tool I would be lost without is my 4 lb., 8 oz. iron block. It's been a life saver in some cases. Using it on top of the stab to hold it in place while the epoxy cured and still continuing to measure until the epoxy was too cured to move.
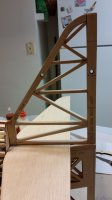
Now that the stab is in place, I wanted to get the rest of the structure of the fin completed. As with the stabs and elevators, I used 3/8" x 1/4" balsa stringers for the structure. I realized days ago that in order to sheet the fin, I am going to have to come up with some really unique way to do it and still keep the fin straight and true without warping or twisting. So....yeah, Looking for some suggestions. I suppose I can use my straight edges on once side while sheeting the opposite side. Laying it flat and stacking weight on it would be my preferred method, but that is not going to happen in this case. I also added one extra angle brace at the very tip of the fin. I have a tendency to "grip" my planes from behind usually using the fin at that exact point. I have been lucky so far with no damage to any of my fins. But I figure with an open structure with 1/16" sheeting over that area, it would be rather weak. I wanted something a little more sturdy. I may have to cut it out and reduce the angle just a little as it may not provide the support I am looking for. Also, I temporarily placed stringers aft of F7 to the fin post. I really did not want to use big balsa blocks at the rear of the fuse, then sand to shape. But I may not have an option. I would like that area sturdy, but want also to keep it light and easy to cover. As well as look really nice. From past experience, just like painting a car, the finish you apply will show every scratch, mark or any amount of work the finish will be applied to. Anyone have a suggestion for that particular area?
For now, "midnight 30" I am going to call it a night. I will be getting a little bit more done tomorrow and will post more as I proceed.
