• If you are new to GiantScaleNews.com, please register, introduce yourself, and make yourself at home.

    We're 1st in Giant Scale RC because we've got the best membership on the internet! Take a look around and don't forget to register to get all of the benefits of GSN membership!

    Welcome!

Sport New Year's Resolution Decathlon

My New Years resolution was to repair the damage to my 28% 107 inch Decathlon that I damaged last summer.

I was doing "Touch & Go's" and on my last approach the side wind caught the far wing and pushed the inboard wheel into the ground quite hard.

It ripped the gear out and cracked the rudder and elevator as it tumbled upside down.

So I ripped the covering off, made the repairs to the fuselage (quite easy) and used bamboo rods to pin the rudder and elevator where the trailing edge had cracked.

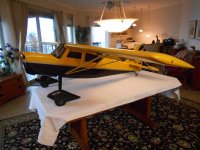
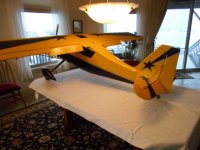
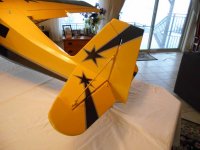
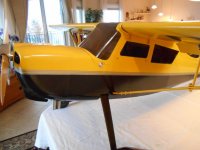
I then covered the plane in Solartex. I was fortunate in that I was able to remove all of the windows to make the covering easier and the job looks as if it was done this way originally.

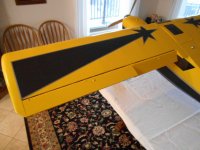
I then painted it using Tremco Gloss Yellow and their Hammertone Charcoal Black.

In subsequent posts I'll list the changes I did to improve this great flying Plane.
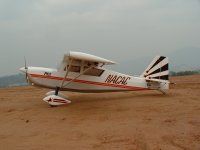
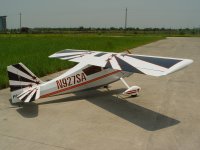
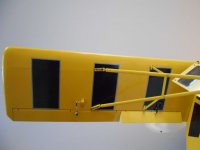
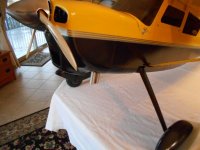
ORIGINAL COLOURS.jpg ORIGINAL SCHEME.jpg SIDE VIEW.JPG BACK SIDE VIEW.JPG
 
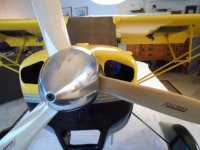
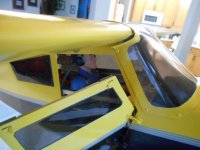
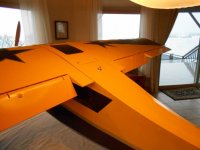
Here are more pictures of the colour scheme I chose.

Unfortunately the yellow colour doesn't come out well when the pictures are taken from inside using a flash.

TOP WING.JPG BOTTOM WING.JPG TAIL VIEW.JPG FRONT VIEW.JPG
 
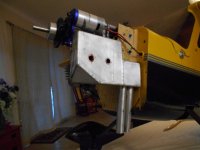
To make it "Noise Friendly" I'm using a Custom made muffler made for me by Lance at Bisson Mufflers. I made a blue foam block to get the "EXACT" fit and he made the extra baffled muffler to the blue foam dimensions. It has a low purring sound.

CUSTOM MUFFLER.JPG
 
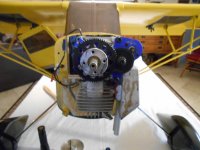
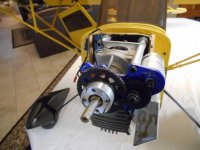
This plane has a EME 60 with Auto Start. It's a blast to nonchalantly stand behind your stabs and have the engine suddenly start up. Wakes up those who are not in the "know".

The pilot is mounted on a sub floor that is held in place with small super strong magnets. It's a breeze to remove the pilot to get at the batteries.

For fun I added a Towing - Banner Hook that uses a small servo mounted behind the pilot for the release mechanism.

AUTO ENGINE START.JPG PILOT.JPG TOW BANNER RELEASE.JPG
 
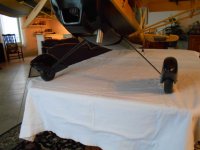
Lastly I upgraded the landing gear to one from SDS Hobbies. It's an inch taller and 2 1/2 inches wider so that it will do my touch and goes a little easier. I also increased the wheel size by an inch for the rough strips that we sometimes fly off of.

WIDE LANDING GEAR.JPG
 
I was asked what the muffler looks like.

There was not much room width wise but more than ample for the length.

The front corner was angled to fit the cowl.

I also forgot to mention that I installed lights in the wing and a landing light in the cowl.

CUSTOM MUFFLER.JPG FRONT OF MUFFLER.JPG AUTO START.JPG LIGHTS.JPG
 
I was asked how do I attach the aerilons and flaps. "Was I using Y connectors".

I run each servo on its own separate channel.

This plane uses a lot of channels. Here is the list

1:- Throttle
2:- Right Aerilon
3:- Left Aerilon
4:- Right Flap
5:- Left Flap
6:- Right Elevator
7:- Left Elevator
8:- Rudder
9:- Engine Choke
10:- Engine Cut Off
11:- Auto Start for the Engine
12:- Banner Release
13:- Gyro Rate Control Input
14:- Lights

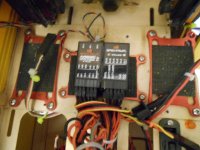
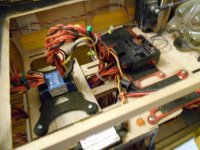
To help me on in my wiring, I colour code each lead with a unique coloured wire tie. Red= Right Aerilon, Dark Blue=Choke, Black=Rudder, Lime Green= Ignition and so on----

RECEIVERS.JPG GYRO.JPG
 
Top