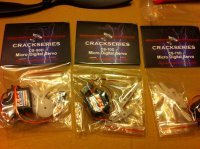
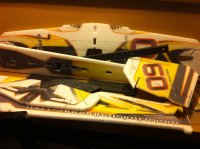
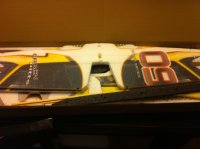
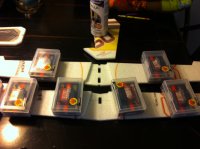
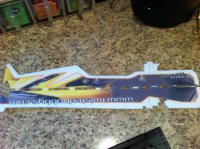
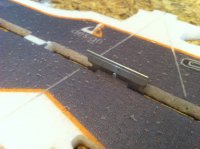
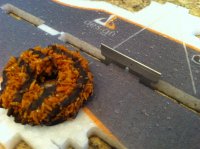
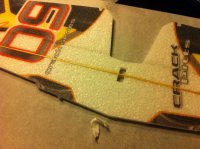
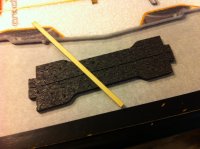
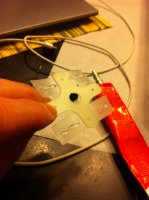
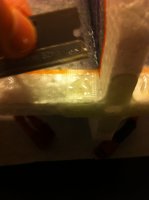
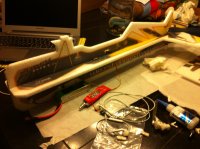
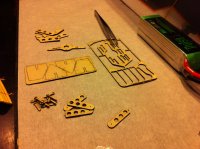
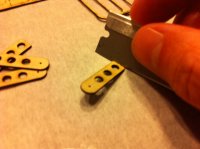
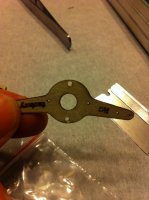
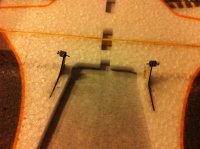
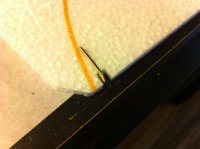
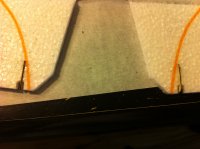
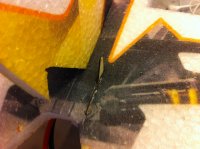
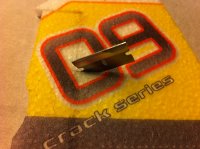
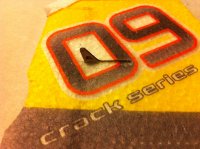
Ok let's see what's next…. oh yeah a beer or tasty beverage of your choice…. Whew…. Ok let's get back to building!
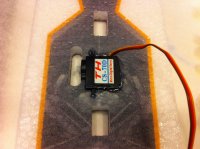
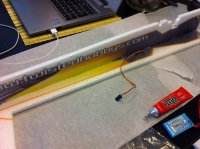
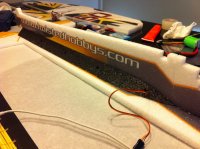
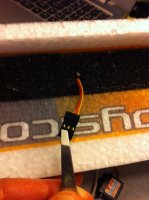
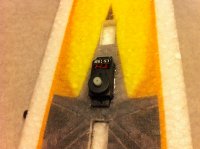
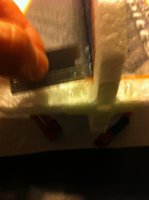
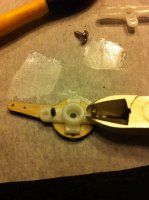
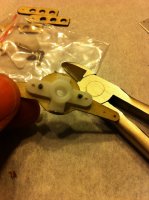
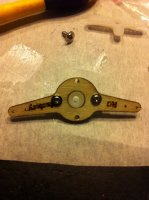
Next install the servo arm on the aileron servo and install in fuse! Be ready to quickly install the lower wing since that all holds the servo in place.
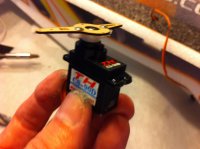
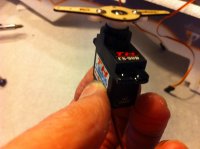
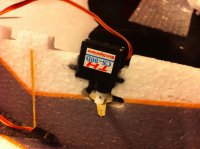
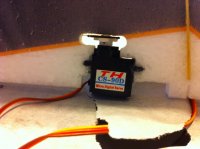
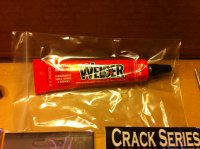
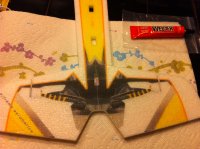
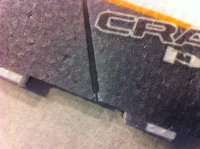
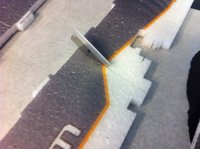
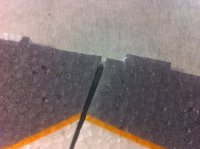
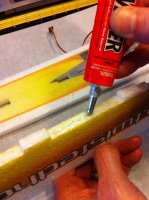
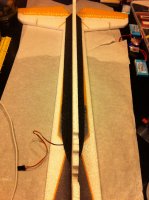
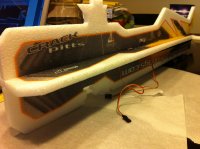
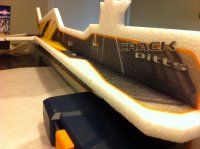
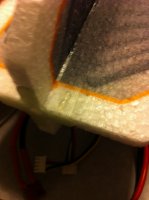
Install the wing using welders…. Just FYI I used welders on everything accept the control linkages. I may use ca with kicker to hold something in place if needed while the welders dries. Check with a 90 degree angle to make sure you're straight and stabilize… This stuff is rigid and really didn't need anything in my opinion.
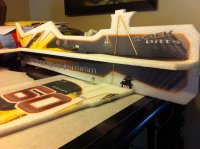
Wow looking good if I do say so myself!
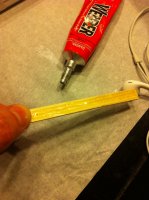
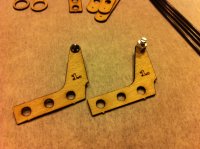
Install the lower wing wood braces and apply welders. I installed my aileron control linkages as well. Make sure you do not tighten the screws yet.
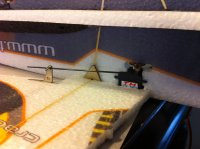
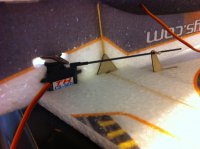
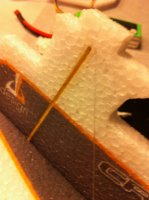
Install the wing braces (probably a technical term for it somewhere but it escapes me at the moment. Note: Make sure you check that top of the bracing sweeps forward not swept back!
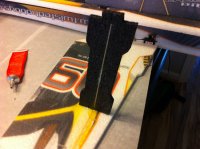
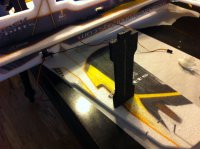
Now I went ahead and installed the top wing without letting the braces dry. To me it makes sense and the wing will hold the braces in place and they will dry straight.
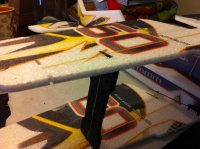
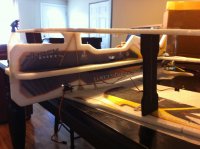
Next install the top wood braces while the model is flipped upside down.
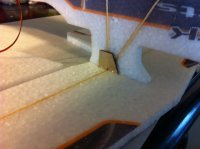
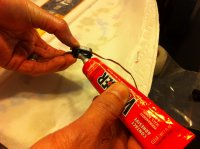
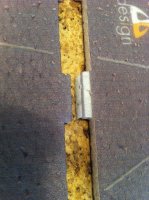
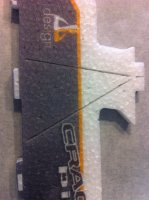
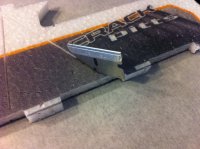
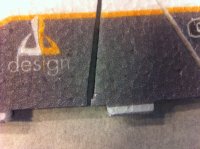
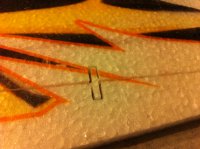
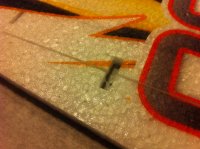
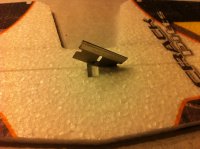
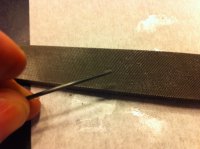
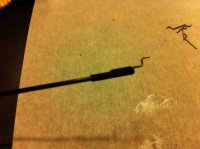
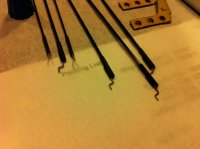
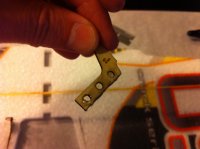
Ok now here is the part of the build that was a pain! Not sure how to get around it so I can't complain to much. Install the lower control linkages in each wing. Now installed the z bend in the upper wing. Make sure both ailerons are level, trim excess cf, roughen up the cf,
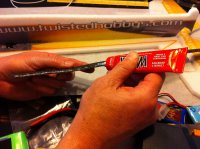
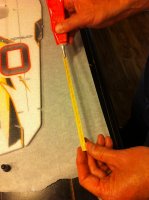
slide the shrink tube onto the linkage, glue the z bend to the cf tube and apply kicker. I then slide the shrink tube up and apply a soldering iron to shrink the tube.
DO NOT GET THIS CLOSE TO ANY EPP FOAM!!!! YOU WILL BE SORRY! Again this is the hardest part of the build so take your time!
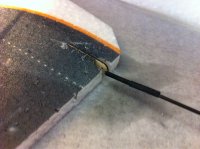
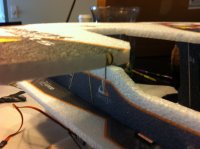
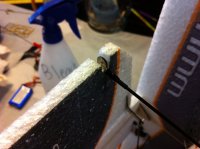
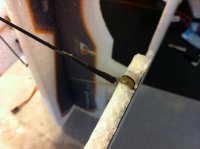
Ok I admit I did the next few sections pretty fast, it was late and I wasn't grabbing the camera much. I was just kinda brain dead. I installed the CF control rod, slid 6 of the guides onto it. Slide the control rod through the elevator servo hardware (DO NOT TIGHTEN THE SCREW) and apply welders to each and inserting into each predrilled hole on fuse. You may have to do some looking around for these holes but you will find them pretty fast. Also, a little tip: move the servo arm in a way that will hold the control rod down applying pressure to the guides. This helps the process but do not do it to much or your guides will be in too far and won't allow for normal travel through the guides.
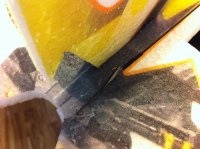
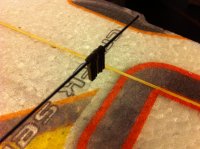
Do the same for the rudder control rod and I installed the canopy to the fuse. Told ya I was getting tired and not snapping pics like I should have been… lol
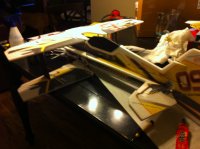
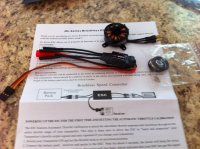
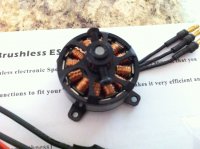
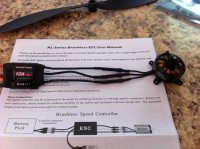
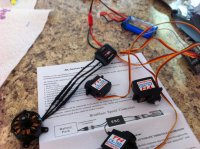
Next is motor, bec/esc, receiver and battery installation. You will want to take sometime here as the plane will only fly as good as it's cg (center of gravity) will allow it to. Install the motor to the motor mount with the wires running however you have planned. Now just place the receiver, battery and bec/esc on the fuse in the areas you have planned to (DO NOT GLUE YET). Check the CG which is recommended while balancing the model upside downmeasuring 185mm (7.28”) back from the nose (motor mount) which comes roughly to lower woodspar . Use this location as a starting point and and move battery till model seems horizontallybalanced. This location will give you a near neutral balance flight. Once you have your locations planned install all but the battery. Recheck with the battery and cut your slot.
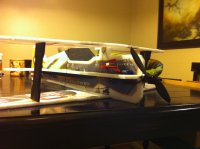
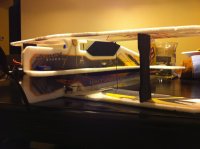
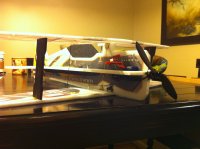
Now go back turn on the transmitter and apply power to the battery. The servos will center again and you can now tighten the screws for the control rods making sure the control surfaces are close to neutral, now cut down to your desired length.
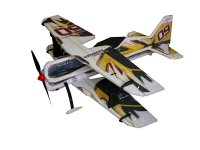
Now you can install the sf's if desired. One thing to note if you do you will NOT be able to lay this model flat for any length of time! I realized this after I installed and may not have installed because of that. They work well but with this profile design it maybe a little over kill in my opinion! Here is my finished plane with the sf's installed!
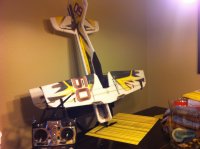
WHEW DONE!
