You are using an out of date browser. It may not display this or other websites correctly.
You should upgrade or use an alternative browser.
You should upgrade or use an alternative browser.
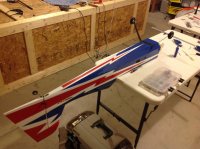
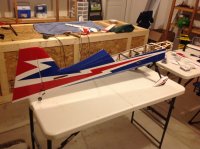
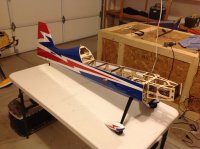
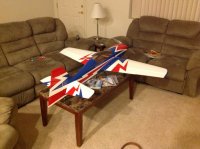
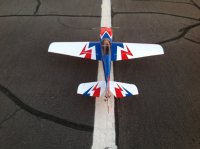
OMP 60" Electric Sbach Assembly
- Thread starter garlandk
- Start date
garlandk
100cc
I still need to update this forum. I am behind lol. I am posting this assembly in three different forums! lol. I hope to have this bird almost done by the weekend. Still waiting for servos to come in along with a few other items.
Plan on running 5 cell 4000 mah turnigy battery. Hobby King was out of a lot of their batteries.
Plan on running 5 cell 4000 mah turnigy battery. Hobby King was out of a lot of their batteries.
garlandk
100cc
yeah, really enjoying this thread.
The same power setup for a 58" Edge should work pretty well in this airframe as well, I think (Motrofly 4315-480 on 6S)
6 cell would be a bullet on steriod on this bird! lol!!! I flew the prototype on 5 cell and it had rocket power.
gyro
GSN Contributor
Don't say that...you're tempting me even further!!!
I'm interested to see how this airplane flies. I've owned an Sbach in the past, the Sebach from Sebart, and it was more of a precision airplane than a 3D monster. I think in that airplane, the rounded wing tips, and really fat airfoil on the wing didn't lend itself to 3D as well as an Edge or an Extra.
that said, the construction design, materials included, and covering all look top notch on this kit. Eagerly awaiting video!
 opcorn:opcorn:opcorn: opcorn:
Last edited by a moderator:
garlandk
100cc
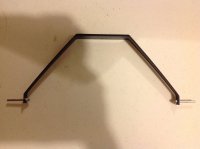
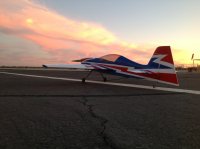
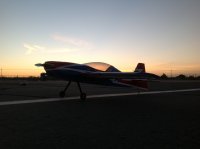
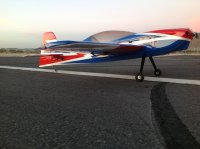
Got the landing gear mounted. It is a good idea to use locktite of course. For the tail wheel I decided to run no steerable tail wheel so I cut off the part that would have bent back into the rudder.
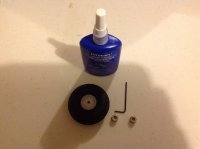
You will need to drill the holes for the two screws that attach the tail wheel assembly to the airplane. Make sure you put some CA down the holes before screwing down the tail wheel.
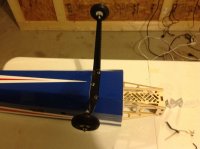
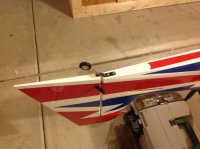
I also lined up the motor that I am using to the airframe and the holes do not match with this motor setup. I will need to drill out new holes for this motor. It looks like I need a 1/2 inch to 3/4 inch standoff to space the motor enough to clear the cowl.
You will need to drill the holes for the two screws that attach the tail wheel assembly to the airplane. Make sure you put some CA down the holes before screwing down the tail wheel.
I also lined up the motor that I am using to the airframe and the holes do not match with this motor setup. I will need to drill out new holes for this motor. It looks like I need a 1/2 inch to 3/4 inch standoff to space the motor enough to clear the cowl.