• If you are new to GiantScaleNews.com, please register, introduce yourself, and make yourself at home.

    We're 1st in Giant Scale RC because we've got the best membership on the internet! Take a look around and don't forget to register to get all of the benefits of GSN membership!

    Welcome!

PAU Ultimate assembly

acerc

640cc Uber Pimp
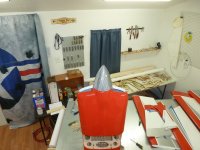
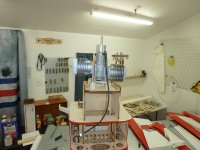
I have been wanting a new and bigger Ultimate since the first day I had the Great Planes. Well today I got me one. Here it is laid out for viewing.
P1090200.JPG

Tomorrow I will start by spending how ever long it take's to go over it with an iron and cut out all the cutouts whilst I'm at it. I am only going over it to ensure it is as good as it look's and it does look good. These ARF's are getting to be something with their high quality as I can remember a day when they were so bad I swore I would not have one. But todays are done exceptionally well, so much so I don't have to why a EMHW Ulti for a little more than this and have to build and cover it to boot.
 
Last edited:

acerc

640cc Uber Pimp
It will be getting a DLE 111 for power with a Falcon 28x10 prop, Tech Aero for cut off, Savox servos throughout, a smoke pump (Sullivan one for now cause I have it), the 4-1/2" spinner is PAU, Fromeco batteries, a Booma RC dual battery pin flag switch, and SWB dual servo components (rudder). I think that is it, for now.
 

49dimes

Damn I'm hungry
Really good looking plane. I was over at my buddies Hobby / Work shop and he was building the new 35% PAU Extra. It looks like they really made a good effort to keep it light but strong. Older PAU designs were pretty chunky.
 

Snoopy1

640cc Uber Pimp
Looks like a nice plane must say I have always liked the Ultimate. Will enjoy following you on this build thanks for doing it.
 

acerc

640cc Uber Pimp
Is it split or one piece cowl.
It is a one piece. Depending on what I decide on exhaust, stock or cans, I may split it. If I go cans it will stay one piece for sure, if stock muffs and it don't look like I can slide the cowl up and over then it will get split.
 

acerc

640cc Uber Pimp
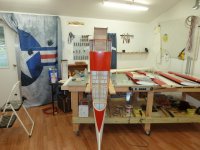
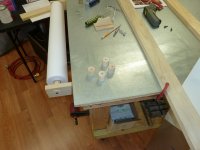
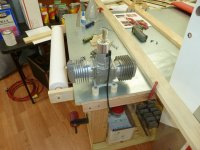
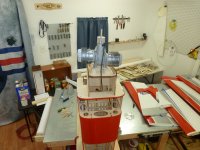
Got a late start today, had to go pick up some supplies first. All the ironing has been done not that it needed any but better to err on the side of right. Then I bolted up the main leg's, up next was the tailwheel assembly and it is done. I really wanted to get the engine mount out of the way so the next step was install the cowl, please, slide the bottom into it's slots and install the two hidden top bolts. Now for the engine, but first to turn a pencil to the engine bolt size of 1/4". Well, first I had to take the tailwheel assembly back off. Now I'm ready, stand the fuse on end and secured it to the table (pic 1). Then I measured cut and drilled the standoffs (#2). Then centered the standoff's to the engine mount holes and ca'd them to the plate-#3. Now to set the engine on the fuse (#4), then install the cowl (#5) and I mean do install completely. Place the spinner backplate and move the engine around until the backplate in centered with the cowl (#5). Remove spinner and cowl very gently, I hold the engine down by the prop bolt, so as not to move the engine. Still holding down on the engine I take that turned pencil and slide it into the bolts passages to make a center mark (#6). Remove the engine and drill the bolt holes at the pencil dots. More to come.....
 

Attachments

  • P1090201.JPG
    P1090201.JPG
    293.1 KB · Views: 700
  • P1090202.JPG
    P1090202.JPG
    276 KB · Views: 692
  • P1090203.JPG
    P1090203.JPG
    292.7 KB · Views: 747
  • P1090204.JPG
    P1090204.JPG
    312.9 KB · Views: 709
  • P1090205.JPG
    P1090205.JPG
    280.8 KB · Views: 638
  • P1090206.JPG
    P1090206.JPG
    278.2 KB · Views: 682

acerc

640cc Uber Pimp
I have learned if I am going to ask a question I best ask it early, so. What is the idea behind sealing hinge line's? A decent thread else where shows a couple guys using clear Mono being ironed in the hinge line so I bought a roll today but not sure if it is needed or why.
 
Top