• If you are new to GiantScaleNews.com, please register, introduce yourself, and make yourself at home.

    We're 1st in Giant Scale RC because we've got the best membership on the internet! Take a look around and don't forget to register to get all of the benefits of GSN membership!

    Welcome!
  • Unless you are a paid advertiser NO more posting advertisement in the individual vendor forums. You may post in the Manufacturer's Announcements section only but only ONCE a month unless your a paid advertiser.

Redwing RC 76" MXS-R

Drew

70cc twin V2
I see what you are talking about...I'd like to see a bottom and side view pic of the cowl attached to the airframe.

It should be enough exit area, I suppose.

I think it would work, but I'm going to open two holes under there as well just to be safe. Whatever air comes in, you need double that going out. I'm also going to struggle on how to set up the choke, cant exactly just reach into those small air intakes and pull a lever. :(
 

gyro

GSN Contributor
I think it would work, but I'm going to open two holes under there as well just to be safe. Whatever air comes in, you need double that going out. I'm also going to struggle on how to set up the choke, cant exactly just reach into those small air intakes and pull a lever. :(

Drew, lets talk before you cut :)
 

Drew

70cc twin V2
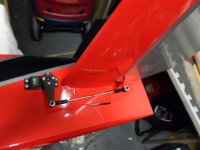
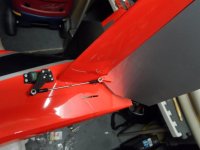
Knocked out the elevator servos last night.

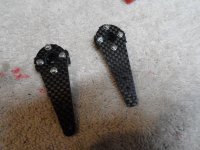
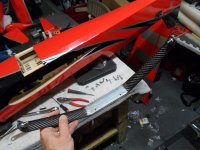
Made up the servo arms.

SAM_0435.JPG

Nice titanium links

SAM_0436.JPG

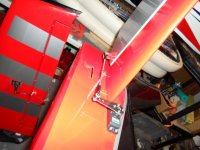
Other side...

SAM_0440.JPG

Good full throw.

SAM_0437.JPG

SAM_0439.JPG
 

Drew

70cc twin V2
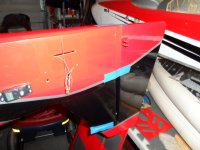
Also managed to get the main gear installed as well as hinge the rudder.

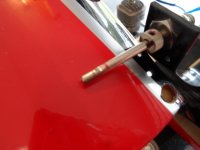
Mounted the axles before I put the gear on.

SAM_0441.JPG

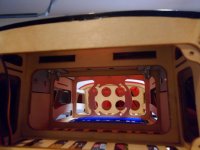
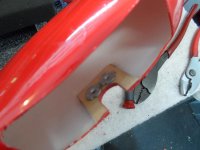
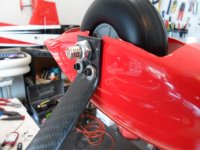
Gear installed, you have to remove the canister compartment cover to attach the bolts and nuts. Good thing I didn't glue mine. ;)

SAM_0443.JPG

SAM_0444.JPG

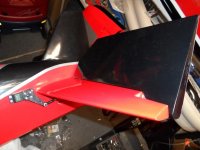
Rudder all hinged and done.

SAM_0448.JPG
 

Drew

70cc twin V2
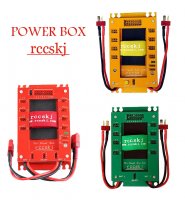
I wanted to mention we will be trying out Redwing RC's RCCSKJ Power Expander on this plane. These look like they will be a great little accessory for any plane. Here are some of the features:

Dual battery sharing, evenly regulates the power used from each battery
Circuit protection: Ensures if ONE battery shorts, the other will not be drained
Higher quality switch, with higher security and stability
Integrated CDI remote cut off switch to kill your engine
Built in RX Regulator delivers a clean 5v to your RX (receiver)
Built in regulator for servos, adjustable from 4.8v to 9.7v allows you to carefully choose your voltage to your servos
Built in 30amp (40amp max) BEC provides a LARGE amp load to your servos
Digital display gives REAL time display of voltages
Audible and Light alarm to warn of low voltage (se With all these features and this price, the Power Expander Box is a great value to add to your plane.

Link to product:
http://www.redwingrc.com/index.php?main_page=product_info&cPath=3_7&products_id=82
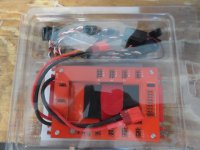
SAM_0359.JPG

RCCSKJ.jpg
 

SnowDog

Moderator
Rudder all hinged and done.

View attachment 18808

Interesting...do the plans call for pull pull rudder even with a gas setup?
Many of the 30cc planes I've seen have a pull pull for electric or they recommend a tail-mounted rudder servo for gas setups.

Also, with respect to your previous post regarding the elevators, it occurred to me that another nice touch on that is the dual elevator control horns...some of the 30cc airframes I've seen only provide one control horn for the rudder and elevator. Titanium pushrod is another nice touch!

Finally, that power box expander looks totally awesome! Definitely going to get one of those for my next plane, 30cc or 50cc!

$65 - I'd pay that much for a 2-battery switch
 
Last edited by a moderator:

gyro

GSN Contributor
Yes Mike, pull-pull is the manual recommended method due to the two elevator servos in the tail. Having 3 servos back there would mess up the CG.
 

Drew

70cc twin V2
Lot or progress yesterday......

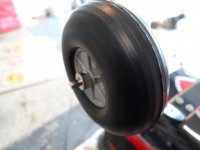
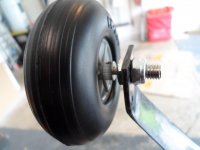
Wheels installed. I ALWASY grind a flat spot on the axles where the collars mount, then use red lock tight on the small collar screw. Ive never lost a wheel, this is why. :)

SAM_0460.JPG

SAM_0461.JPG

SAM_0462.JPG

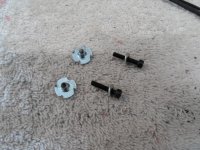
Wheel pants done. Kit comes with pre-drilled holes set up for the included blind nuts and screws.

SAM_0449.JPG

SAM_0458.JPG

Had an issue with the screws hitting the wheel once attached, so I simply just added a few more washers.

SAM_0464.JPG

All done

SAM_0465.JPG

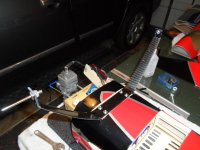
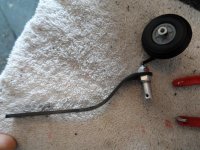
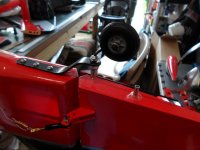
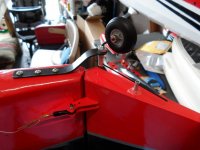
Mounted up tail gear.

SAM_0452.JPG

Manual says use the included blind nuts for tail gear, but this kit came with wood screws. So I mounted it up, took it all back off and filled holes with thin CA till dry. Remounted everything......

SAM_0453.JPG

SAM_0454.JPG
 
Last edited by a moderator:
Top