• If you are new to GiantScaleNews.com, please register, introduce yourself, and make yourself at home.

    We're 1st in Giant Scale RC because we've got the best membership on the internet! Take a look around and don't forget to register to get all of the benefits of GSN membership!

    Welcome!

3D Restoring The Yak

49dimes

Damn I'm hungry
Just what is it about a "Red Head"??? They get all the awe's and oo's. And Jugs.....what about that??? They get all the awe's and oo's too. Why can't we focus on what's on the inside! Poor things. It's on the "inside" that counts anyway!......Right???
And what about rear ends??? They get all the awe's and oo's:rolleyes:.
 

stangflyer

I like 'em "BIG"!
Just what is it about a "Red Head"??? They get all the awe's and oo's. And Jugs.....what about that??? They get all the awe's and oo's too. Why can't we focus on what's on the inside! Poor things. It's on the "inside" that counts anyway!......Right???
And what about rear ends??? They get all the awe's and oo's:rolleyes:.
If ya ain't got it figured out by now, then I suppose being in your box is best for you. :laughing:
Everyone knows red heads are feisty and full of spunk. And eye "appealing" jugs are every hobbyists dream. 'Specially if ya got four of dem. :brian-banana:
 

49dimes

Damn I'm hungry
If ya ain't got it figured out by now, then I suppose being in your box is best for you. :laughing:
Everyone knows red heads are feisty and full of spunk. And eye "appealing" jugs are every hobbyists dream. 'Specially if ya got four of dem. :brian-banana:

Four!!!!! Two is almost more than I can handle......But four and two???:cautious:........WOW!!!! Every guys dream:epic:.

We are talkin' multi-tasking multi-cylinders!!!! Right??? :LOL_gif: Be sure to get some pics of those Red Headed Jugs on that striped down Yakster!
 
Last edited:

stangflyer

I like 'em "BIG"!
When I first decided then embarked upon this project, I had (as I mentioned previously) thought that maybe this thread should be with the covering and paint threads. I then realized I would be doing more to it than just a simple recover job. After todays progress, I feel this really is the appropriate place for this project. We all have done a little covering and it's not too bad in itself. But then we get faced with a big task and it's like, "What was I thinking?". Such is the case with the big Yak. I knew up front the covering was in need of some attention, but after starting the stripping process today, I really had no idea just how "tacky" and "hideous" the covering really was. I had discovered a number of things that really needed more than just a simple recover. I am going to break this all down into sections as there are many things I feel need some attention before the new covering goes back on.

I decided to make this a "Giant Scale News" exclusive. I am sure there are some that may visit that other site, but this is where I feel at "Home" so, this is where I wanted to put the thread. With that being said, Let's get to work "Restoring the Yak".

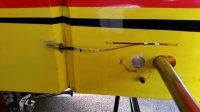
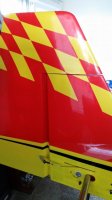
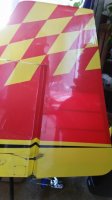
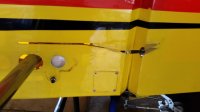
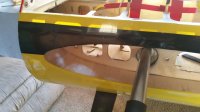
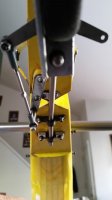
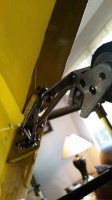
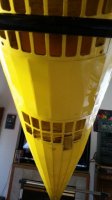
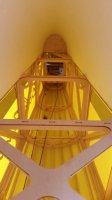
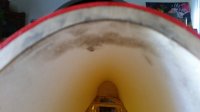
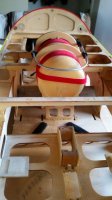
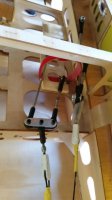
First though, Lets take a quick peak at some of what we are dealing with, should we?
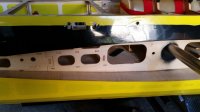
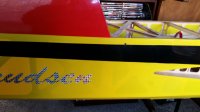
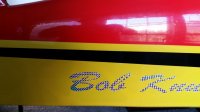
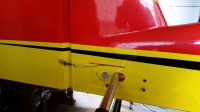
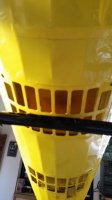
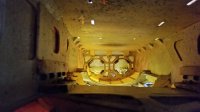
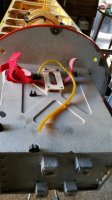
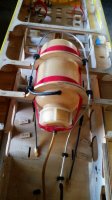
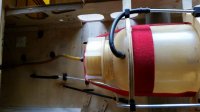
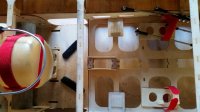
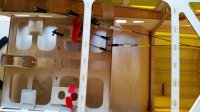
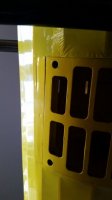
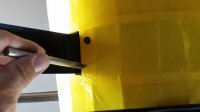
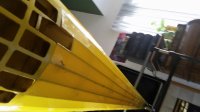
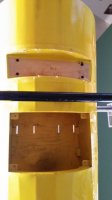
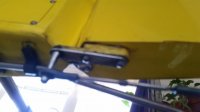
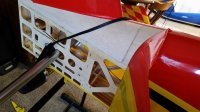
20151114_154638.jpg 20151114_154645.jpg 20151114_154651.jpg 20151114_154657.jpg 20151114_154705.jpg 20151114_154713.jpg 20151114_154725.jpg 20151114_154745.jpg 20151114_154754.jpg 20151114_154804.jpg 20151114_154826.jpg 20151114_154839.jpg 20151114_154910.jpg 20151114_154919.jpg 20151114_154932.jpg 20151114_154941.jpg 20151114_154958.jpg 20151114_155009.jpg 20151114_155018.jpg 20151114_155035.jpg 20151114_155043.jpg 20151114_155051.jpg 20151114_155057.jpg 20151114_155112.jpg 20151114_155144.jpg 20151114_155216.jpg 20151114_155242.jpg 20151114_155308.jpg 20151114_155328.jpg 20151114_155747.jpg 20151114_155818.jpg 20151114_155830.jpg 20151114_160901.jpg 20151114_160911.jpg 20151114_160932.jpg 20151114_160956.jpg 20151114_161457.jpg 20151114_161514.jpg

SECTION ONE: Stripping the fuse.

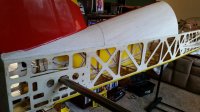
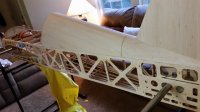
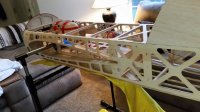
The first thing I did was like anyone would do. Removing the landing gear cover plate, gear and then the tail gear and rudder. I also removed the vent covers from the bottom of the fuselage. It is fairly evident this airframe has seen a few laps. But not to the extreme the airframe is worn out by any means. In fact, Most all of the fuselage is quite clean with no broken wood or repairs of any kind. I like to heat all the sealed edges of the covering as this really helps when it comes to removing complete sheets of covering. I remember many years ago, I had a Midwest Cherokee that I covered and once done, I absolutely "HATED" the colors. I did not know then what I do know now. The heat gun is your favorite friend at this point. Just as effective of shrinking the covering once down and in place, the heat gun will also be just as effective to reactivate the adhesive and make it a quick and painless task. That poor Cherokee looked like a bomb went off outside it when I was done stripping it for a recover. Dang, Who knew? LOL.

After heating the sealed edges, it is quite easy to lift them and then slowly heating an entire full length of covering with the heat gun. With a little patience, lifting the covering as you make paths across the ironed down covering, it will come off just as easily as it goes down. With very little to no residue left behind. This makes it so much more rewarding when you go to "prepping" the structure for the new coat of color. (Covering)
20151114_162525.jpg 20151114_163642.jpg 20151114_163651.jpg 20151114_164834.jpg 20151114_164845.jpg 20151114_164904.jpg 20151114_171451.jpg 20151114_171800.jpg 20151114_171812.jpg

Here is a short video of the covering being removed from the bottom of the fuse. Though the structure is basically stringers and the covering comes off with very little resistance, the entire fuse stripped just as easily.


As you can see, a little gentle pulling with the heat of the gun back and forth removes the covering in no time.

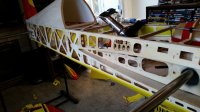
I now have a pretty close to bare bones fuse to work with. Once I finalize the last of the removal, I will continue by removing all the old outdated equipment and do the repairs on the fuse that is needed. I will also be cutting in and building servo bays in the rear of the fuse for the monster torque Hitec 7980 servos that with massive authority guide the tail through anything I can make my sticks throw at it.

Though my time will be limited tomorrow, I will try to get a little bit more accomplished.

More to come....
 

HRRC Flyer

GSN Sponsor Tier 1
OMG,

All of this talk about red heads, Jugs & now seeing a naked fuse, I thought I was on the wrong website for a minute. . . . . ROFLMAO ! ! ! ! !

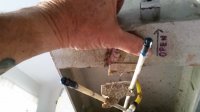
Hey Rob, that covering did come off fairly easily didn't it? What were the white rods with the blue ends?
 

stangflyer

I like 'em "BIG"!
Now I can see what you mean Rob. She needs some love and care! Your just the one to make her up nice!
She's not bad. Just a few things that need attention. I'll have her shiny and lookin' new in no time.

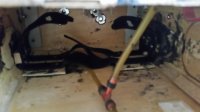
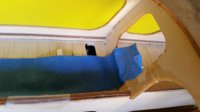
I finished stripping the fuse yesterday and did find 4 very minor repairs that need fixed. Of all the stringers in that big ole Yak fuse, I discovered only one short stringer in the belly that had popped loose.
20151115_111940.jpg

A few drops of CA and no more loose stringer.

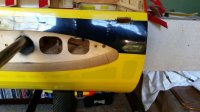
Next is the wing pocket on the ride side of the fuse. It appears the plane had been lifted at some time or other by the wing pocket and punctured through the sheeting.
20151115_112208.jpg

Not a huge issue though. I will simply cut out a portion of the sheeting and replace it with a fresh section.

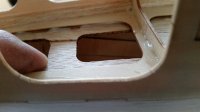
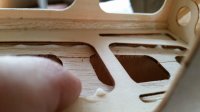
Next I found the base rib on the fin cracked at all the spanner braces. (At least that's what I call them...lol) I'm guessing but I think over time, vibration of the motor up front over time simply caused them to vibrate and crack. Not a big issue at all as there really isn't much stress on that part of the fin. But I will seam the cracks closed with glue and it should be fine. I've seen much worse than this on friends planes that the motor has literally shaken the airframe apart.
20151115_111630.jpg 20151115_111619.jpg

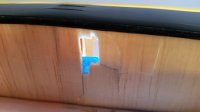
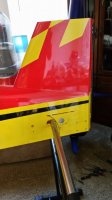
Last damage I found that will not be near as easy to repair is the outside of the fin near the leading edge. It looks as though the fin was gripped fairly tight and crushed the sheeting. Fortunately the sheeting is not completely broken out. Just pushed in. I believe I will be able to "bore" a hole with my multi level wood bore, in the top of the fin cap, then sneak a layer of epoxy on both inside fin sheets. That way I won't have to cut out those two sections and piece new sheeting in. Or I may just shave that entire cap off to allow for more working room. I'll cross that bridge when I get to it.
20151115_111722.jpg
20151115_111904.jpg


I won't get anything more done until this coming weekend when I return home again. Plan is, fix the remaining two repairs then start sanding the fuse and set aside to await covering.

More to come.
 

Robbins

Team WTFO (Watch The Fun Occur)
For crack repairs I used to mix sig-ment and micro balloons. Now I use the pink drywall compound that turns white when dry. Then I sand flush with surrounding wood. I hate cracks showing through a covering job!
 

stangflyer

I like 'em "BIG"!
For crack repairs I used to mix sig-ment and micro balloons. Now I use the pink drywall compound that turns white when dry. Then I sand flush with surrounding wood. I hate cracks showing through a covering job!
Cool...I will keep that little tip in mind. Thanks.... Just really anxious to get done with work this week and get home. The Yak parts made it to my doorstep. :yesss:
 
Top