• If you are new to GiantScaleNews.com, please register, introduce yourself, and make yourself at home.

    We're 1st in Giant Scale RC because we've got the best membership on the internet! Take a look around and don't forget to register to get all of the benefits of GSN membership!

    Welcome!

The 'What did you do in your workshop tonight?' thread

stangflyer

I like 'em "BIG"!
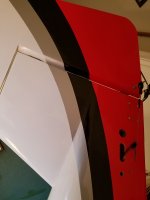
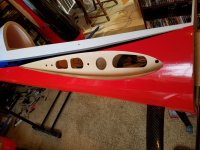
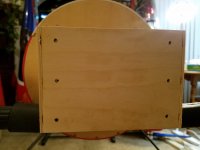
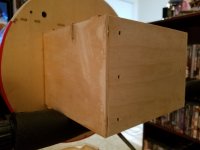
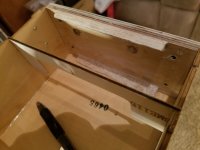
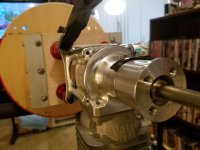
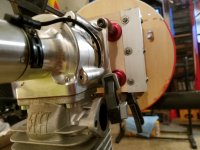
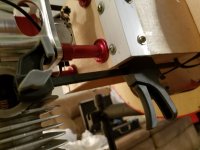
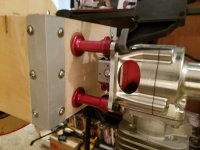
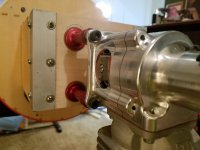
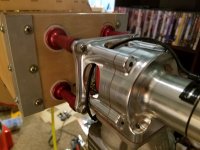
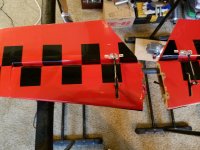
Along with the tire replacement on the White Rose wheels, I have also been working quite a bit on the SD Baby Yak-ster. What a really cool plane. I am really going to enjoy this plane I am sure. As it stands, I have the plane basically wired and most of the controls set up and tuned. I had to cut the firewall back to accommodate the installation of the BE 62 single. I had planned to sell the BE, however with the way the engine line has dissipated since I did my review of them, I wanted to make sure it was going to be a worthy engine. I mean, I can stand the issues or possible loss due to a bad engine. I would feel absolutely terrible to send it off to someone and have it total someone elses plane. Besides, if it runs good, then fine. Off it will come and a "dub" will go in its place. If it runs poorly....Off it will come and a "dub" will go in its place. LOL
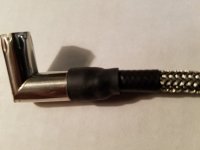
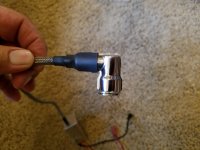
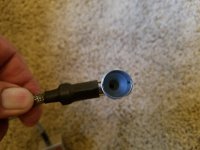
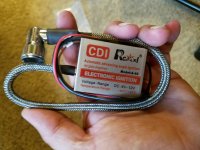
Anyway, I am pretty much ready to finalize the electronics inside the plane. Not a lot of room to work with like my "BIG" birds, but hey... I can do this. I also had to replace the 1/4 sized spark plug boot on the new ignition module I had in stock. I ordered a CM-6 plug boot and replaced it. Along with a new Hall sensor and the BE sparked to life.
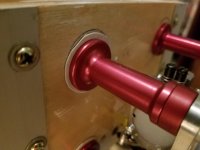
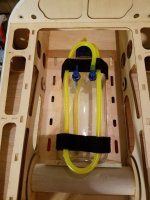
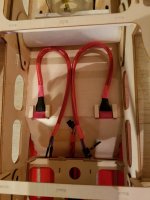
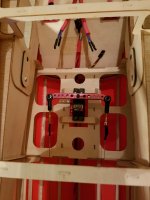
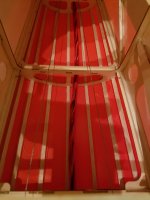
A few photos from the past weeks of working on the Baby Yak.
20171021_172030.jpg 20171021_172141.jpg 20171021_172205.jpg 20171021_174329.jpg 20171021_174350.jpg 20171021_212654.jpg 20171021_212808.jpg 20171021_214011.jpg 20171021_214018.jpg 20171022_095320.jpg 20171022_095341.jpg 20171022_095402.jpg 20171022_095430.jpg 20171022_184322.jpg 20171022_190539.jpg 20171022_190547.jpg 20171022_190614.jpg 20171023_210139.jpg 20171023_210359.jpg 20171023_210406.jpg 20171023_210417.jpg 20171023_210424.jpg 20171023_213642.jpg 20171026_193105.jpg 20171026_193109.jpg 20171026_193112.jpg 20171026_193122.jpg 20171026_211408.jpg 20171026_211414.jpg 20171026_211424.jpg 20171026_211430.jpg
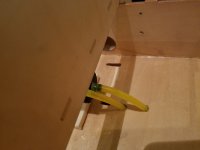
I still have plenty to do on the Yak, but I am making slow but steady progress. I need to remember to put some protective collars around the fuel tubing where it goes through the canister floor. Last thing I want is a hole rubbed in the line from vibration causing "chaffing" on the lines.

The weather here has been absolutely nothing short of perfectly gorgeous. No wind, clear blues skies and a mid-day high in the middle to upper 60's. Tomorrows forecast is a Memorex copy of the last four days. The Pilot Edge is all charged up and ready to go. So my son and I plan to make it an "Edgy" kind of flying day tomorrow. Though my 106cs powered Pilot Edge will not out class his 222 four cylinder beasty PAU Edge, It will still be a fun day. So probably no work on the Baby Yak for a few days. I plan to go flying tomorrow. YES!!!
 

Snoopy1

640cc Uber Pimp
So I have been absent for a few days fellas. I have tried to stay caught up. But I had plenty of projects to keep me busy lately. Besides work. LOL. First?
Lets talk tires. When I built the Pitts, I used the very "USED" original design White Rose wheels on it. You all may remember. The wheels looked good, but them tires. YUK! The wheels are just so pretty to let them remain that way.
View attachment 99837
Plus, I decided to put a more appropriate size wheel on the Pitts. What ever shall I do with them gorgeous wheels then? Oh well, I know a baby Yak that needs some wheels. Here is what I did. I tinkered around one evening and removed the original tire using a couple of screw drivers like we used to use tires spoons to remove an old car tire from a wheel. What do you know? They are Dubro tires. With the centers cut out.
View attachment 99834 View attachment 99835
Dang those things have seen some pavement landings huh? After they were removed, I cleaned up the wheels and set them aside. My search for the coveted Dubro 450TL payed off.
View attachment 99836
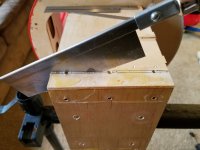
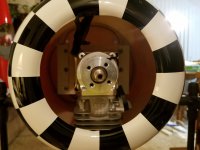
So now all I have to do is figure out how to cut the centers out of the new tires. And I discovered this was almost so easy, my Pop-Top could have done it. I used my hobby knife to "etch" or "scribe"...which ever works best here, a line around the center of what needed to be removed. Then cutting to full blade depth I went around the circumference in a complete circle. By doing both sides of the tire the same way, I discovered that my blade went "almost" all the way through. But I wanted to make sure I had a clean cut, so I used my hand held saber saw to complete the incision all the way around. Once this was done, I lifted out the center of the tire and wa-laa. Looked almost as good as the factory. Funny thing here is that the Airman Wheels use the same exact tires on all of their wheels. White Rose has recently updated their tire line to a different design. Anyway, you can see my progress with the photos of the surgery I was doing on the tires. Of course I had to remove the new tires from the original wheels. Same procedure as removing the tires from the White Rose wheels.
View attachment 99838 View attachment 99839 View attachment 99840 View attachment 99841 View attachment 99842 View attachment 99843 View attachment 99844 View attachment 99845 View attachment 99846 View attachment 99847 View attachment 99848 View attachment 99849 View attachment 99850 View attachment 99851 View attachment 99852
Ok, now with the tire centers cut out, it was time to re-install the newly cut tires to the White Rose wheels. My first attempts before I even cut the 4.5" Dubros was with a 5" that I had removed from my broken Yak wheel. You all remember that right? Ugh. Anyway, I used the same method to install as I did to remove the tires. Two screw drivers like the tire spoons. It worked ok, but doing so has a tendency to "tear" the foam tire. I didn't want to do this to the new tires, so I opted to "MUSCLE" them on. A little difficult, but no tears. Once they were on, a little side wall pushing and the beads sat right down where they needed to be.
View attachment 99853 View attachment 99854 View attachment 99855 View attachment 99856 View attachment 99857
This is what the original Dubro wheel looks like. And the new Dubro with the center cut out.
View attachment 99858 View attachment 99859 View attachment 99860
And this is the finished product. Brand new tires on my original design White Rose wheels. All washed and shined up and ready for install on the new SD Baby Yak-ster.
View attachment 99861 View attachment 99862
From now on, no more purchasing $150.00 worth of new wheels. I will simply order up a set of what ever size tire I want and change them out myself. Much more cost effective. And to that? It opens the door for all those worn out tires on all those snazzy looking wheels.
Thanks for that good info now everybody is looking for 4.5 Dubro wheels, that will save me bucks in the future. Now that You have removed your slicks and installed a set rain tiers you ready for the rain.
 

Snoopy1

640cc Uber Pimp
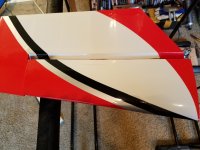
Along with the tire replacement on the White Rose wheels, I have also been working quite a bit on the SD Baby Yak-ster. What a really cool plane. I am really going to enjoy this plane I am sure. As it stands, I have the plane basically wired and most of the controls set up and tuned. I had to cut the firewall back to accommodate the installation of the BE 62 single. I had planned to sell the BE, however with the way the engine line has dissipated since I did my review of them, I wanted to make sure it was going to be a worthy engine. I mean, I can stand the issues or possible loss due to a bad engine. I would feel absolutely terrible to send it off to someone and have it total someone elses plane. Besides, if it runs good, then fine. Off it will come and a "dub" will go in its place. If it runs poorly....Off it will come and a "dub" will go in its place. LOL
Anyway, I am pretty much ready to finalize the electronics inside the plane. Not a lot of room to work with like my "BIG" birds, but hey... I can do this. I also had to replace the 1/4 sized spark plug boot on the new ignition module I had in stock. I ordered a CM-6 plug boot and replaced it. Along with a new Hall sensor and the BE sparked to life.
A few photos from the past weeks of working on the Baby Yak.
View attachment 99863 View attachment 99864 View attachment 99865 View attachment 99866 View attachment 99867 View attachment 99868 View attachment 99869 View attachment 99870 View attachment 99871 View attachment 99872 View attachment 99873 View attachment 99874 View attachment 99875 View attachment 99876 View attachment 99877 View attachment 99878 View attachment 99879 View attachment 99880 View attachment 99881 View attachment 99882 View attachment 99883 View attachment 99884 View attachment 99885 View attachment 99886 View attachment 99887 View attachment 99888 View attachment 99889 View attachment 99892 View attachment 99893 View attachment 99894 View attachment 99895
I still have plenty to do on the Yak, but I am making slow but steady progress. I need to remember to put some protective collars around the fuel tubing where it goes through the canister floor. Last thing I want is a hole rubbed in the line from vibration causing "chaffing" on the lines.

The weather here has been absolutely nothing short of perfectly gorgeous. No wind, clear blues skies and a mid-day high in the middle to upper 60's. Tomorrows forecast is a Memorex copy of the last four days. The Pilot Edge is all charged up and ready to go. So my son and I plan to make it an "Edgy" kind of flying day tomorrow. Though my 106cs powered Pilot Edge will not out class his 222 four cylinder beasty PAU Edge, It will still be a fun day. So probably no work on the Baby Yak for a few days. I plan to go flying tomorrow. YES!!!

Hoe did you get the CM 6 plug boot from and how easy is to do. Thanks.
 

stangflyer

I like 'em "BIG"!
Hoe did you get the CM 6 plug boot from and how easy is to do. Thanks.
Milton over at RC extreme power carries all of the items for ignition systems. He is my source for the rcexl ignition modules that I use on all of my three W's. The boot with shipping is about $13. As far as replacement? I honestly was a little concerned because I have never done one before. Let me tell you this, they are Ultra easy. If a person can read and follow step-by-step instructions that he includes, a child can replace them. Which we all know I'm just barely older than that. LOL
 

AKNick

640cc Uber Pimp
Milton over at RC extreme power carries all of the items for ignition systems. He is my source for the rcexl ignition modules that I use on all of my three W's. The boot with shipping is about $13. As far as replacement? I honestly was a little concerned because I have never done one before. Let me tell you this, they are Ultra easy. If a person can read and follow step-by-step instructions that he includes, a child can replace them. Which we all know I'm just barely older than that. LOL

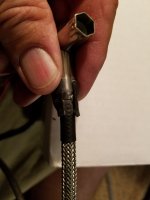
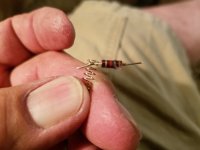
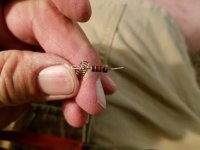
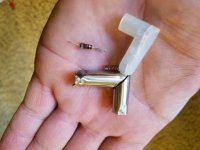
I replaced the boot on my DLE35RA. Basically cut the heat shrink, the shell is in two pieces with little metal tabs bent over to hold them together, there is a little crimped band under the heat shrink that is easy to manipulate off, then everything falls apart. I was surprised to see that the little resistor is just hanging out, it's not soldered, crimped, or anything... the resistor end gets nestled inside the ignition wire strands and the other end gets put in contact with the spring in the boot. If you look at the boot before you pull the wire out, you'll understand. Just remember the sequence of heat shrink tubes and when that crimp goes on it's a walk in the park. A little tedious but surprisingly not that hard. The $10 kit I got from VVRC had no instructions.
https://www.valleyviewrc.com/engine-parts/ignition-accessories/spark-plug-caps
 

Snoopy1

640cc Uber Pimp
Milton over at RC extreme power carries all of the items for ignition systems. He is my source for the rcexl ignition modules that I use on all of my three W's. The boot with shipping is about $13. As far as replacement? I honestly was a little concerned because I have never done one before. Let me tell you this, they are Ultra easy. If a person can read and follow step-by-step instructions that he includes, a child can replace them. Which we all know I'm just barely older than that. LOL
Just checked out RC extreme power but I could not find it ???? Need more help. Sorry
 

Snoopy1

640cc Uber Pimp
I replaced the boot on my DLE35RA. Basically cut the heat shrink, the shell is in two pieces with little metal tabs bent over to hold them together, there is a little crimped band under the heat shrink that is easy to manipulate off, then everything falls apart. I was surprised to see that the little resistor is just hanging out, it's not soldered, crimped, or anything... the resistor end gets nestled inside the ignition wire strands and the other end gets put in contact with the spring in the boot. If you look at the boot before you pull the wire out, you'll understand. Just remember the sequence of heat shrink tubes and when that crimp goes on it's a walk in the park. A little tedious but surprisingly not that hard. The $10 kit I got from VVRC had no instructions.
https://www.valleyviewrc.com/engine-parts/ignition-accessories/spark-plug-caps
Thanks for that what I need to do is get @stangflyer to show us the instructions then we can buy it from VVRC and do it, it would be nice to have a set of instructions for the first time.
 

stangflyer

I like 'em "BIG"!
I replaced the boot on my DLE35RA. Basically cut the heat shrink, the shell is in two pieces with little metal tabs bent over to hold them together, there is a little crimped band under the heat shrink that is easy to manipulate off, then everything falls apart. I was surprised to see that the little resistor is just hanging out, it's not soldered, crimped, or anything... the resistor end gets nestled inside the ignition wire strands and the other end gets put in contact with the spring in the boot. If you look at the boot before you pull the wire out, you'll understand. Just remember the sequence of heat shrink tubes and when that crimp goes on it's a walk in the park. A little tedious but surprisingly not that hard. The $10 kit I got from VVRC had no instructions.
https://www.valleyviewrc.com/engine-parts/ignition-accessories/spark-plug-caps

Just checked out RC extreme power but I could not find it ???? Need more help. Sorry

Thanks for that what I need to do is get @stangflyer to show us the instructions then we can buy it from VVRC and do it, it would be nice to have a set of instructions for the first time.
Yup... same same on the replacement. Will get the instructions posted and will get you the link from Milton.
 
Top