• If you are new to GiantScaleNews.com, please register, introduce yourself, and make yourself at home.

    We're 1st in Giant Scale RC because we've got the best membership on the internet! Take a look around and don't forget to register to get all of the benefits of GSN membership!

    Welcome!

Assembly: Aeroworks QB 150cc Yak 55M

Joe Hunt

150cc
Lot of attention to detail, thanks for posting.

Happy to, dhal22! I think people could run into some challenges with these hinges, but with the 12 steps I think they'll be good. :)

Here are the final 12 steps:

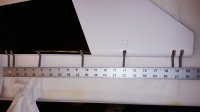
Glue the control surfaces first and let them setup before installing them in the plane
1) Lube the hinge with a thick coating of lube
2) Glue the hinge in to the control surface
3) Twist the hinges to align them until they move freely full travel in the slots
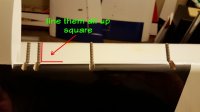
4) Use a straight edge to line up all the ends of the hinges (if you shaped some upholstery foam to keep the hinges all straight out, but on plane with each other, while doing this... all the better)
5) Square up all the hinges to the leading edge of the control surface
6) Let that setup
7) After the glue has setup on the elevators, clip an 1/8" off the end of the three inboard hinges
8) Make sure hinges go stop to stop without any binding. Clean out glue and/or wood until there is no binding.
9) Put glue in the wing (or stabilizer) holes
10) Take a paper towel and denatured alcohol and wipe off any glue around the holes
11) Put glue on the hinges and push the hinges into the wing
12) Put the card stock in loosely or use two pieces of card stock

STEP 4
20150817_210540web.jpg

STEP 5

20150817_215924web.jpg
 
Last edited:

Joe Hunt

150cc
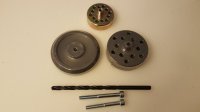
My deluxe drill jig arrived today! You can see a standard drill jig in the background. Check out the washer on my deluxe drill jig! haha Comes with the two bolts and drill bit, too. As they say, "Only drill one time - ready !" So true with these!

20150818_122702.jpg

Don Hamp made the most awesome video about these, I'll have to find it and post it!
 

Joe Hunt

150cc
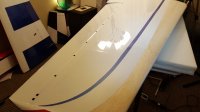
I started working on covering the top of the wing that... cough... Monkey screwed up. ;)

20150820_013725.jpg

All finished up. I told Monkey, "And, do not do it uh gain!"
icon_e_wink.gif


20150820_022356.jpg
 

Joe Hunt

150cc
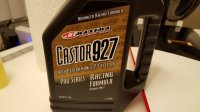
I got some of this oil to try... but I have been reading it's too much trouble so I'm going to stick to BelRay H1-R @ 50-1 like usual.

20150819_234402.jpg
 

Joe Hunt

150cc
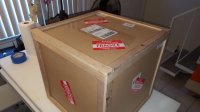
Whoa! I didn't see that coming! haha I didn't even know Monkey was in Colorado! Says he was helping Rocco get all the cowls ready to ship, that's his story anyway, who knows what he was really up to? Monkey business, no doubt!

20150820_171654-A-web.jpg
 

Joe Hunt

150cc
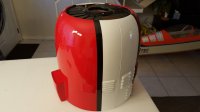
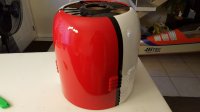
At least he did manage to bring the cowl back with him!

Look mom! No visible mounting screws! Nice!

20150820_114646.jpg 20150820_114658.jpg

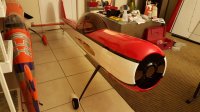
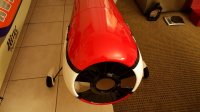
20150821_040240.jpg 20150821_040246.jpg

You gotta see this thing in person... it does not look like an ARF... it looks custom. I can't say how it will fly, but I love the way it looks. I'd be very proud to have it at an event, etc.
 

Joe Hunt

150cc
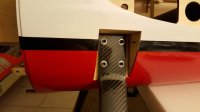
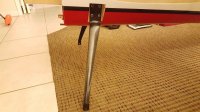
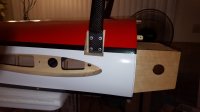
I like the landing gear concept. You might call it a shear connection vs a stacked connection. Normally the plane would be stacked on top of the landing gear, but in this case the landing gear it bolted to the side of the plane. That does a couple of things. One they are lighter. The other is that it requires less angle on the gear so theoretically a stronger angle.

20150821_014954.jpg 20150821_015032.jpg
 

Joe Hunt

150cc
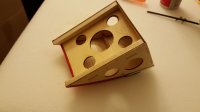
The covers are very nice and they lightened them up with some holes:

20150821_022349.jpg

When you bolt on the landing gear, don't tighten it up all the way until you dry fit the covers. The covers fit snugly around the gear so you have to line the gear up for the covers or the covers won't fit on right. I found it easier to flip the plane over to put the covers back on.

20150821_024242.jpg
 
Top