• If you are new to GiantScaleNews.com, please register, introduce yourself, and make yourself at home.

    We're 1st in Giant Scale RC because we've got the best membership on the internet! Take a look around and don't forget to register to get all of the benefits of GSN membership!

    Welcome!

IMAC Build: Dalton Extra 300

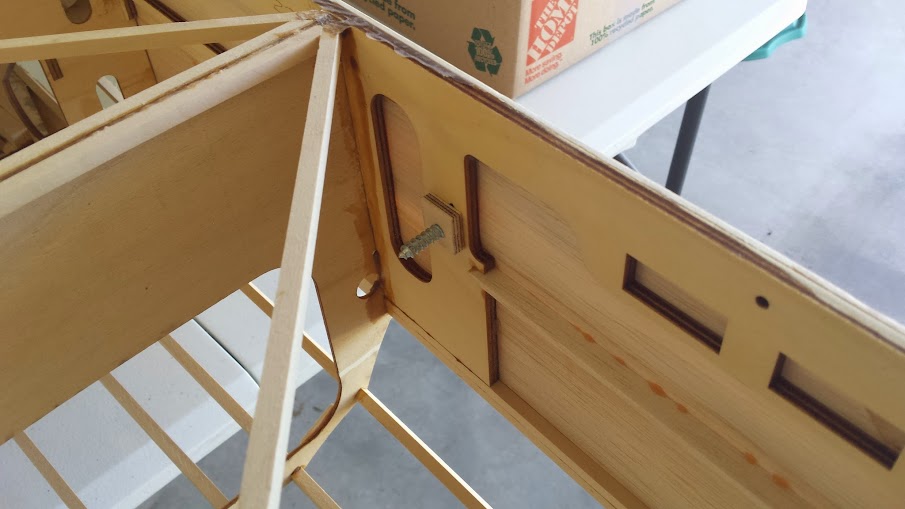
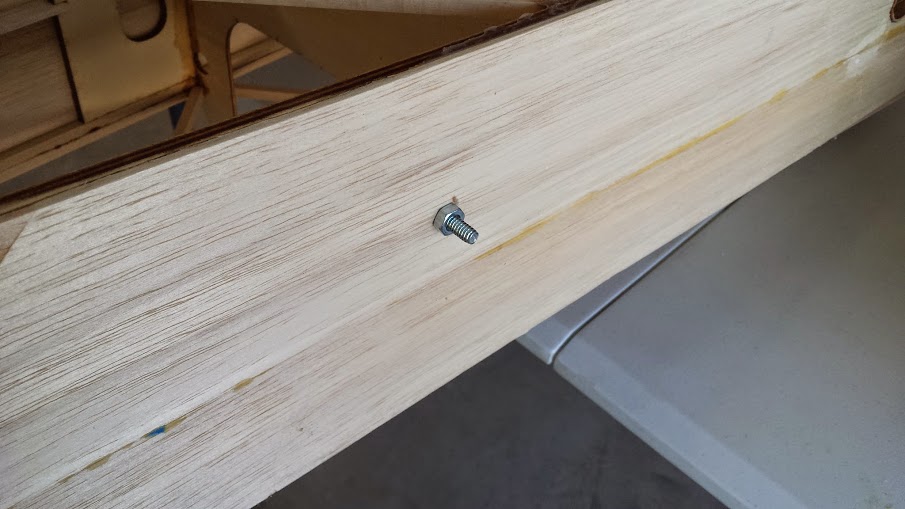
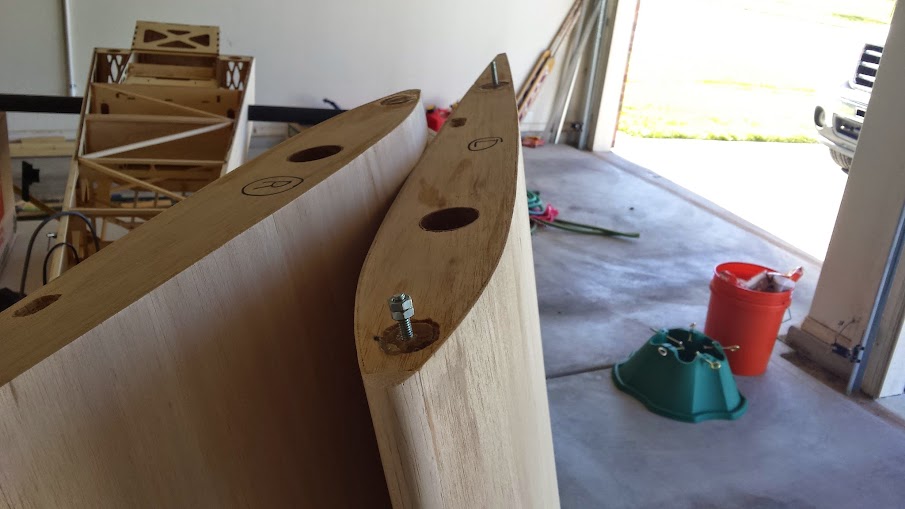
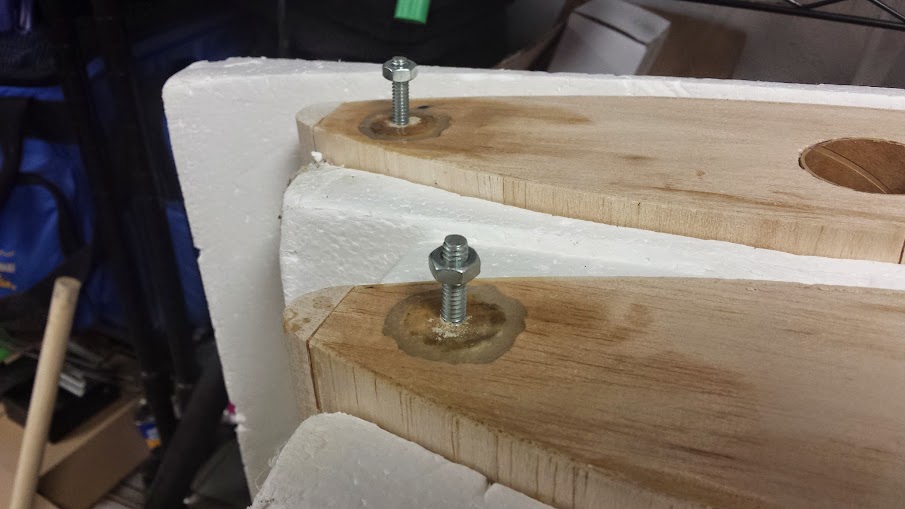
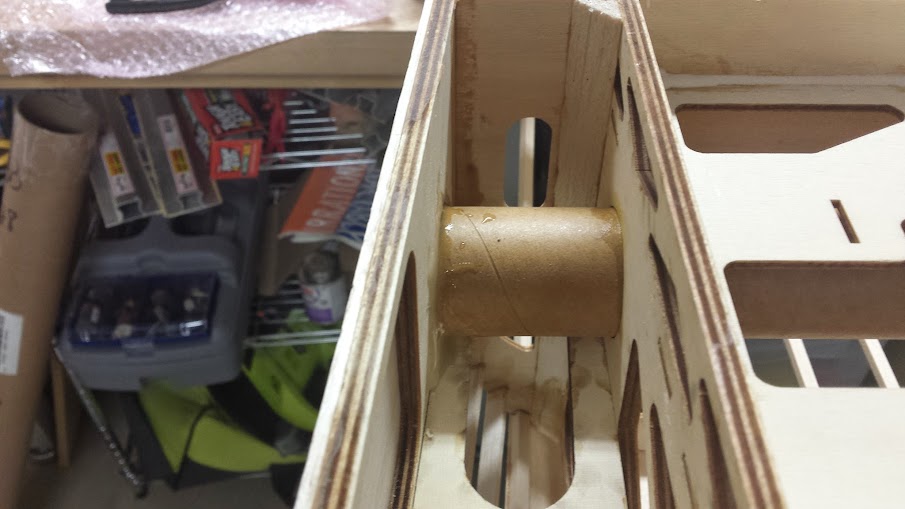
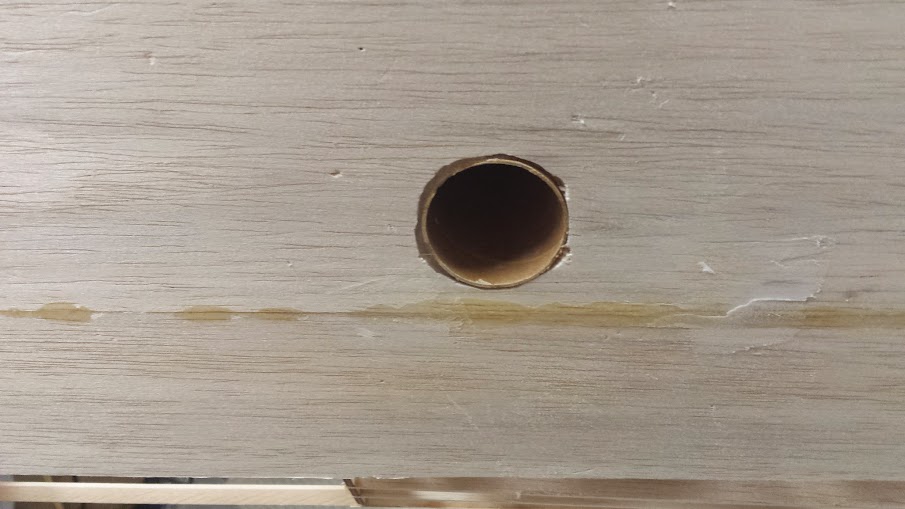
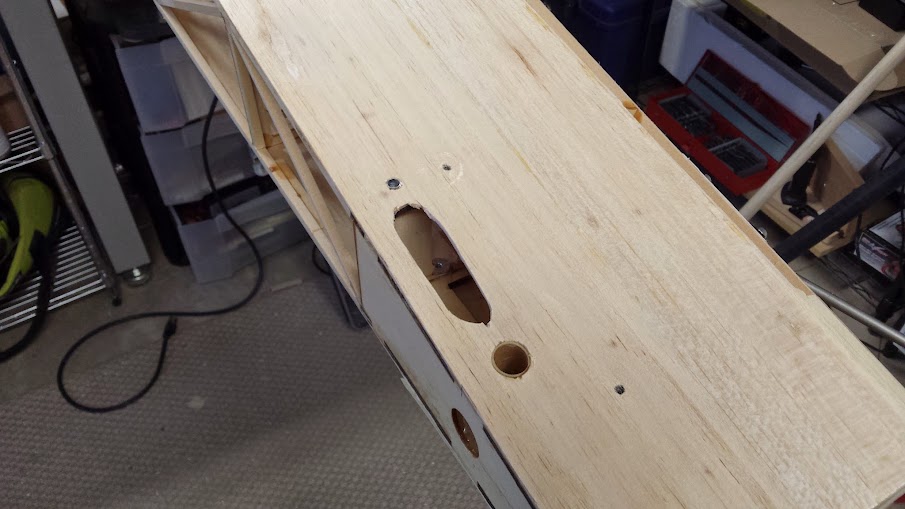
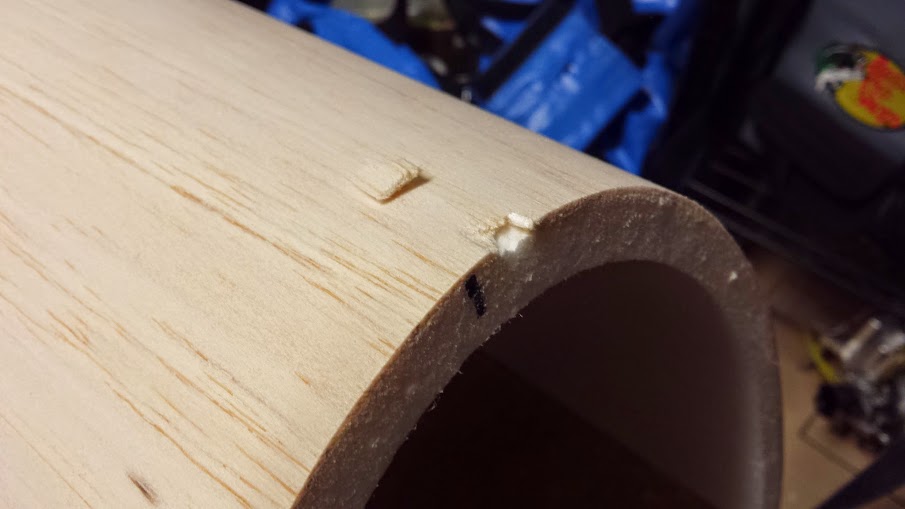
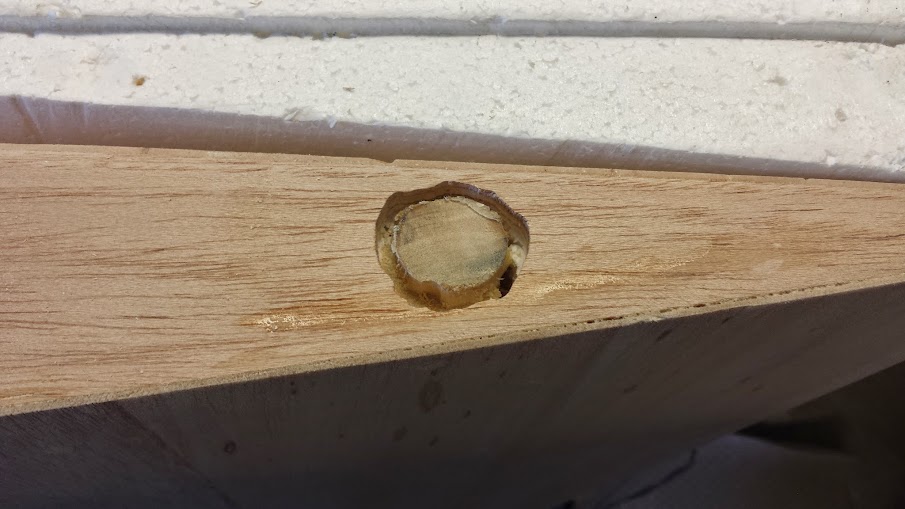
Ok, I used the drywall bit and cleaned out around each of the hard points. I only went down 5/16-3/8" and I did end up taking off some of the dowel that make up the hard point. However, since mine extend further into the wing and this is just to make sure there is not a material between the hard point and the ply root rib that can be compressed, I'm not going to worry about it.

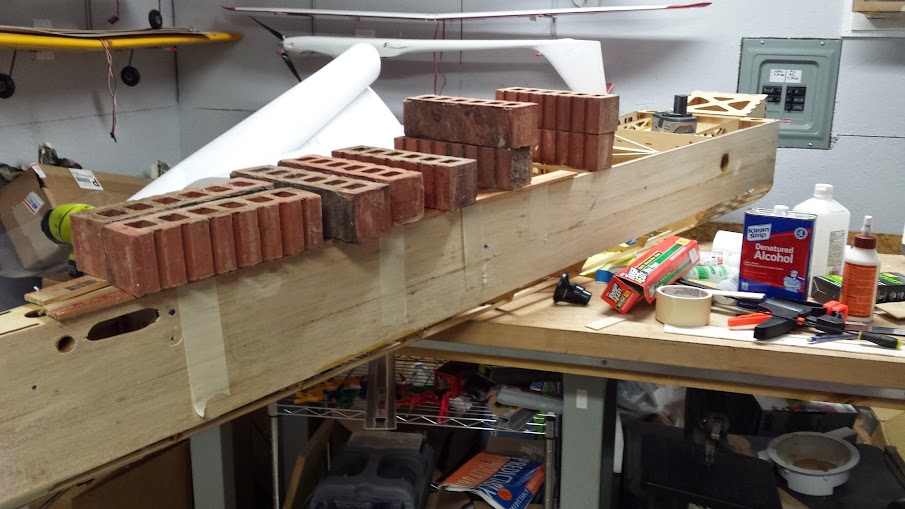
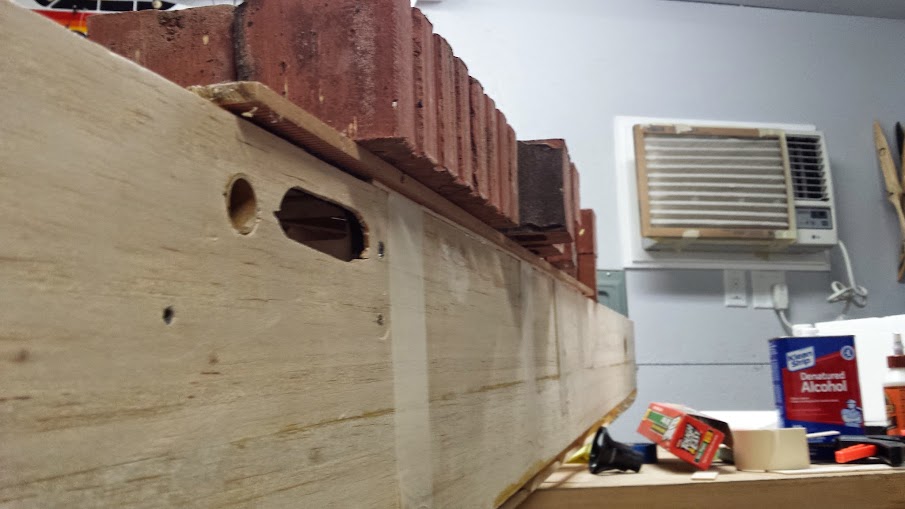
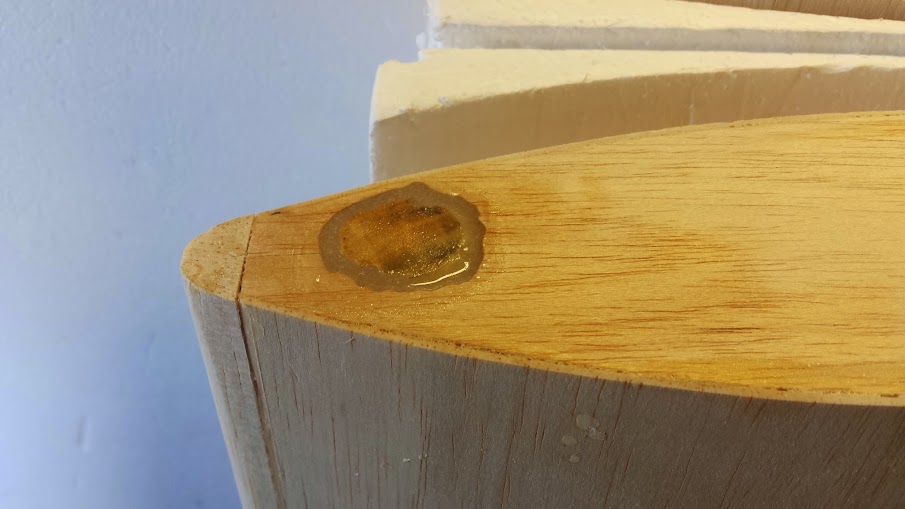
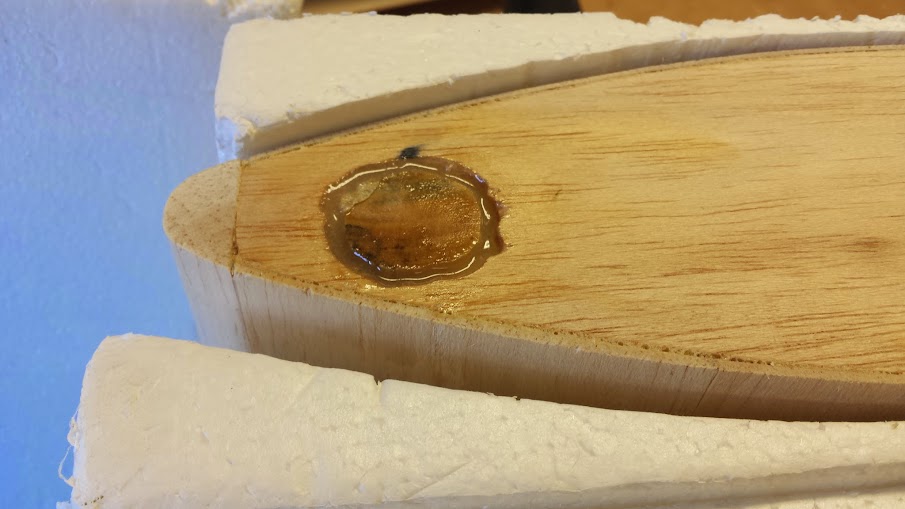
I then mixed up a BIG batch of 30 minute epoxy with milled fiberglass and scooped it into a syringe to inject around the hard points. I was able to fill in some of the areas completely whereas it found areas to drain into on others. No biggie as I can mix up more and get it filled in.

20150510_152643.jpg
20150510_154730.jpg
20150510_154736.jpg
 
Last edited:
After the epoxy set up, I decided to go ahead and try once more to set the incidence on the wings before I fill in the rest of the gaps around the new anti-rotation dowels.

Because I had drilled out one of the sides of the fuse for the 1/4-20 bolts yesterday, I cut some small pieces of ply and screwed the anti-rotation pins into them. I then glued them onto the side of the fuse with some medium CA. They will be removed later, but I need a way to center the drill bit. I also used a nut to hold them in place while the glue cured.

I then went about setting the incidence by anchoring the back first. It was a breeze!

Before I took everything apart, I made several measurements and everything seems to be lining up.

One nice thing about my screw up is now I can see where the anti-rotation pins go into the dowels. I can also now say that the wings and horizontal stab can all be bolted to the fuse!

20150510_181015.jpg
20150510_181024.jpg
20150510_183406.jpg
20150510_190445.jpg
 
It's a busy time of year but I found a little time to work on the Dalton 300 last night. I mixed up some more 30 minute epoxy with milled fiberglass and finished filling in the gaps for the new anti-rotation dowels. I put the remainder around one side of wing tube on the outside of the fuse structure. It didn't quiet get into all of the gap but enough that it won't take much to fill in. I just need to make sure I have enough needles to get the glue in cleanly.

20150513_220305.jpg
20150513_220328.jpg
20150513_220406.jpg
 
The phenolics are pretty much glued in. I just need to go around the horizontal stab tube on the outside to fill in any gaps. I also started to cut open the slots for the elevator servo wires. They're not clean yet, but I'll take a sanding drum and clean them up later.

After that, I got the desire to work on the turtle deck. I started by trimming and sanding the turtle deck. While sanding, I caught an edge and popped a small piece out. Little bit of glue will fix that.

I then cut and glued the strips of balsa to support the turtle deck.

20150516_204210.jpg
20150516_213949.jpg
20150516_214003.jpg
20150516_222008.jpg
20150516_222019.jpg
 
Well, the turtle deck is on. I began by putting masking tape on a couple pieces of angle aluminum so if the glue got on it, I can still pull it off. It seems that I should have good contact between the 3/32" balsa strips and the turtle deck lower surface. Masking tape was also used to pull down on the turtle deck. I also believe the turtle deck is designed to fit on a slightly wider surface than what it is mounted on to make sure it fits well with the sides of the fuse.

20150517_185823.jpg
20150517_190534.jpg
20150517_190619.jpg
 
Not too much to report on. I got some new battery trays for one of my helis so I was playing around with those last night. The rest of the time was spent cleaning off part of my workbench.

I'm probably going to glue the front of the turtle deck on and work on the rear part. One side is about 1/8" shorter than the other.

I'm also trying to decide what to do next. I will probably start preparing the sheeting for the vertical stab/rudder. I'm also thinking of mounting the cowling before I start building the hatch. What do you guys this about doing things in that order?

20150518_222219.jpg
 

capthis

70cc twin V2
Sub'd... I have one of these ARC stage. I just gotta put in my servo boxes in my wing and stabs and the control horn hard points.

These are really nice airplanes!
 
I'm going to work on mounting the cowl next. I had some other things to work on last night for work so I didn't have much time. I did get the cowling out and tape it together.

20150519_221218.jpg
 
Stuff for work go in the way tonight so I took care of a few odds and ends.

One side of my turtle deck was slightly shorter than the other so I cut a piece of balsa to add to it. I'll trim it up some more and sand it down so that the sides match.

After that, I trimmed and glued on the plate for the front of the turtle deck. It will need to be sanded down, but between a jigsaw and sanding bar, I got it pretty close.

I also dug through the accessories bag and found some of the 6-32 hardware for mounting the cowl. We're supposed to get more rain so I'm not sure if I will do anything for work this weekend.

20150520_214029.jpg
20150520_214254.jpg
20150520_214309.jpg
20150520_214559.jpg
 
I made some progress on the cowl tonight. I began with the two pieces held together with tape and marked where the overlaps were. I then used a Dremel with a cutoff wheel to remove small pieces of the lower piece.

I had to do a little more cutting after the first cuts to get a good fit. I took my time and worked carefully and now the two pieces line up pretty good.

I then took a square and marked where I'm going to glue some lite ply for the blind nuts and bolts that hold the cowl pieces together. I marked it at 3/4", 3.5", 6.5", 9.5", and 13" on each side.

20150521_210056.jpg
20150521_210412.jpg
20150521_210532.jpg
20150521_212132.jpg
20150521_212217.jpg
20150521_212949.jpg
 
Top