• If you are new to GiantScaleNews.com, please register, introduce yourself, and make yourself at home.

    We're 1st in Giant Scale RC because we've got the best membership on the internet! Take a look around and don't forget to register to get all of the benefits of GSN membership!

    Welcome!

IMAC Build: Dalton Extra 300

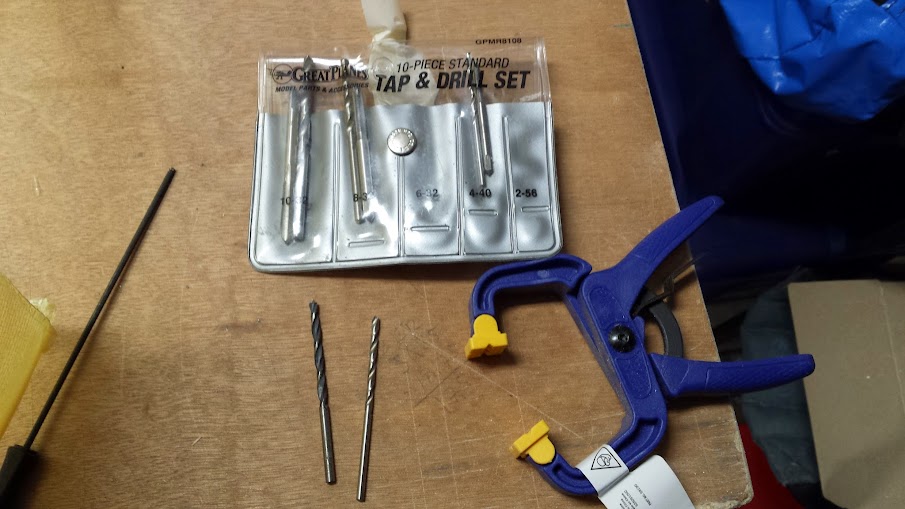
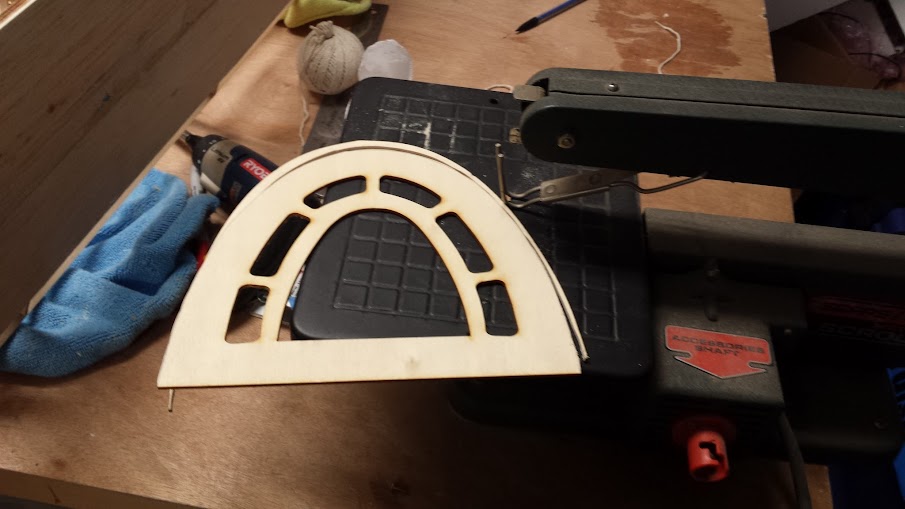
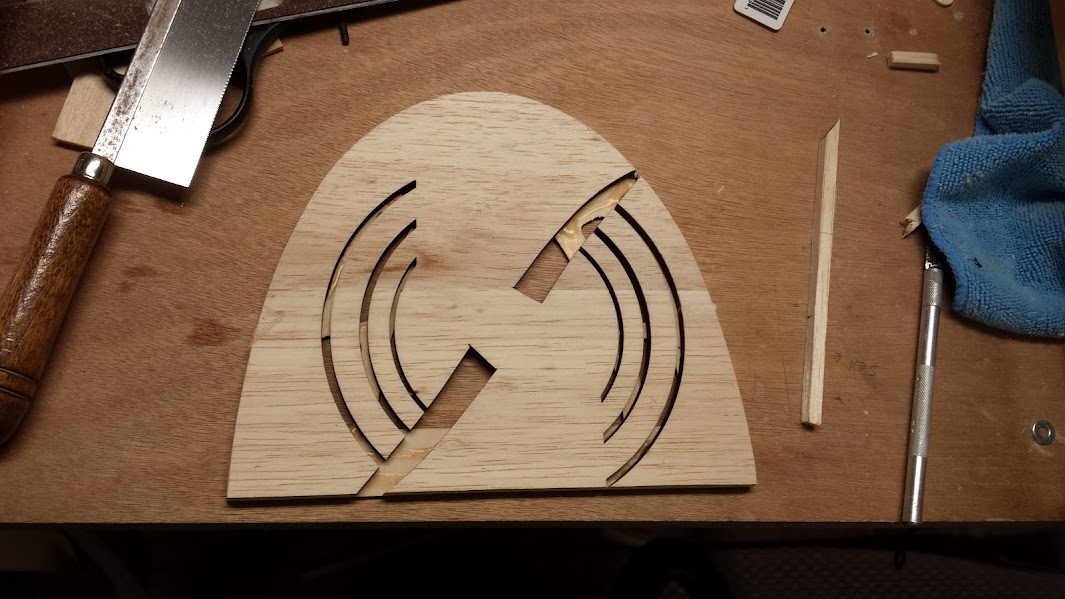
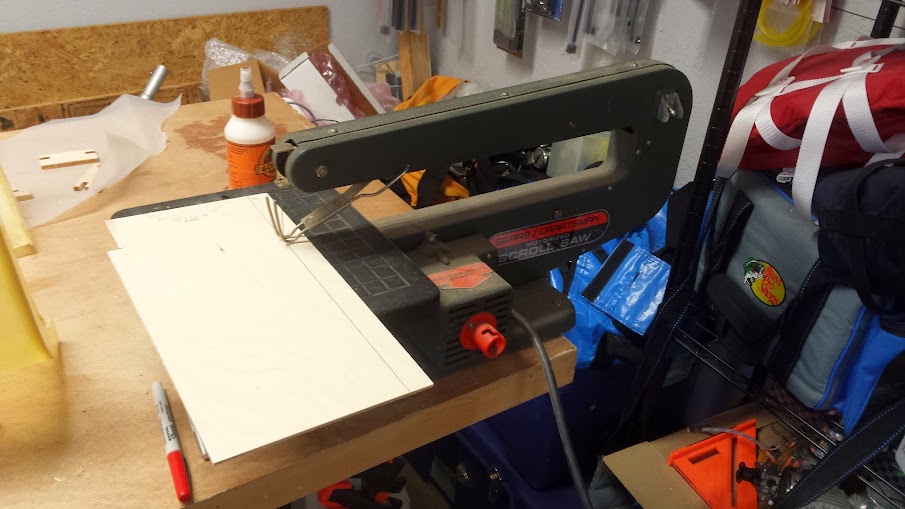
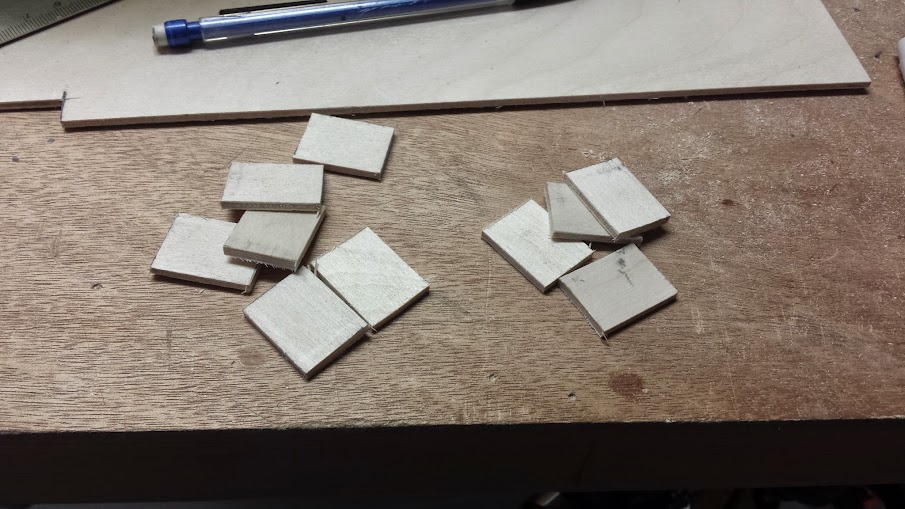
I began making some tabs for the back side of the lower cowl. Each was measured to be 3/4" by 1". I used scroll saw to cut it out. I don't know how old this is because I got it from my grandfather so probably mid-60's. Still works great though!

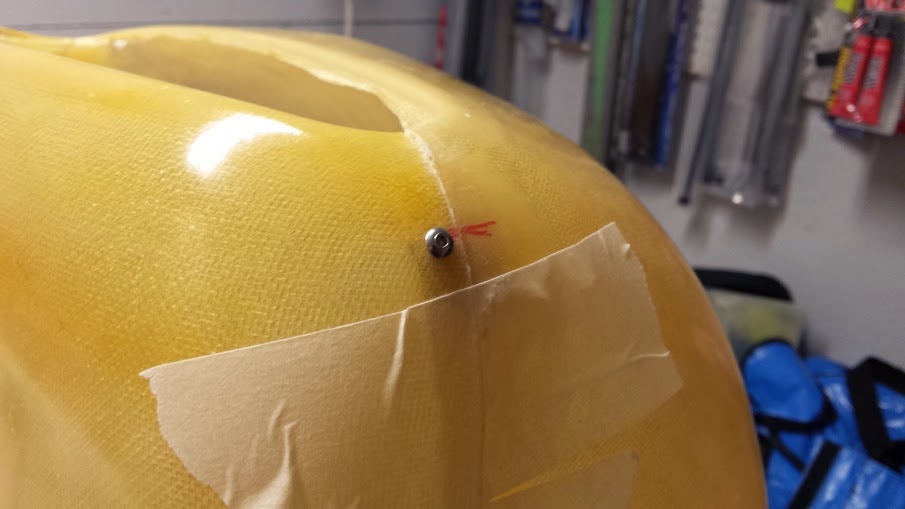
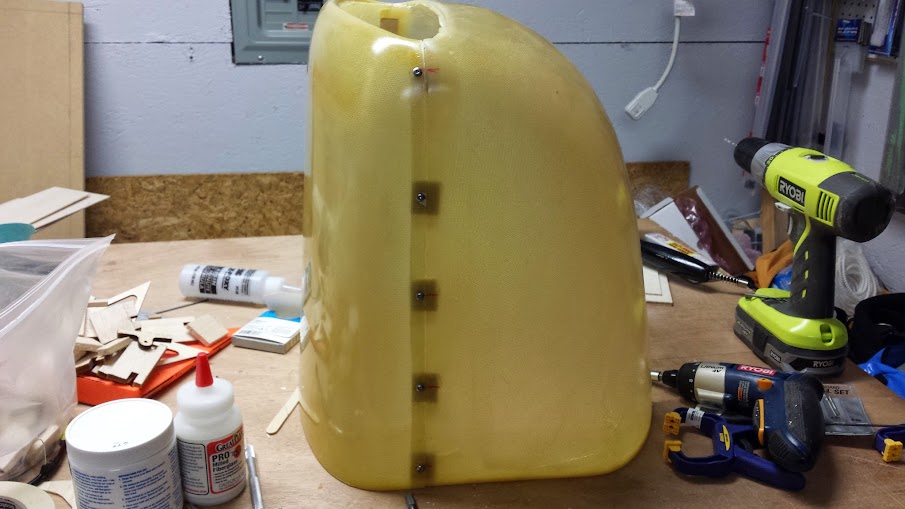
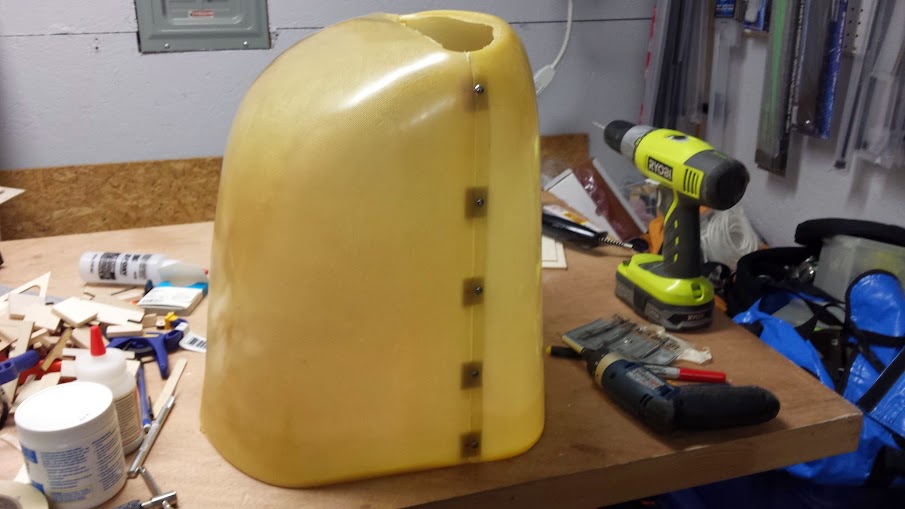
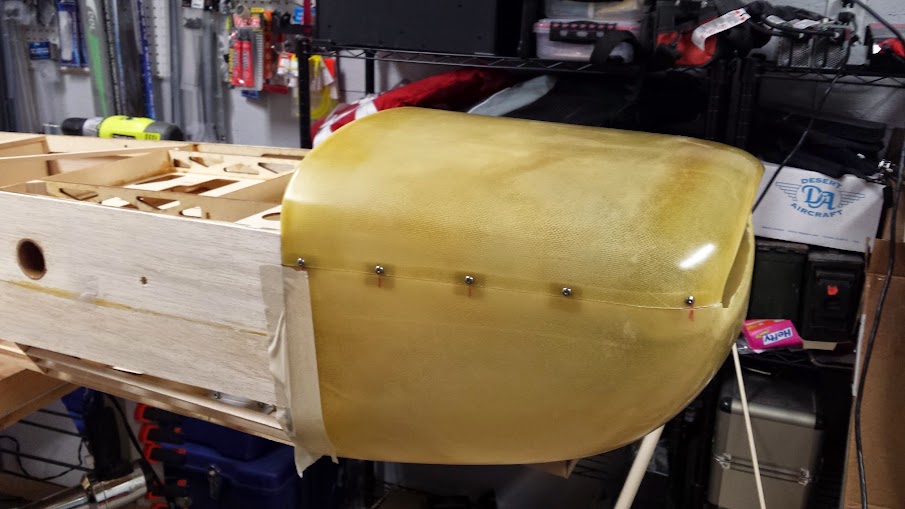
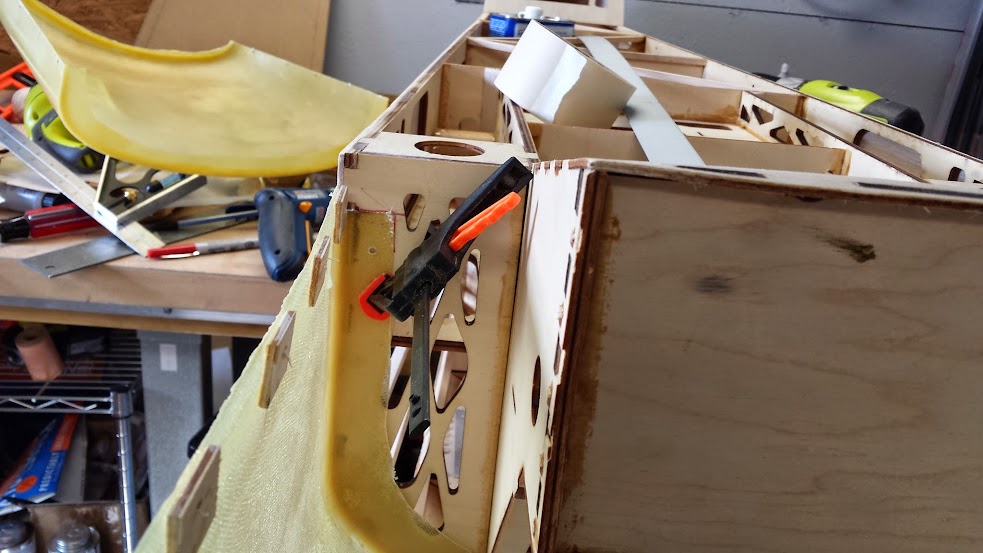
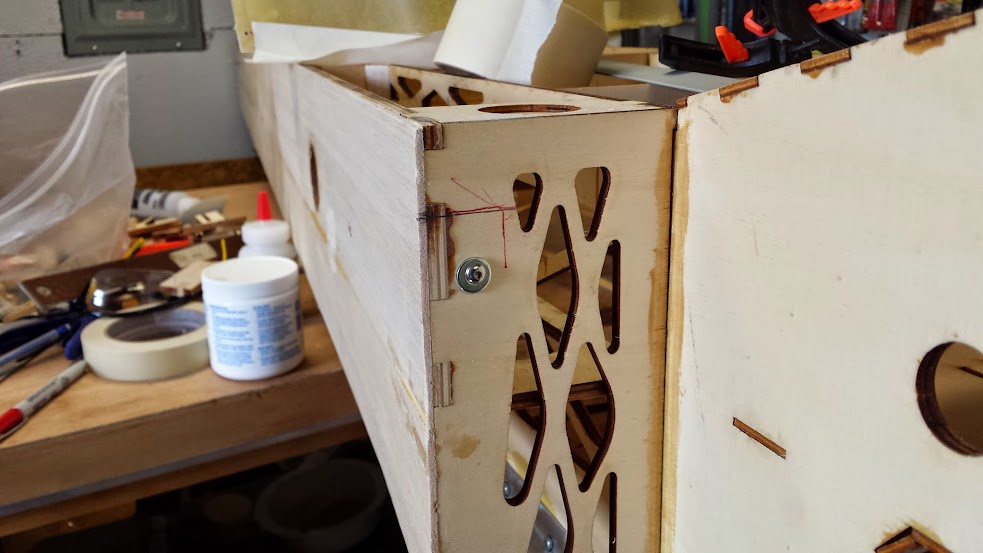
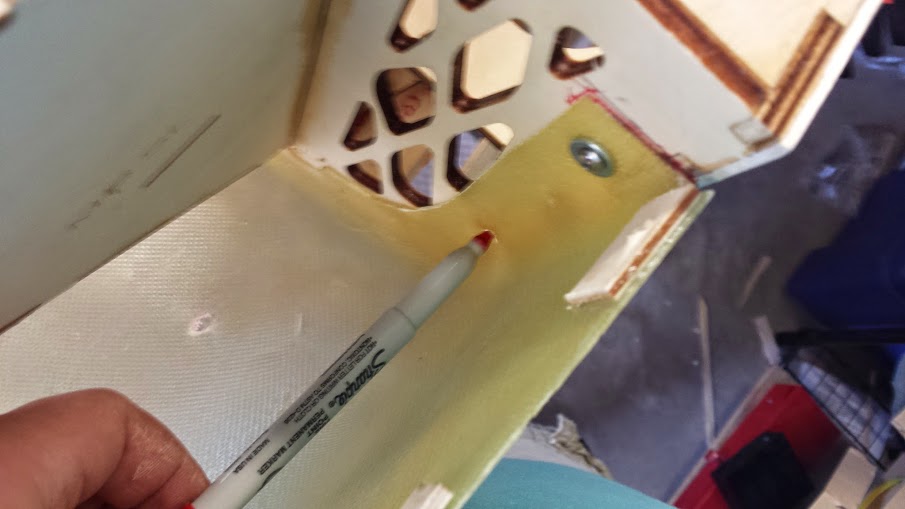
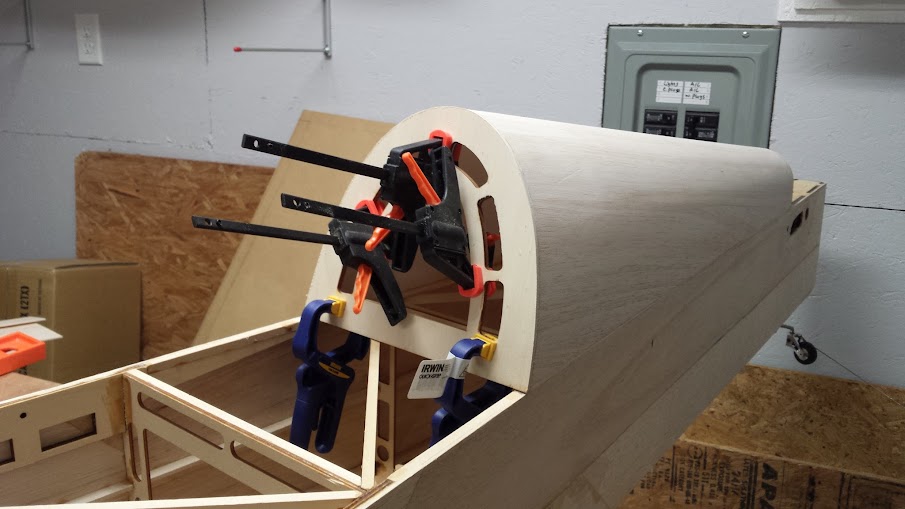
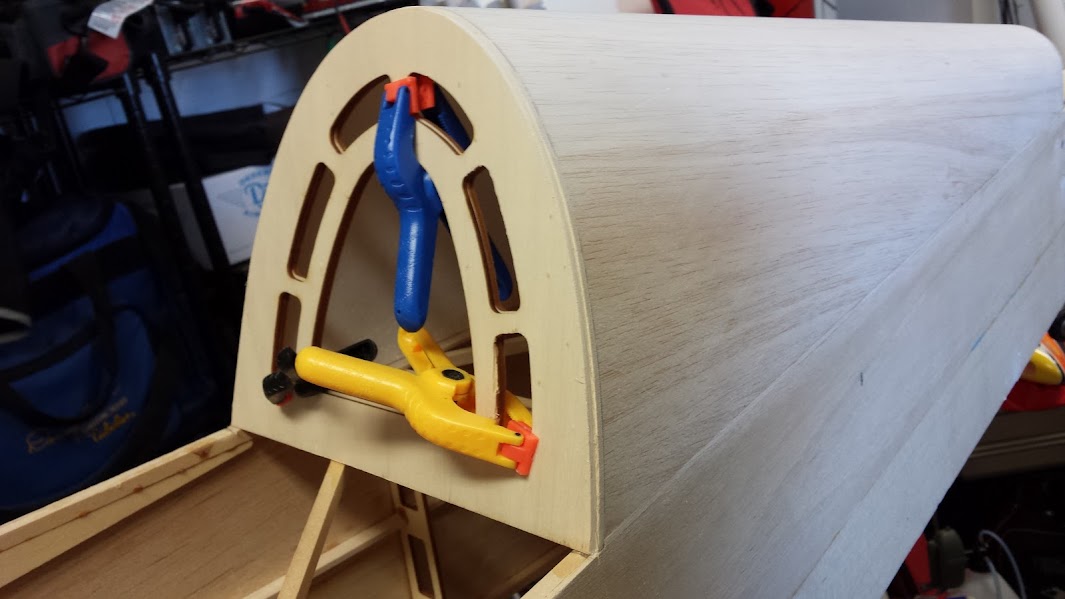
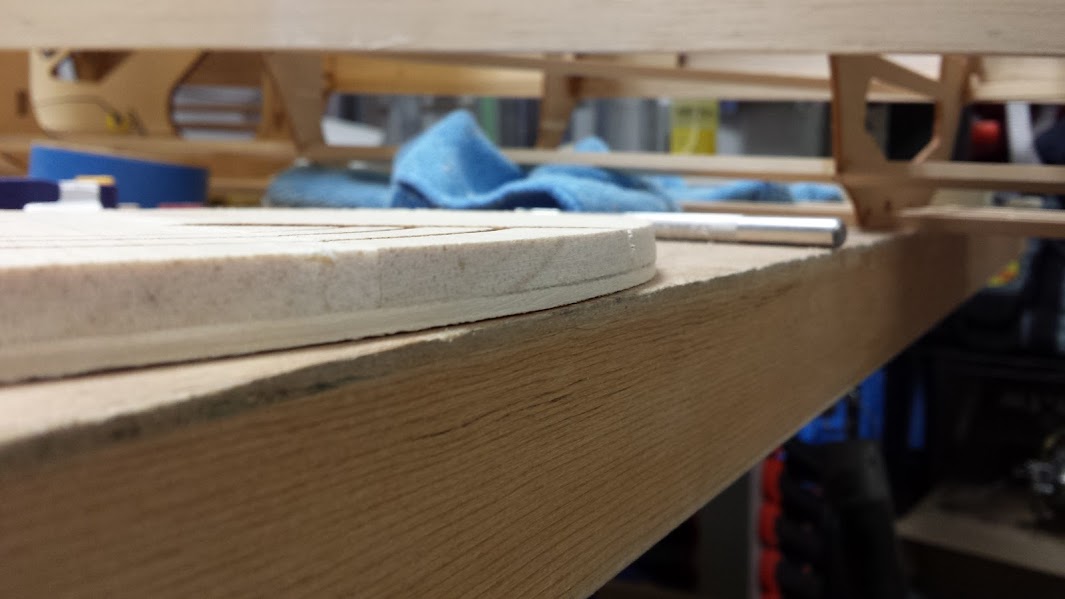
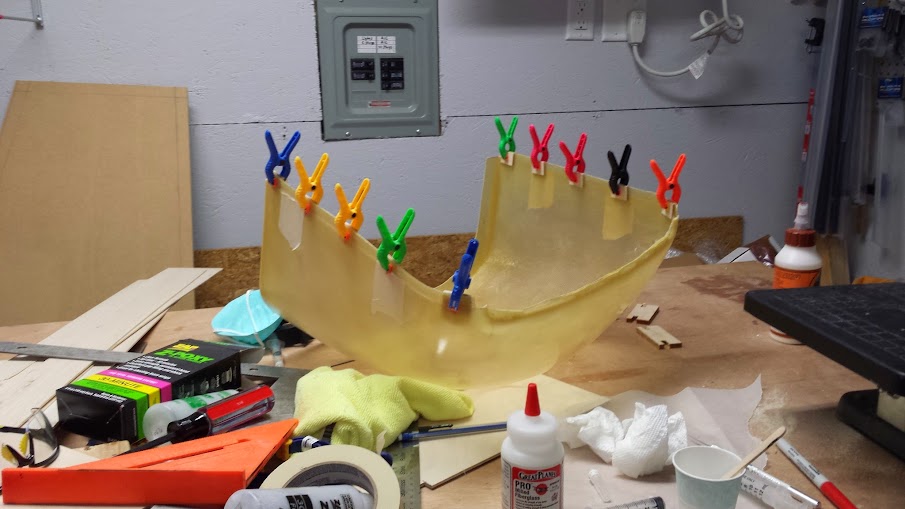
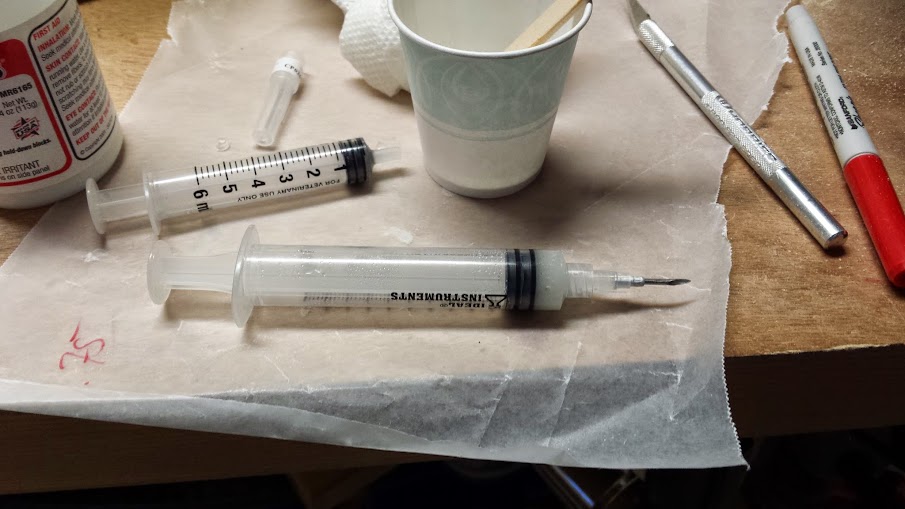
After I had the tabs cut, I mixed up some 30 minute Epoxy with milled fiberglass and began gluing them on. I used some of the small and cheap clamps from Harbor Freight to hold the tabs in place. For the two at the front, there was a small gap so I used a syringe and needle filled with the remaining epoxy mix to shoot it in the space between and to make a filet on the sides. This was to help keep it in place but primarily to help prevent crushing the fiberglass.

20150522_195941.jpg
20150522_200511.jpg
20150522_203207.jpg
20150522_203221.jpg
20150522_203250.jpg
 
I made some more progress on the cowl last night. I began by working on the right side and at the front. I drill a 1/8" pointed drill bit. Once I got through the fiberglass of the top cowl side, I switched to the drill bit for tapping a 6-32 bolt. I used this to drill through the fiberglass lip and the plywood back pieces.

I then just drove in a 6-32 bolt to hold the pieces together. The bolt with thread the plywood and give you a reasonable hold. Strong enough to easily work with but I wouldn't fly it that way.

I then taped the cowl to the fuse to see how it would fit. Very little adjustment is needed.

I also picked up some more wood yesterday from the LHS. I got some 1/4"x3/8" spruce for support structures (I.E. receiver, batteries, etc.), some 3/32" balsa since the sheeting that came with it was damaged in moving, and a 1/4" lite ply plate for doing something with tuned pipe exits.

I'm not thinking about doing a DA 150 on JTEC HP-90 tuned pipes. I'm not going to build a pipe tunnel but I will remove the spruce stringers and make a custom plate for air exit if I go pipes. Will see when I can have the money to buy the pipes. Gotta get through the summer first.

20150523_212412.jpg
20150523_212437.jpg
20150523_213434.jpg
20150523_220018.jpg
20150523_220908.jpg
20150523_220943.jpg
 
Yesterday morning, I started on the bolt locations for the lower part of the cowl this morning while batteries charged. However, when I went flying yesterday, I found that my DA 60 isn't drawing fuel so I got to mess with that.

I figured out my choke butterfly wasn't closing all the way and it's running again. Just gotta re-tune it now.

Here are the pics from yesterday.

20150524_103911.jpg
20150524_103921.jpg
20150524_105759.jpg
 
Well, the cowl is 95% done. I drilled the holes for the remaining bolts for the lower half. After that, I took a ball driver to see where I needed to make holes for installing the lower bolts of the lower portion. I then installed the lower half and used a Sharpie to mark the locations for the blind nuts.

After I got the blind nuts in, I bolted everything up. I'm going to have to get some more bolts for everything but I don't need much to start building the hatch. I lined up the front of the of the hatch to the back of the top half of the cowl and it's looking pretty good. I will post pics of that process later.

20150525_155547.jpg
20150525_163127.jpg
20150525_164553.jpg
20150525_164601.jpg
20150525_164614.jpg
20150525_164940.jpg
 
I got stuck finishing up some stuff for work since it's actually dry enough for us to plant today and tomorrow. I also had to take care of some stuff around the house too.

But I got my replacement canopy and anti-rotation bushings yesterday. I was a little worried since there was a hole in the side of the box but everything inside seemed to be OK.

20150526_221411.jpg
 
It's been crazy at work since it finally stopped raining.

Not too much done tonight but I started working on the canopy. I began by sanding the turtledeck back filler plate down to match. I then worked on the turtle deck front plate. I got it sanded to match the lines of turtle deck as well. I then traced, cut, and clamped in place the lite ply that will be the back of the canopy. My plan is to get it to match the lite ply plate glued to the front of the turtle deck and then just take a little off of that for the thickness of the canopy. I will glue on the balsa Dalton logo and sand that to match as well.

20150528_204443.jpg
20150528_205020.jpg
20150528_205028.jpg
20150528_211936.jpg
20150528_212757.jpg
 
Well, I spent all day at the office because I was summoned for Jury duty on Monday and just found out I no longer need to show up.

So that means working on the Dalton in the morning while batteries charge to go flying tomorrow if the weather holds up!
 
Didn't get as much done today as I had hoped. I got the hatch back sanded down for the canopy and the front glued to it. I then made the plate for the rear of the turtledeck and glued that on as well.

hkW_m9nED2Ya0OEdP-BntS8RyT9lnFth3OMGEfo16kI=w1065-h599-no
OVP3b1S88alwdu05o2ofpL4T8juljaFCAdFr_uU-3Uc=w1065-h599-no
BQHU9R2QnD0aMrGPfrS2wJ_bc6FsbSgkCgjArINYsfc=w1065-h599-no
gBuoBmuPN-9wdalJnomWWpb5V2YgW5BdTRLTcJ0djUQ=w1065-h599-no
 
Top