Ohio AV8TOR
Just Do It
Your bringing back lots of memories jetpainter. 3/4 oz glass was my favorite way to cover.
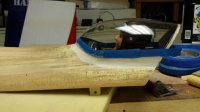
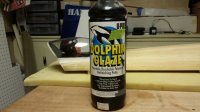
Sure, but may be awhile before I get around to painting. Anyone that sells DuPont products should have everything.View attachment 24556 View attachment 24557
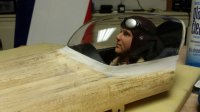
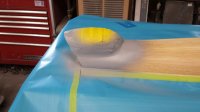
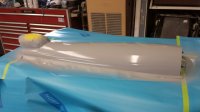
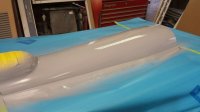
As you see jet painter the plane is done glassed every thing is done waiting for paint. That is why I am interested in how you are going to paint it. If I can get the same products that you are going to use then would like to copy you if that is ok.
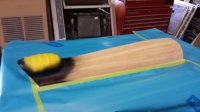
The glassed parts will get primed with two light coats of Nason 421-19 primer and then sanded till most of the primer is gone. The goal is to get it as lite as possible, but still make sure all the weave and grain is gone.Jetpainter why would you not just paint it now with any further fill or anything. The seams are excellent and it looks smooth. Or are going for a show car finish. By the way what plane is it and is it a kit. Still looking good.