Bluepilot2003
70cc twin V2
I placed the front stab bolt plates and the stab tube supports in the plane at the same time while screwed into first rib for the horizontal stabilizer. This allowed me to place both pieces perfectly into the correct spots and make it square before gluing it in. I needed to sand the left side of the stab supports to make the stab tube perfectly parallel to the wing tube. I used my aviation plotter to measure the top down angle of the tube as shown in one of the pics.
I placed wax paper between the top rib of the vertical stabilizer and the bottom of the rudder to glue that piece into place. Then I glued 1/4" square stock to the front and the aft while it was all pinned together. This allowed me to place the top piece of the rudder in line with both front and back lines of the assembly. Then I glued in more 1/4" stock to the rear of the rudder between the ribs for more support. I needed to shape RR2 to the fuselage since the main plans and the vertical stabilizer plans don't exactly match.
I used 15 minute epoxy for the horizontal stab tube mounts and the phenolic socket. The rest I mixed wood glue and medium CA. Now for a 3 week break while I learn how to investigate aircraft mishaps... I can't wait to get back to this fun project
Attachments
-
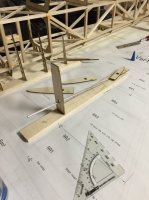 image.jpg56.1 KB · Views: 482
 -
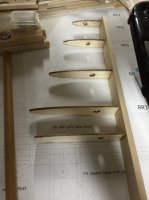 image.jpg41.9 KB · Views: 490
 -
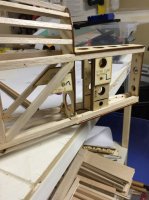 image.jpg59.5 KB · Views: 445
 -
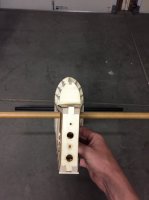 image.jpg31.9 KB · Views: 472
 -
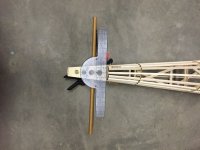 image.jpg77.3 KB · Views: 481
 -
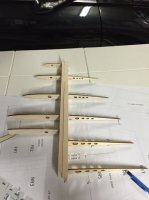 image.jpg38.1 KB · Views: 467
 -
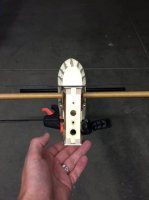 image.jpg31.7 KB · Views: 455
 -
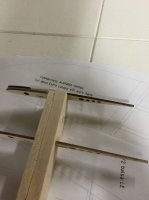 image.jpg33.3 KB · Views: 438
 -
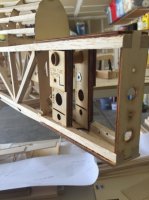 image.jpg49.7 KB · Views: 461
 -
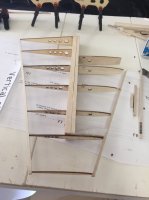 image.jpg41.8 KB · Views: 462
 -
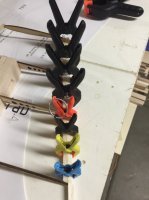 image.jpg44.6 KB · Views: 464
Last edited:

