• If you are new to GiantScaleNews.com, please register, introduce yourself, and make yourself at home.

    We're 1st in Giant Scale RC because we've got the best membership on the internet! Take a look around and don't forget to register to get all of the benefits of GSN membership!

    Welcome!

Addiction XL Build??

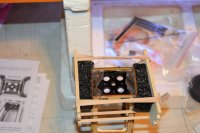
Here's the method I used to glue on the fiber reinforcements on the Katana. Put a piece of wax paper over top, a piece of foam, then scrap ply, and use rubber bands to keep pressure on the assembly. I also like to use glass resin for the fiberglass.
 

Attachments

  • SMD_8519.JPG
    SMD_8519.JPG
    168.5 KB · Views: 435
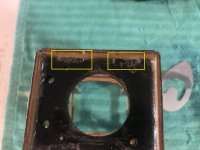
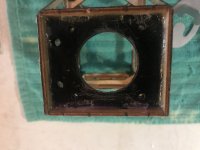
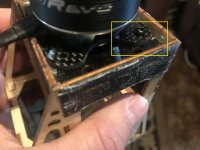
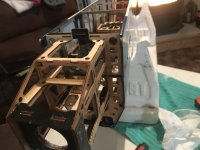
Next I test fitted the motor to the motor box, and noticed that part of the glue joint must be removed to get the motor mount to sit flat on the motor box.
 

Attachments

  • IMG_3347.JPG
    IMG_3347.JPG
    394.3 KB · Views: 393
  • IMG_3346.JPG
    IMG_3346.JPG
    388.6 KB · Views: 375
  • IMG_3351 (2).JPG
    IMG_3351 (2).JPG
    299.8 KB · Views: 416
  • IMG_3352.JPG
    IMG_3352.JPG
    451.6 KB · Views: 376

Snoopy1

640cc Uber Pimp
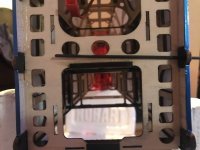
They have made a big change to the box. It looks like the motor is bolted to the front. Like that change it was a difficult to install my motor because it stalled from the back and the wires were pinched and difficult to not ruin the wires.
 
They have made a big change to the box. It looks like the motor is bolted to the front. Like that change it was a difficult to install my motor because it stalled from the back and the wires were pinched and difficult to not ruin the wires.

Yep, with the new style motor they have it hanging off the front. I like it better too. Just hope they made sure the cowl will have the right positioning. Still have to check that!
 
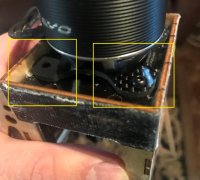
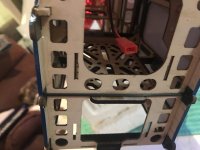
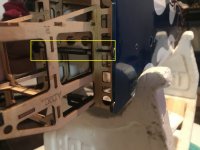
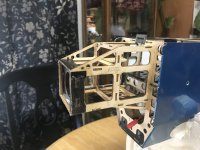
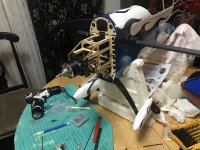
After test fitting the motor box, I found that the carbon rod that goes in front of the former is impeded by some glue holding the battery tray in place. I had to remove the glue before permanently gluing the motor box on.
 

Attachments

  • IMG_3353.JPG
    IMG_3353.JPG
    431.9 KB · Views: 394
  • IMG_3354.JPG
    IMG_3354.JPG
    444.6 KB · Views: 386
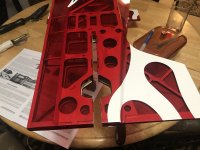
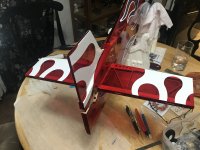
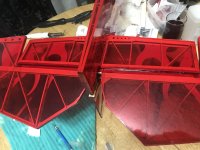
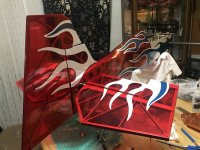
Got the slot cut open for the stab and got it glued in. This was the first time that I didn't have to adjust the stab at all, before gluing it in place. It was plum, square, and level first fit!
 

Attachments

  • IMG_3365.JPG
    IMG_3365.JPG
    477.7 KB · Views: 372
  • IMG_3368.JPG
    IMG_3368.JPG
    494.9 KB · Views: 367
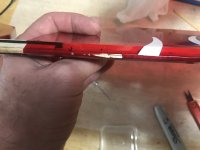
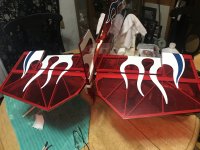
Next I got the elevator in. First pic showed how far I had to adjust a couple of hinges from the original slot. The sharpie mark is where I had to move them. Then I sealed the gap with the supplies covering.
 

Attachments

  • IMG_3370.JPG
    IMG_3370.JPG
    355.1 KB · Views: 371
  • IMG_3371.JPG
    IMG_3371.JPG
    569.5 KB · Views: 362
  • IMG_3373.JPG
    IMG_3373.JPG
    496.3 KB · Views: 354
Top