You are using an out of date browser. It may not display this or other websites correctly.
You should upgrade or use an alternative browser.
You should upgrade or use an alternative browser.
Addiction XL Build??
- Thread starter Stevendavis
- Start date
Stevendavis
100cc
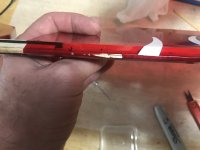
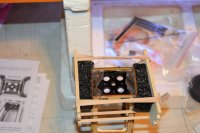
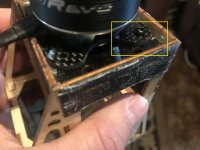
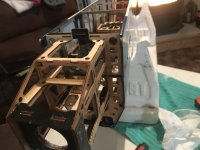
Next I test fitted the motor to the motor box, and noticed that part of the glue joint must be removed to get the motor mount to sit flat on the motor box.
Attachments

Stevendavis
100cc
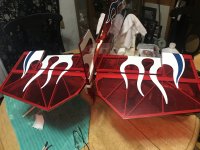
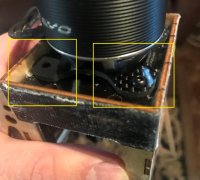
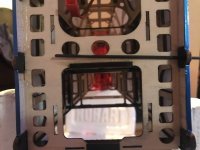
They have made a big change to the box. It looks like the motor is bolted to the front. Like that change it was a difficult to install my motor because it stalled from the back and the wires were pinched and difficult to not ruin the wires.
Yep, with the new style motor they have it hanging off the front. I like it better too. Just hope they made sure the cowl will have the right positioning. Still have to check that!
Stevendavis
100cc
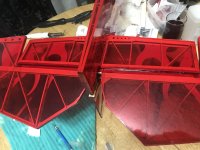
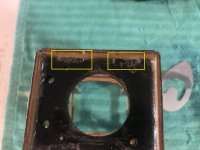
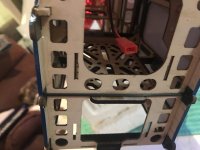
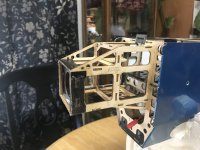
After test fitting the motor box, I found that the carbon rod that goes in front of the former is impeded by some glue holding the battery tray in place. I had to remove the glue before permanently gluing the motor box on.
Attachments
Stevendavis
100cc
Stevendavis
100cc
Stevendavis
100cc
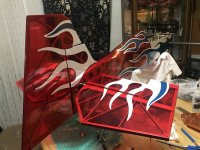
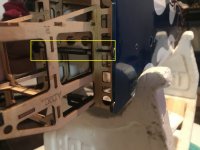
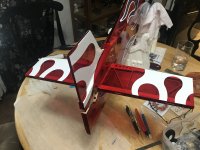
Next I got the elevator in. First pic showed how far I had to adjust a couple of hinges from the original slot. The sharpie mark is where I had to move them. Then I sealed the gap with the supplies covering.