• If you are new to GiantScaleNews.com, please register, introduce yourself, and make yourself at home.

    We're 1st in Giant Scale RC because we've got the best membership on the internet! Take a look around and don't forget to register to get all of the benefits of GSN membership!

    Welcome!
  • Unless you are a paid advertiser NO more posting advertisement in the individual vendor forums. You may post in the Manufacturer's Announcements section only but only ONCE a month unless your a paid advertiser.

AJ Laser 230z 73" Build Thread

AKNick

640cc Uber Pimp
AJ 73" Laser 230z

Horizontal Installation:

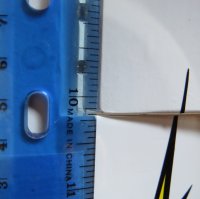
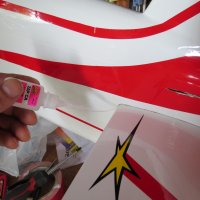
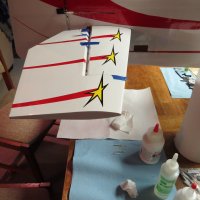
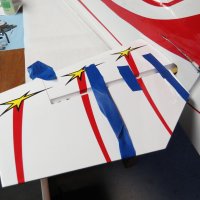
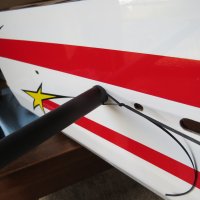
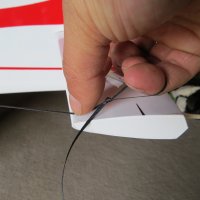
I used some lacing chord, tied a loop on either end, went from the inboard side of the wing tube to the outboard tip of the horizontal, and matched the other side as best I could. I double checked the fit with a ruler by laying it across the leading edge. Then I drew a line with a pencil and lightly scuffed the covering in between the lines I just drew. After that I basically slid the horizontal back in to where those lines were, double checked the measurements, and wicked some thin CA in slowly. Be careful you don't let it run down the bottom. Flip it over and wick it in again. I actually repeat this process 2-3 times. What can I say... I'm an "overachiever".
IMG_1848.JPGIMG_1847.JPGIMG_1849.JPGIMG_1850.JPGIMG_1851.JPG
 

AKNick

640cc Uber Pimp
AJ 73" Laser 230z

Elevator Installation:

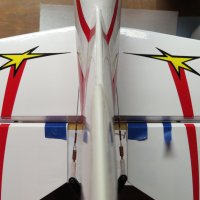
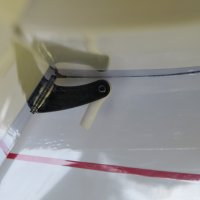
Just like installing the Rudder, except I did one control surface at a time, starting with the RH surface and joiner. I simply placed the LH surface to maintain alignment. This give you more time to work with the epoxy and alignment as necessary. Once cured, glue on the LH surface and double check your alignment. I found that after mine cured they were a little bit off, not the end of the world, but maybe joining them together at the same time is a better idea after all. Once that is done, I installed my control horn on the RH surface, and made sure I had maximum deflection before it cured.

IMG_1852.JPGIMG_1854.JPGIMG_1856.JPGIMG_1862.JPG
 

SnowDog

Moderator
first of all, let me say that you two are awesome sharing a build thread like this, and AKNick, you are a speedster with your build! great pics of all the progress, with some personal touches thrown in...info we can all benefit from! thanks both of you for your contributions!

second, Benjamin is an incredible flyer for his age! and his "stage presence" is amazing...it is rare to hear a young man of his age so well spoken on camera and with his flying skills...a real treat to watch that amazing high res video too!
:grrreat:
 

AKNick

640cc Uber Pimp
Thanks for the kind words! The only reason it's been coming together so quick is that I am into the build pretty far already and am playing catch up. I'm about to plateau, because I have a few questions in the near future regarding batts, switches, and throttle linkages to come.

and so true about Benjamin! Very well put together and informative video.
 
Last edited by a moderator:

SnowDog

Moderator
Thanks for the kind words! The only reason it's been coming together so quick is that I am into the build pretty far already and am playing catch up. I'm about to plateau, because I have a few questions in the near future regarding batts, switches, and throttle linkages to come.

and so true about Benjamin! Very well put together and informative video.

the nice thing about you realizing you are getting ready to plateau because of questions is that there are plenty of people on the forum who have experience with these topics and will be glad to share their knowledge with you!
 

AKNick

640cc Uber Pimp
AJ 73" Laser 230z

Aileron Servo Installation.

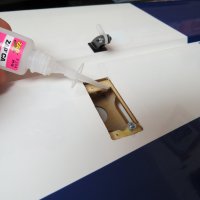
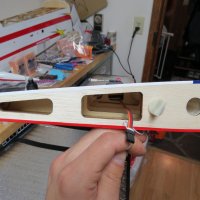
Started with the basics, found the servo screws center with a larger drill bit, drilled pilot holes, tapped with the screw, removed screw, and wick in some Thin CA. Bam! done, movin' on

IMG_1761.JPG

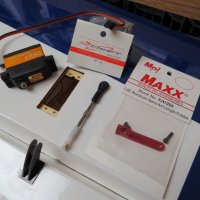
I laid every think out so folks can get an idea of what I'm going to use.

IMG_1766.JPG

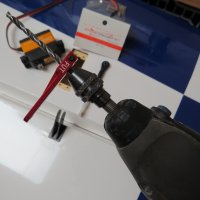
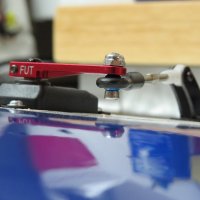
I had to ream out the center of the servo arm for the larger servo screw that the Savox 1270 has with it. The same servo arm in Hitec splines fits onto the Hitec 7955's I have in another model just fine. Note that I'm using Futaba Splines for the SAVOX servos.

IMG_1767.JPG

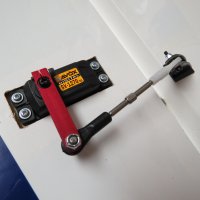
Now you can see the almost completed setup. I still need to add a large washer onto the allen head 4-40 bolt. Also you can see that this servo lead just barely protrudes out the wing.

IMG_1762.JPGIMG_1763.JPGIMG_1765.JPG

Once happy with the setup (dialed into the radio), remove and add blue locktite.
 
Last edited by a moderator:

SnowDog

Moderator
nice straightforward setup....strange that the savox servo screw head is too large for the MPI arm!
I have SpotOn arms from Aztech Aeromodels and they don't have that problem...
 
Top