Krazy Kanuk
50cc
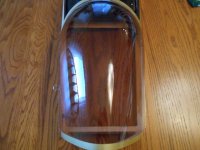
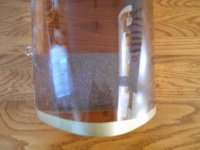
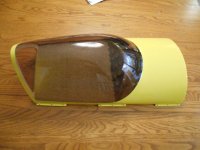
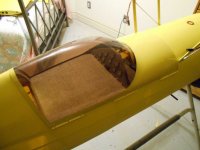
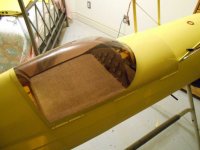
HINGED CANOPY
Pistolera (Earle) gets ALL the blame here! I got my inspiration from his Krill 330SC build.
I would not recommend this modification if you were to leave the airplane with it's original covering on. And be prepared to swear al lot!!!
I did this as I want to make the total assembly of this airplane easier at the field. This feature eliminates two more bolts to attach. The other modifications to the wing assembly will hopefully make the job of putting together this beast a bit easier.
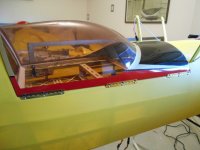
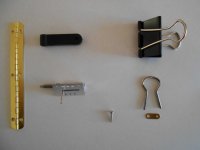
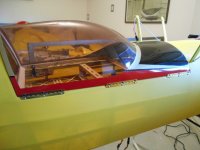
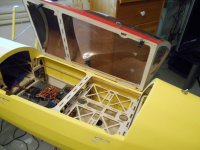
I used miniature piano hinges from Lee Valley for the right side of the canopy. These were cut into the side of the fuselage so that they would be flush once mounted. With the covering still on, this task would be very difficult unless you are a skilled builder. I used #2 by 3/8" stainless pan head screws to attach the hinges as they look like the correct size in scale to the bolts used on the real plane. Also by using these screws, I can now COMPLETELY remove the canopy if necessary.
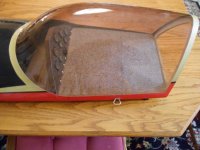
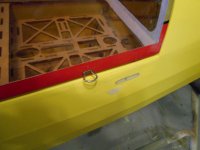
The canopy latches are from Hobby King and the mating attachment receptacle is from a part of a rudder control arm (not sure what supplier).
The handle is from a paper clip that I cut off and used the end after straightening it out. The tiny brass plate was from the package fro the flying wires. It was a perfect fit and gives the attachment a more realistic look along with adding some strength. I used J B Weld to hold the wire into the bass wood on the fuselage. To make sure that the glue would adhere well I notch the wire with small grooves from my Dremel cut off wheel.
The latch pins stick out just enough so that I can disengage them but not enough to get caught on my clothing. I "set up" the forward latch pin to be in place with a slight amount of pressure on the pin receptacle so that there is absolutely NO movement once locked in place. This was the most difficult part of the job, getting the fit just perfect.
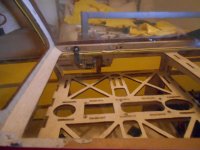
EARLE now I need your help! Can you post some pictures of the mechanism that you used to hold the canopy upright.
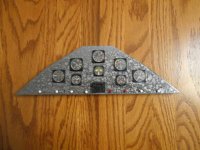
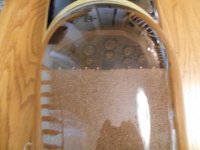
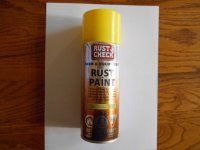
Once the "Locking Upright" fixture is in place, I'll put in a floor and the Instrument Panel. Once I paint the canopy and fuselage the hinges will almost disappear.


