• If you are new to GiantScaleNews.com, please register, introduce yourself, and make yourself at home.

    We're 1st in Giant Scale RC because we've got the best membership on the internet! Take a look around and don't forget to register to get all of the benefits of GSN membership!

    Welcome!

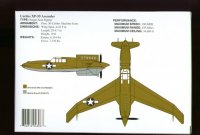
Scale Curtiss XP-55 Ascender

Larry B

70cc twin V2
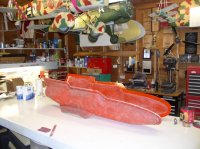
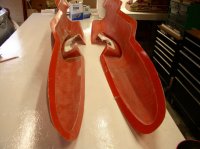
I told myself this would never happen & now here I am doing it again! Several years ago I did the molds for a Curtiss Ascender, it was my first effort at doing a complete glass fuse from scratch, the molds and glass fuse came out just fine but the first flight was very short (read that as a crash). I had done the Ascender as a first glass fuse due to it's wild curves and round shape, it posed a challenge and was a perfect shape to mold in glass.
After the short first flight I threw the remains out in the shed (should have been the dumpster) just in case I ever wanted to re-visit the project.
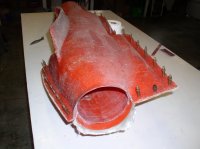
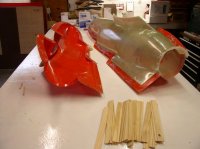
Well last Friday the wife & I did the first half of the fuse lay-up, then Saturday we did the other half of the fuse, and just today I joined the two half's and taped the joint of the two fuse sides. Tomorrow will be like Christmas day when you open that present and see what you got!
The first model was powered with the O.S. Max BGX glow engine and the overall weight of the thing was 26lbs if I remember right, this gave it a wing loading of about 55oz/sq ft with a span of 98" it just does not have much wing area. This new model will be electric & I am doing everything in my power to keep the weight to an absolute minimum!
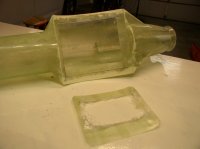
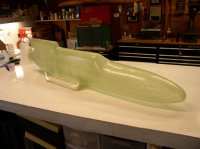
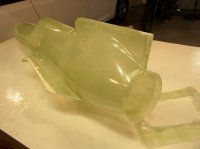
Anyways, here are a few photo's of the beginning of Ascender #2
Larry B
 

Attachments

  • A1.JPG
    A1.JPG
    83.8 KB · Views: 704
  • A5.JPG
    A5.JPG
    114 KB · Views: 598
  • A7.JPG
    A7.JPG
    82 KB · Views: 574
  • B2.jpg
    B2.jpg
    57 KB · Views: 713

Decal Dennis

TEAM EP&G
The overall layout of this plane is similar to the Rutan Quickie, I had one once, but could never get it quite right or off the ground!
 

Bartman

Defender of the Noob!
I told myself this would never happen & now here I am doing it again! Several years ago I did the molds for a Curtiss Ascender, it was my first effort at doing a complete glass fuse from scratch, the molds and glass fuse came out just fine but the first flight was very short (read that as a crash). I had done the Ascender as a first glass fuse due to it's wild curves and round shape, it posed a challenge and was a perfect shape to mold in glass.
After the short first flight I threw the remains out in the shed (should have been the dumpster) just in case I ever wanted to re-visit the project.
Well last Friday the wife & I did the first half of the fuse lay-up, then Saturday we did the other half of the fuse, and just today I joined the two half's and taped the joint of the two fuse sides. Tomorrow will be like Christmas day when you open that present and see what you got!
The first model was powered with the O.S. Max BGX glow engine and the overall weight of the thing was 26lbs if I remember right, this gave it a wing loading of about 55oz/sq ft with a span of 98" it just does not have much wing area. This new model will be electric & I am doing everything in my power to keep the weight to an absolute minimum!
Anyways, here are a few photo's of the beginning of Ascender #2
Larry B

very interesting airplane to choose, will be watching it come together with everyone else!
 

Larry B

70cc twin V2
Thanks for all the interest, but remember there are no guarantees that this second model will last any longer than the first one did on the test flight! I have learned quite a bit from the first effort so I will be better prepared for this one, time will tell.
Today I spent 40 minutes out in the shop getting the new fuse out of the mold, I am pretty happy with the end result, as always there are a few small spots that will need a bit of mico balloons & epoxy to make it smooth and pretty.
One thing I am very happy with is the weight, this fuse is 1/2 a pound lighter than my first one, this one tips the scales at 4.5 lbs and so I feel I'm off to a good start.
Now to do some spot filling and sanding,
Larry B
 

Attachments

  • B4.JPG
    B4.JPG
    78.8 KB · Views: 570
  • B7.JPG
    B7.JPG
    49.4 KB · Views: 564
  • B9.JPG
    B9.JPG
    67.7 KB · Views: 584
  • B8.JPG
    B8.JPG
    46.5 KB · Views: 561
Top