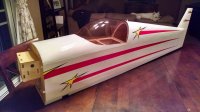
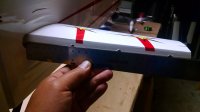
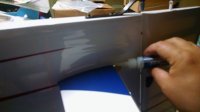
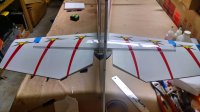
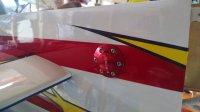
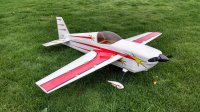
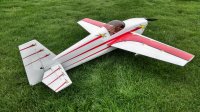
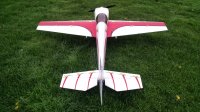
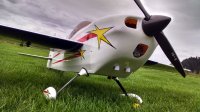
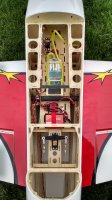
Ok, time to get to work! We started off going over the plane with a covering iron and gun. Was the perfect opportunity to get SupaTimmy's hands in the process! Our sock was wasted but don't worry, we did put a piece of old t-shirt on as a cover.
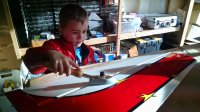
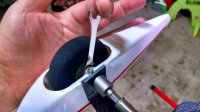
I'm sticking with the format of the manual as much as possible so time to put her on her gear. Starting with the tailwheel, the first thing I do is take out every single grub screw and hit it with a drop of blue loctite. There's nothing worse than losing a wheel or even an entire assembly due to skipping this step. One more thing to prevent things from moving around is giving the grub screws a flat spot to bite into. Gives them a wider contact point and almost guaranties everything stays in place. Manual says 3 holes to mount the tailwheel but mine only had 2 drilled and blindnutted. For a model this size it's plenty (don't forget to loctite the bolts.)
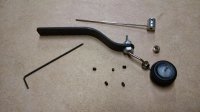
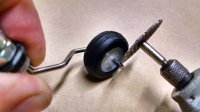
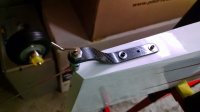
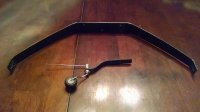
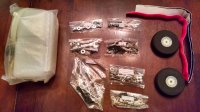
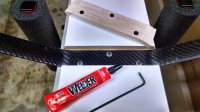
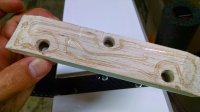
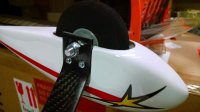
Next step was the main gear. The 3 bolts that hold the gear in place were in the fuse but the washers were loose in the parts bag. Loctite and bolt in place. At this point I dry fit the cover plate. Since I used the washers, the bolt holes in the plate needed to be enlarged slightly. Quick work with a dremel and a sanding drum. I like gluing these plates in place with welders as it remains flexible and won't eject the block if the gear gets flexed out. Next step is installing the gear fairings.
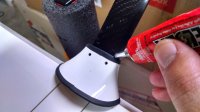
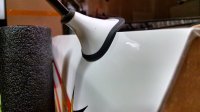
MAKE SURE TO DO THIS BEFORE ASSEMBLING THE AXLES/PANTS/ETC. OR YOU'LL BE SUPER PISSED ABOUT BREAKING EVERYTHING DOWN... Although the fairings are predrilled, I wasn't thrilled about the alignment on the fuse. I tried swapping back in forth but the gap against the sides of the fuse and bottom of the plane were equally ginormous. One trick I've picked up along the way is applying a bead of welders on either side of the gear legs once you've got the fairings situated. By the time you finish the axels/pants, they'll be dry and never move again. Again, the welders allows the joint to stay firm but flexible if you do stomp in a landing or so.
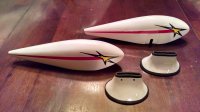
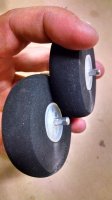
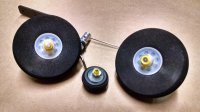
Axles and wheel pants come next. My wheels were a snug fit but I know that in time they'll loosen up so instead of drilling them out I just apply a little oil to the axle to let the spin smoother. They've done a great job of getting everything to line up so there's no additional washers or spacers necessary. Just like the tailwheel I dremeled a flat spot next to the wheel for the grub screw to sit flush against. Loctite and snug and then I put a piece of tygon on the outside as a backup to secure everything (should that grub screw magically let go.) The pants are held in place with the axles so once you've got the pants where you want them just use the handy tool to secure the axle and a 10mm socket or driver to snug it all into place. Since I fly off grass I opt to raise my wheel pants slightly so I'm not replacing pants every other flight. Holes are already in the gear legs so just drill into the pant to further secure them. I opted for those handy socket head screws to secure mine (don't forget a dab of medium CA to make sure those don't back out.) Now flip that sucker over and put her on here feet!
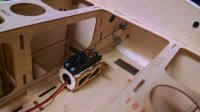
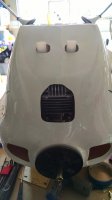
Time to make some holes. I used to be that guy with a sharp exacto trying to expertly remove covering from circles but usually failed epically. One thing that has changed this process forever for me is using an old soldering iron with a fine tip to speed up the process. It's crusty and old but will dramatically speed up the process of cutting and also seal as you go. Take one last look at that intact fuse and dive right in. I like to either have a real bright overhead light or a small flashlight inside to illuminate the holes that I'm about to cut. This is way easier than feeling around on the fuse guessing for the right location. The iron makes quick work of the cutting, but make sure to clean off the tip between holes or you stand a pretty good chance of gumming up the next hole (gross and giggity...)
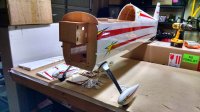
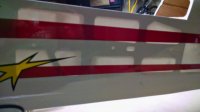
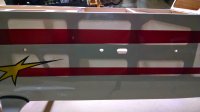
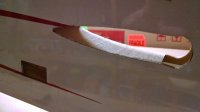
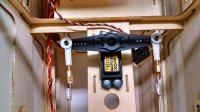
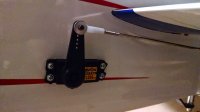
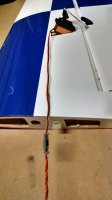
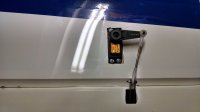
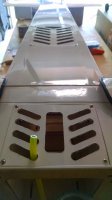
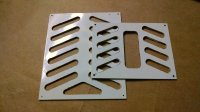
I deviate from the process a little by going ahead and cutting EVERYTHING that'll need it during the build. The iron is already hot so why not save time and just get it all done at once? Servo holes and horn slots are the easy part, cutting vent holes will test your commitment and patience but is worth it in the long run...
That's enough for last night, check back tomorrow!
