• If you are new to GiantScaleNews.com, please register, introduce yourself, and make yourself at home.

    We're 1st in Giant Scale RC because we've got the best membership on the internet! Take a look around and don't forget to register to get all of the benefits of GSN membership!

    Welcome!

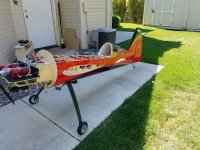
Sport The Behemoth Yak gets a Behemoth Brother/129" Pilot Yak (2)

49dimes

Damn I'm hungry
Looking good Rob :attaboy:. BTW.......Your Edge is looking "Real Sweet" too! Especially with "Flaming Red Heads " up front.

Got some stickers coming for my extra as well.....:concern: Hope I can make it "pop" like your Edge . Hope I can get the DL 50 "poping" too :concern:.
Got known good parts coming from the United Kingdom and Australia. But the cylinder from a guy on ebay. When I read the paypal receipt payment was to :eek: Kevin Chen! Hope I don't get burned but it was cheap (less than $40.00).

:face-palm: What I will do so I can get a DA70 soon :ugh:.

@Jetpainter Your Xtra was looking really good too without any make up :). Some times "Natural Beauty" needs no make up!
 

stangflyer

I like 'em "BIG"!
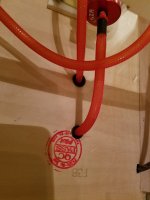
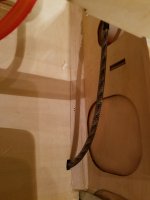
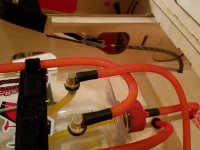
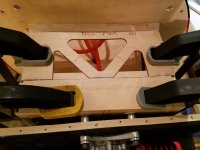
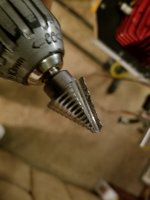
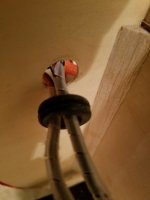
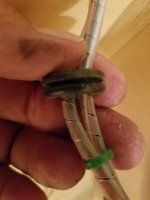
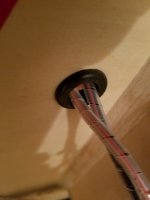
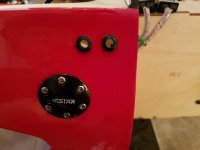
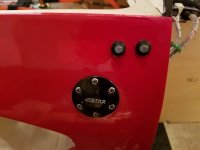
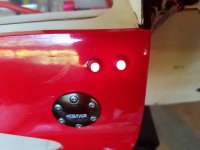
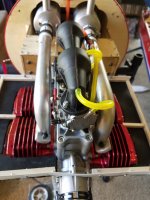
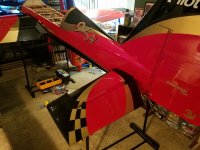
Quite a bit more accomplished tonight on the Yak. I kept at it and now have the throttle servo plate screwed to the bottom of the motor box, throttle servo in and plugged into the harness. Drilled the holes for the fuel tank vent and carb lines, located the canisters and mounts, bolted down the ignition module bed and anti-vibration mounts. Got most of the ignition wiring done. The top motor box plate is also glued into place now. LED indicators placed on the side of the fuse. Rear cylinder ignition module plugged in and sparkle caps locked onto the rear cylinder sparklers. I used my hole auger to make a hole in the front former to allow passage of the ignition wiring into the fuse.

20170820_225253.jpg 20170820_225256.jpg 20170820_225302.jpg 20170820_230252.jpg 20170820_231647.jpg 20170820_231733.jpg 20170820_231741.jpg 20170820_231803.jpg 20170820_232029.jpg 20170821_005247.jpg

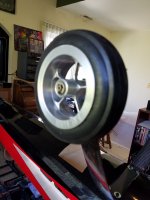
I will finish up the ignition wiring tomorrow and finalize the canister installation. Enlarge the holes in the landing gear to accept the 1/4" titanium axles for the Airman 5 1/4" wheels then mount them. I should be ready to bolt the Falcon 33x11W to the hub of the 212 by the time the Eclipse is complete. I plan to fire the 212 up tomorrow. Once I am satisfied with how it runs, I will remove the prop and get to setting the cowl. I still need to make final linkage connection and programming of the aileron servos. But that will take like 6.969 seconds. LOL. I am now a little a head of schedule and hope to have the big Yak done in the next day or two.
 

Jetpainter

640cc Uber Pimp
Quite a bit more accomplished tonight on the Yak. I kept at it and now have the throttle servo plate screwed to the bottom of the motor box, throttle servo in and plugged into the harness. Drilled the holes for the fuel tank vent and carb lines, located the canisters and mounts, bolted down the ignition module bed and anti-vibration mounts. Got most of the ignition wiring done. The top motor box plate is also glued into place now. LED indicators placed on the side of the fuse. Rear cylinder ignition module plugged in and sparkle caps locked onto the rear cylinder sparklers. I used my hole auger to make a hole in the front former to allow passage of the ignition wiring into the fuse.

View attachment 98477 View attachment 98478 View attachment 98479 View attachment 98480 View attachment 98481 View attachment 98482 View attachment 98483 View attachment 98484 View attachment 98485 View attachment 98486

I will finish up the ignition wiring tomorrow and finalize the canister installation. Enlarge the holes in the landing gear to accept the 1/4" titanium axles for the Airman 5 1/4" wheels then mount them. I should be ready to bolt the Falcon 33x11W to the hub of the 212 by the time the Eclipse is complete. I plan to fire the 212 up tomorrow. Once I am satisfied with how it runs, I will remove the prop and get to setting the cowl. I still need to make final linkage connection and programming of the aileron servos. But that will take like 6.969 seconds. LOL. I am now a little a head of schedule and hope to have the big Yak done in the next day or two.
Why all this work? The world is coming to an end today with the Eclipse isn't it? You would think it is around here.;)
 

stangflyer

I like 'em "BIG"!
Why all this work? The world is coming to an end today with the Eclipse isn't it? You would think it is around here.;)
You and I must be on the same wave length. I have been saying the same exact comment to everyone. See, my plan is to jump on that big Behemoth Yak when the world ends and fly to another planet that hasn't exploded due to some celestial event.
hearty-laugh.gif
 

stangflyer

I like 'em "BIG"!
I fired up the 212 earlier this afternoon. Not really knowing what to expect, (given the circumstances surrounding this 4 cylinder dub) I kept my expectations low yet had high hopes it would run well. Thankfully and with a huge relief the 212 not only ran well, it ran really well. I would think an engine would sound the same regardless of any impending failure/s. Typically when I would build an engine for a customer's car, I could tell right away if the engine was going to be just "eh" or mediocre. Or if it would be a very strong runner. Odd as it may seem, the 212 had/has a completely different tone to her throaty growl. Not like before. It's almost as if there are extra ponies lurking below the surface. Throttle response is much more stabilized and positive. No lag, no sputter, no struggling. I anticipate she'll do really well this go around. However still not getting my hopes up. After all, I literally have over $4200.00 to date into this engine. Or should I say it has cost me over $4200.00. Ugh! Would I do it again? You bet. The moment the moon eclipses the Sun a second time in as many days. Lol. Until then, I'm going to really take it easy. We'll see how it goes.

I do have a first start up video of the startup after returning from Aircraft International. I will try to get it posted this evening.

Not much left to do before the maiden. Basically program the ailerons and install the cowl. I will do my best to keep you all updated as progress proceeds.
 
Last edited:

stangflyer

I like 'em "BIG"!
And this my friends is how you set up and program a 129" 40% Yak in your living room. Hey!!! Wait a darn minute here. Haven't we been down this road before?
:laughing:

20170822_205626.jpg

With the aileron linkages now connected and both ailerons programmed, it was time to do some final deflection checks and minor tweaks on all the surfaces. With everything set and satisfied with final adjustments I can now focus on a couple of menial tasks that need to be taken care of. The wing tube is exceedingly tight in the wing sockets. So I will use some 400 grit sand paper to bring the tube down to just a snug fit. Also, I epoxied in the 1/4"x20 studs into the wings as I do with all my planes. I hate those pesky nylon wing bolts supplied by all the manufacturers. In the attempt to slide the wings into the fuse pockets, the studs line up perfectly. However the holes in the fuse are one metric size too small to allow clean bind free insertion. So, I will up size the 6 wing bolt holes by one metric size and the wings should slide in like hot butter. I also need to change out the blind nuts in the canopy/hatch to accept the Secraft canopy lock bolts. These 3 items on the check list are not huge concerns. Just something that has to be done. Tomorrow I will start fitting the cowl and opening up an air exit on the bottom to allow more cooling for the 212. Also, the canister stacks need to dump through the same opening. I may open the lower louvers to also help with drawing out the warm air from the cylinders.

It is a huge relief off my mind to realize this big Yak is going to be ready for a couple of test flights this weekend. Not to mention I will have made my deadline to have it done in time for Huckfest next week.
:banana-dance::banana-dance::banana-dance:
 

thurmma

150cc
The wing tube is exceedingly tight in the wing sockets. So I will use some 400 grit sand paper to bring the tube down to just a snug fit.
Hey Rob,

Try a few coats of Carnuba wax on the wing tube before you try sanding it. I had a really tight wing tube on the LX and someone told me to give that a shot and it worked. I don't care for sanding a wing tube because over time it will have material removed just through normal wear and tear. If you sand it down, it will get loose sooner than it should. Granted, I may fly the LX more than you fly the behemoth Yak so, it may not be an issue, just offering my 2 cents :)

BTW, over 150 flights on the LX and 180 since February :) Figure I will be right at 200 or more by the end of the year.

Have a great day!
 
Top