Xpress
GSN Sponsor Tier 1
Worked on these 2 ladies last night.

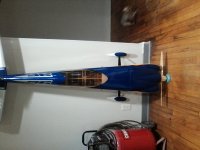
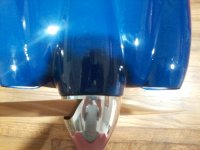
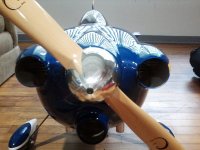
First up, the Yak. Still waiting on my new parts from Tony at Pilot RC but in the mean time I still had some stuff to do. Slapped the HS-7955TG back in the wing that I bent a gear tooth on, then got to work on opening the bottom fuselage exhaust vents. I had about a 6:1 ratio before of air out:air in based on my rough surface area calculations but now I'll have even more than that. Once the new cowl gets here I'll get it baffled up real good to keep this thing from getting too hot.
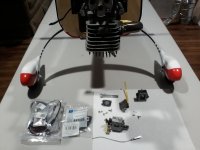
I slapped my new fuel tank in too from NorthWest RC, got it all plumbed up with fresh new Tygon tubing.

A little tip I have for securing tubing on your tanks is don't ever use zip ties or the little spring clamps. Not only do zip ties not work all that well (as they can allow for air to leak in if they are secured wrong), but the little spring clamps also suck to work with and IMO aren't all that great, they compress in a small area which could cut through the lines eventually.
What I do instead is slice off a small ~1/8" section of the same Tygon tubing and then slip it over the end of a pair of needle nose pliers. Open up the needle nose pliers to expand the tubing slightly then slip your main fuel tubing inside of this small 1/8" slice. Pull the pliers out, then slip the tubing onto your fitting.

This compresses the Tygon around the fitting evenly and without excessive pressure. I have never had a fitting come loose and neither has any of my buddies who use this method, I learned it from Colton Clark who showed it to me at Joe Nall 2016. I do this for all of the fittings:

The last thing I did to the Yak was I had to bend the throttle arm on the carb slightly to clear the muffler, but that takes 2 seconds with a pair of needle nose. It's not super pretty but I'm not after looks, I'm after performance (especially since this airplane is no beauty queen).
Onto the Edge. I didn't do much to it except relocate my batteries behind the wing tube, hopefully this pushes my CG right to where I need it to be.

Zip ties for now, I have to adjust my straps setup since my small straps are now too large to secure the packs I'll have to change the length of the input leads for the DPS 40, should take all of 10 minutes to do that.
First up, the Yak. Still waiting on my new parts from Tony at Pilot RC but in the mean time I still had some stuff to do. Slapped the HS-7955TG back in the wing that I bent a gear tooth on, then got to work on opening the bottom fuselage exhaust vents. I had about a 6:1 ratio before of air out:air in based on my rough surface area calculations but now I'll have even more than that. Once the new cowl gets here I'll get it baffled up real good to keep this thing from getting too hot.
I slapped my new fuel tank in too from NorthWest RC, got it all plumbed up with fresh new Tygon tubing.
A little tip I have for securing tubing on your tanks is don't ever use zip ties or the little spring clamps. Not only do zip ties not work all that well (as they can allow for air to leak in if they are secured wrong), but the little spring clamps also suck to work with and IMO aren't all that great, they compress in a small area which could cut through the lines eventually.
What I do instead is slice off a small ~1/8" section of the same Tygon tubing and then slip it over the end of a pair of needle nose pliers. Open up the needle nose pliers to expand the tubing slightly then slip your main fuel tubing inside of this small 1/8" slice. Pull the pliers out, then slip the tubing onto your fitting.
This compresses the Tygon around the fitting evenly and without excessive pressure. I have never had a fitting come loose and neither has any of my buddies who use this method, I learned it from Colton Clark who showed it to me at Joe Nall 2016. I do this for all of the fittings:
The last thing I did to the Yak was I had to bend the throttle arm on the carb slightly to clear the muffler, but that takes 2 seconds with a pair of needle nose. It's not super pretty but I'm not after looks, I'm after performance (especially since this airplane is no beauty queen).
Onto the Edge. I didn't do much to it except relocate my batteries behind the wing tube, hopefully this pushes my CG right to where I need it to be.
Zip ties for now, I have to adjust my straps setup since my small straps are now too large to secure the packs
 I'll have to change the length of the input leads for the DPS 40, should take all of 10 minutes to do that.


 . JST and RST style connectors have different pin and socket shapes from different MFG's and can cause poor "electrical" performance due to poor fit and poor conductivity. Do you use different extensions from different MFG's ??? JR style and Universal fit connectors same as Futaba style and Universal fit connectors can have the pin shape issue. But definitely check RFI issue as well!! A friends plane with Tech Aero and Life batteries had subtle glitches at first but then after a few more flights finally went APE