You are using an out of date browser. It may not display this or other websites correctly.
You should upgrade or use an alternative browser.
You should upgrade or use an alternative browser.
3D Viper-ST 100-120cc scratch build......it continues!
- Thread starter Terryscustom
- Start date
Terryscustom
640cc Uber Pimp
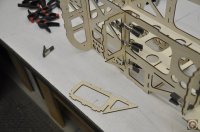
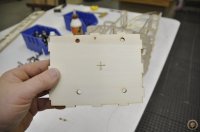
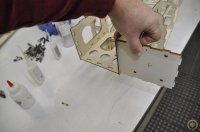
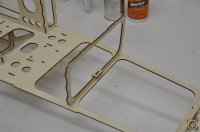
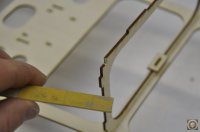
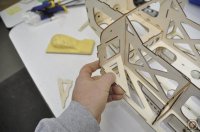
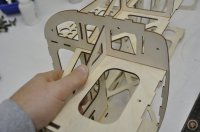
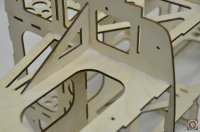
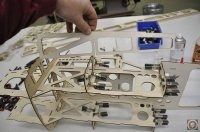
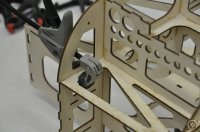
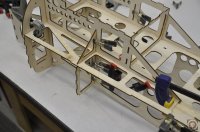
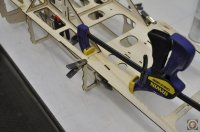
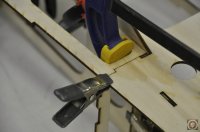
Next is the outer part of the floor. This part is also very important to get nice tight joints all the way around, take your time, test fit and it's pretty easy to install. On the under side I like to put a small scrap of 1/16" balsa sheeting with the grain going across the joint.....install with thin CA is just fine. Keep that balsa at least 1/2" from the outside edge.
Form a small fillet on the top side on the front of the F-3 formers.
Form a small fillet on the top side on the front of the F-3 formers.
Attachments
-
 _DSC0081.JPG97.9 KB · Views: 431
 -
 _DSC0082.JPG73.9 KB · Views: 399
 -
 _DSC0083.JPG96.4 KB · Views: 393
 -
 _DSC0084.JPG76.2 KB · Views: 403
 -
 _DSC0085.JPG59.6 KB · Views: 434
 -
 _DSC0086.JPG61.3 KB · Views: 392
 -
 _DSC0087.JPG73.1 KB · Views: 415
 -
 _DSC0088.JPG102.5 KB · Views: 397
 -
 _DSC0089.JPG60.1 KB · Views: 409
Terryscustom
640cc Uber Pimp
Terryscustom
640cc Uber Pimp
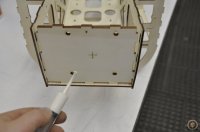
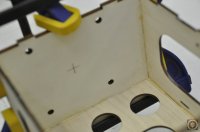
Firewall is next. DO NOT install the firewall with CA glue. Wood glue or even 30 minute epoxy is preferred. However we will be installing tri-stock on the back side of the firewall so make sure to clean up any glue that squirts out back there. I used wood glue and clamped and will let dry completely before moving on.
IMPORTANT! Make sure that the side of the firewall with the letters cut into it reads like a T/F in one symbol. If it is backwards you have the firewall in backwards. The holes are pre-drilled for DA100 and all similar engines and the holes are shifted to the left side (side labeled as "L" or left if you are the pilot).

IMPORTANT! Make sure that the side of the firewall with the letters cut into it reads like a T/F in one symbol. If it is backwards you have the firewall in backwards. The holes are pre-drilled for DA100 and all similar engines and the holes are shifted to the left side (side labeled as "L" or left if you are the pilot).
Attachments
Last edited:
Terryscustom
640cc Uber Pimp
OK, back at the shop for the afternoon. i'm looking to get this thing on it's feet and get and engine installed to check the thrust offset yet today.
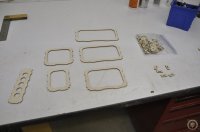
Took a few hours this AM.....three kits cut and ready

Took a few hours this AM.....three kits cut and ready
Terryscustom
640cc Uber Pimp
Awesomeness. Are you going to be at the shop all day?
Yup, Lori is coming to CNC some control horns later I believe.
Terryscustom
640cc Uber Pimp
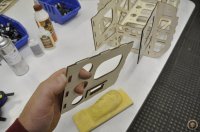
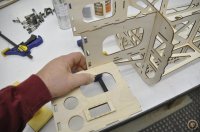
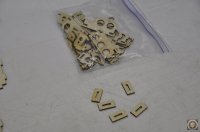
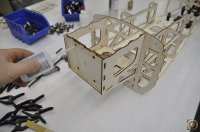
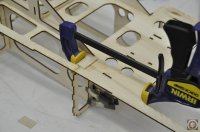
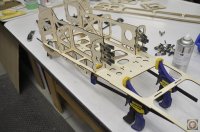
Now it's time for the formers. In the bag with the lite ply misc. parts there are four mounting tabs. These get glued onto the bottom of the formers and are for routing your wires to the tail. I use foam wire keepers on them but you could also mount a tube for wires to run though....builders choice.
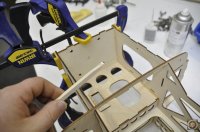
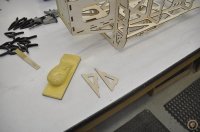
Use a small sanding block to angle the slot where the longeron attaches to the formers. Just a slight angle on the back side is good. Also do this to the F-2 and F-3 sub-formers previously assembled.
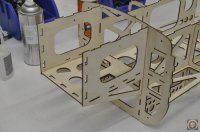
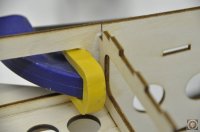
Install formers with either wood glue or medium CA as I am. I firmly believe that if using medium CA the process is to apply glue to the parts, install the parts and clamp, then chase the joint with a small bead of glue. No accelerator
 , just let dry.
Use a small sanding block to angle the slot where the longeron attaches to the formers. Just a slight angle on the back side is good. Also do this to the F-2 and F-3 sub-formers previously assembled.
Install formers with either wood glue or medium CA as I am. I firmly believe that if using medium CA the process is to apply glue to the parts, install the parts and clamp, then chase the joint with a small bead of glue. No accelerator
Attachments
Last edited:
Terryscustom
640cc Uber Pimp
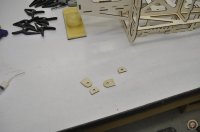
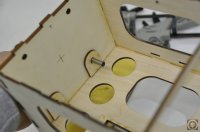
In the birch ply misc. parts bag there are four hard points for T-nuts or engine mounting washers. The firewall is 1/4" lite ply to keep the weight down and it has been proven to be more than adequate. However blind nuts and engine mounting washers can sink into it slightly. These birch blocks prevent this from happening and also spread the load out like another washer.
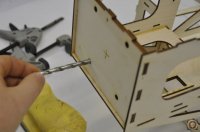
Install them using a drill bit or bolt for a guide. I installed with medium CA and then flooded them inside and out with thin CA to harden the area even further. Do not omit this step! As a matter of fact, you can repeat this step a couple of times and don't use accelerator. This will make an extremely strong firewall that is also very lite weight.

Install them using a drill bit or bolt for a guide. I installed with medium CA and then flooded them inside and out with thin CA to harden the area even further. Do not omit this step! As a matter of fact, you can repeat this step a couple of times and don't use accelerator. This will make an extremely strong firewall that is also very lite weight.
Attachments
Terryscustom
640cc Uber Pimp
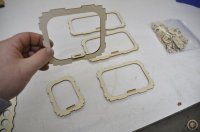
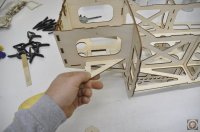
Next locate the birch ply gussets for the engine box. Sand them for a snug fit and test fit as shown here. Glue and install by inserting the back and pushing on the front until it snaps into place. This is where that joint on the F-1 gets a work out that we talked about in the first step of the engine box assy. Once the gusset is in place, apply a bead of medium CA on top and bottom as well as the joint where F-1 meets the box sides. Do this in sections and apply microballoons to form a very small gusset.


