• If you are new to GiantScaleNews.com, please register, introduce yourself, and make yourself at home.

    We're 1st in Giant Scale RC because we've got the best membership on the internet! Take a look around and don't forget to register to get all of the benefits of GSN membership!

    Welcome!

3D Viper-ST 100-120cc scratch build......it continues!

Terryscustom

640cc Uber Pimp
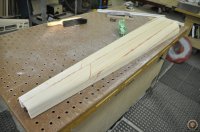
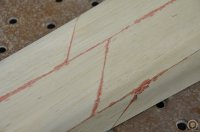
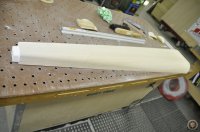
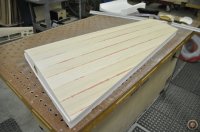
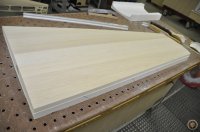
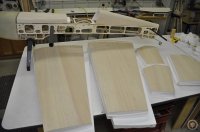
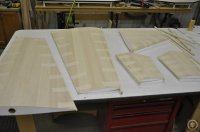
And the finished product, cured and ready to sand and work on!

_DSC0386.JPG
_DSC0388.JPG
 

Attachments

  • _DSC0384.JPG
    _DSC0384.JPG
    115.7 KB · Views: 315
  • _DSC0385.JPG
    _DSC0385.JPG
    93.8 KB · Views: 265
  • _DSC0389.JPG
    _DSC0389.JPG
    80.8 KB · Views: 281
  • _DSC0390.JPG
    _DSC0390.JPG
    75.7 KB · Views: 262

stangflyer

I like 'em "BIG"!
:way_to_go:Hmm.... soooo maybe ya want to just assemble one for me and then I can do the covering???? Yes? I really like the way you do schtuff Terry.
 

Husker

50cc
Those videos are awesome! Good instruction like this and your fast/easy to build kits should really help get more people into building.

A vacuum bagging setup is on my to do list after I finish my current projects.
 

tylerzx9r

100cc
For those of you that have not seen the other thread about vacuum bagging, I say Terry is the man! Him and Rick have really done an outstanding job here! I think we all need to get them to take reservations on orders! Put me down for the first one! Check out the bagging thread, mighty cool!:first_place:
 

Terryscustom

640cc Uber Pimp
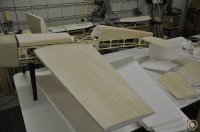
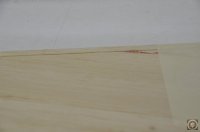
Now that the parts are sheeted and the tape is removed you can see the resin sealed the sheeting. I like to do some rough sanding to get all the seams flush but do not sand close to the edges. We'll get those areas and finish the rest of the wing with a long sanding bar after the LE and TE are sanded and shaped.

I also like to do one last test fit of the foam parts to make sure that they fit nicely against the fuselage before proceeding.

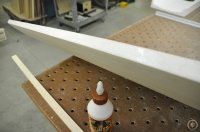
Cut strips of 1/4" and 1/2" balsa for the trailing edge and leading edge of the wings, stabs and rudder. I apply this with wood glue, but make sure that the entire surface of the foam and sheeting edges are covered with glue evenly. There should be no dry spots, and should not be too much. There should be very little glue squeeze out after the stock is taped into position.
 

Attachments

  • _DSC0424.JPG
    _DSC0424.JPG
    111.3 KB · Views: 401
  • _DSC0425.JPG
    _DSC0425.JPG
    83.5 KB · Views: 385
  • _DSC0426.JPG
    _DSC0426.JPG
    96.2 KB · Views: 398
  • _DSC0427.JPG
    _DSC0427.JPG
    101.2 KB · Views: 340
  • _DSC0428.JPG
    _DSC0428.JPG
    92.2 KB · Views: 350
  • _DSC0429.JPG
    _DSC0429.JPG
    83.7 KB · Views: 365
  • _DSC0430.JPG
    _DSC0430.JPG
    77 KB · Views: 346
  • _DSC0431.JPG
    _DSC0431.JPG
    73.3 KB · Views: 389
  • _DSC0432.JPG
    _DSC0432.JPG
    71 KB · Views: 347
  • _DSC0433.JPG
    _DSC0433.JPG
    33.1 KB · Views: 364
Top