• If you are new to GiantScaleNews.com, please register, introduce yourself, and make yourself at home.

    We're 1st in Giant Scale RC because we've got the best membership on the internet! Take a look around and don't forget to register to get all of the benefits of GSN membership!

    Welcome!

Scale 50cc Scratch Build From My Own Design Revisited

Jetpainter

640cc Uber Pimp
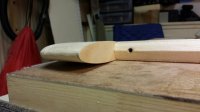
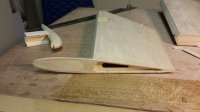
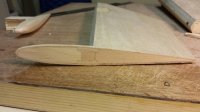
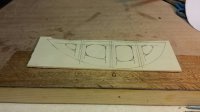
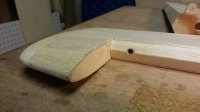
I worked on the left elevator tonight. I started by gluing a piece of 1/32" ply to the inside edge of the counterbalance. I wanted to strengthen it so when I cut off the end there would still be some support to keep everything where it belongs. Next I cut off everything outside the counterbalance inner rib and sanded it flush. After that I filled in the void in the rear with 1/4" balsa and sanded that flush.

Tomorrow night I'll start building the new end.
20141229_205007_resized.jpg 20141229_210403_resized.jpg 20141229_213047_resized.jpg 20141229_215321_resized.jpg
 

BalsaDust

Moderator
The rounded tips really make it look the part. Can't wait to see this thing done, its gonna look awesome just sitting still.
 

Jetpainter

640cc Uber Pimp
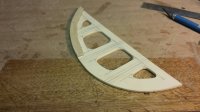
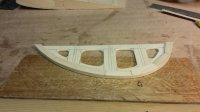
I started building the new tip for the left elevator last night. I started with a piece of 1/8" lite ply and used a paper template that I had made off the right side and drew the outline. I had made the template before I cut the lightening holes in the right side so I did a little measuring and drew the lightening holes right on the part for the left. Unfortunately no fancy laser cutters for me.;)

I've said before I want to be Terry when I grow up so I can have his knowledge, skill, and cool tools, but for now, I'll have to settle with what I've got. Besides, like a friend of mine once said on the exit ramp for Possum Grape Arkansas (Yes, that's a real place) when we were fixing two locked brakes on his car trailer with a pocket knife and a screwdriver, "Anybody can do it with the right tools";)

I used a spiral cut blade in my scroll saw to cut the lightening holes. I used these quite a bit when building the fuse and they work great. They will cut in any direction, and cut lite ply without making a chewed up mess of it. After that I sanded the holes with various sizes of brass tube with sandpaper wrapped around it. I then started gluing 3/32" balsa strips around the outside curve so I have something to round at the tip.

20141230_212326_resized.jpg 20141230_220602_resized.jpg 20141230_221836_resized.jpg
 

Jetpainter

640cc Uber Pimp
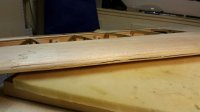
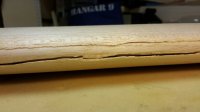
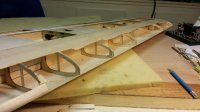
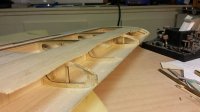
It's hard to believe that I haven't posted in this thread for a month and a half. I'm finally getting around to repairing the right wing that was damaged in the crash that furnished it and the rest of the Yak parts. I already repaired the left wing that showed the most damage after the Yak demise. It turns out the right wing is just as bad. I'm going to have to replace the leading edge, the upper and lower sheeting from the spar forward, and rebuild the front of several ribs.

At the pace I've been setting it could take me until next winter just to fix this wing. ;)

20150102_205202_resized.jpg 20150102_205207_resized.jpg 20150102_220829_resized.jpg 20150102_220838_resized.jpg
 
Top