• If you are new to GiantScaleNews.com, please register, introduce yourself, and make yourself at home.

    We're 1st in Giant Scale RC because we've got the best membership on the internet! Take a look around and don't forget to register to get all of the benefits of GSN membership!

    Welcome!
  • Unless you are a paid advertiser NO more posting advertisement in the individual vendor forums. You may post in the Manufacturer's Announcements section only but only ONCE a month unless your a paid advertiser.

GWS P-38 Build Log and Review

rcdude07

70cc twin V2
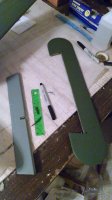
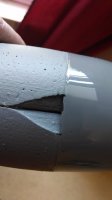
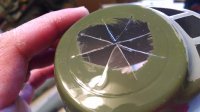
Friday night the super charger cooling pods were cut out and glued on.

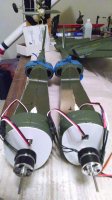
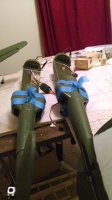
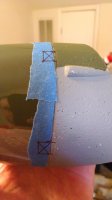
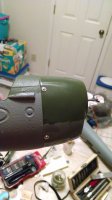
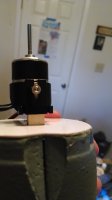
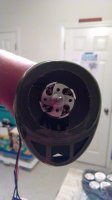
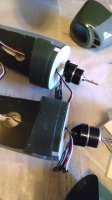
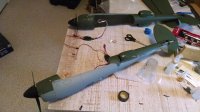
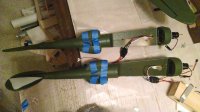
Saturday afternoon the motor mounts were screwed down, cowls were mounted, elevator cut from the horizontal stab. First I got the cowls seated how I liked the look, made alignment marks on the bottom of the nacelle and the cowl. Then put blue tape on the cowls, marked the location of the mounting plates on the foam, aligned the cowls, measured an 8mm x 8mm square for the mounting block locations, crossed the corners to find the center and drilled. The manual calls for a 1mm hole, I don't have a metric set yet, so I used my smallest drill bit which proved to be too big for the supplied 1.5mm screws. Since I'm not installing the landing gear, I was able to use the 2mm screws instead which bit and are holding tight.

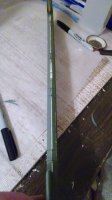
Sunday afternoon the hinges were glued into the horizontal stab, touch up paint applied to the areas needing it, installed props and spinners, spun up both motors simultaneously for the first time (boy did they sound sweet for the brief seconds at 50% throttle in order not to wake the little one from his nap) to fix motor spinning directions. Also started cutting out the super charger covers for installation later.

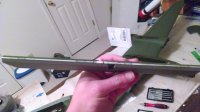
Left to do: hinge elevator, install elevator control horns, attach horizontal stab to vertical fins, attach booms to wings, glue canopy parts together, run ESC wires, install 3 servos, setup said servos and throws. Hoping this week will mark completion, won't be able to maiden this week due to working our church's Royal Ambassador Derby on Saturday.
IMG_20140316_142704936.jpgIMG_20140314_210035863.jpgIMG_20140315_210810618.jpgIMG_20140314_210137751.jpgIMG_20140315_210816933.jpgIMG_20140314_210043799.jpgIMG_20140315_143135043.jpgIMG_20140315_210801277.jpgIMG_20140315_141333479.jpgIMG_20140315_130958114.jpgIMG_20140315_210752541.jpgIMG_20140315_134456234.jpgIMG_20140315_140804422.jpgIMG_20140315_210826040.jpgIMG_20140316_142655770.jpg
 

rcdude07

70cc twin V2
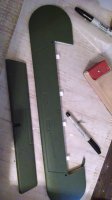
Last night: hinged the elevators, cut the super charger covers down to size, cut canopy base down to size, scraped the green paint off the canopy and super charger covers, masked the canopy and traced the canopy frame.

Painting the insides seemed like a good idea to help protect the paint. However, so much of those areas on the super charger covers and canopy are used for gluing surfaces. So just a minor setback. Tonight I hope to cut the mask and get at least one coat of green on the canopy as well as mount the elevator control horns.


attachment.php
super charger cover cut down and sitting in place. Will wait to attach in order to drop blue loc-tite on the nut and bolt that holds the boom in place

attachment.php
canopy on canopy base, look at all that it contacts for a gluing surface. Reason why I have to repaint

attachment.php
canopy masked and ready for cutting then painting

attachment.php
elevator hinged
 

rcdude07

70cc twin V2
Elevator hinges are on and drying. First coat on the canopy. Going it looks better than my free hand job was. Don't have an air brush so it's being painted on with a 2"brush.
 

rcdude07

70cc twin V2
Looking good

Thanks, but if that all looks good, what do you call this?

attachment.php


Finished second coat on the canopy yesterday, unmasked and cleaned up paint that seeped under the tape, installed the horizontal stab, then attached the booms to the wings. I did have to whittle on the back end of the holes in the fins in order for the stab to slide through as it's designed. I may need to take the booms off the wings to route aileron servo wires, we'll see. I count about 6 more pieces needing gluing, secure the electronics to the plane, setup throws, balance the plane.

Even if I'm able to complete the plane this weekend, not sure when I'll be able to maiden. The AMA sanctioned club I fly at is on a lake and with all the rain, snow, ice we've have this month the lake is up higher than usual, making our field soggy. I'm not going to maiden this plane anywhere else as I good safety precaution.
 

rcdude07

70cc twin V2
Yesterday I sanded the wing saddle areas to be a flatter, better fit between the booms and wings. Also glued the canopy base to canopy, then after a few hours cut the hole in the back that will allow for the elevator pushrods to exit the canopy.
 

rcdude07

70cc twin V2
Last night I tested the servos, good thing too because 1 of the 4 they sent me is non-operational. Fortunately I'm not installing the landing gear and have 3 working ones. I may open the non-operational one and see if a wire's not connected internally. I'll let Kuan at GWS US know about this fault. I then laid the wires out on the belly of the plane to see how things would go. Aileron Servo holes will need to be opened up some. I then used a drill bit on the fuse to create a hole on each side to feed the wires in through. Then an hour was spent looking for a lost supercharger cover. Silly me blindly flipped the plane over on the workbench without remembering to remove the supercharger covers first as they were just laying in place.

attachment.php


attachment.php
 
Top