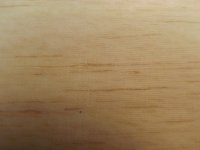
Terry and I have been discussing different techniques for glassing and prepping balsa parts for paint. I've started doing some test panels to see how the materials and techniques vary in weight and finish.
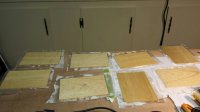
I made eight 4" x 6" balsa panels and covered them with 1.5 ounce glass cloth and Z-Poxy finishing resin. I would normally use .56 ounce cloth, but I didn't have any, and since this was a test mainly for the fillers and techniques the 1.5 ounce will work fine.
I sprayed four of the eight with hairspray to see if it would reduce the amount of resin that soaks into the wood. Unfortunately I screwed up the original weights of the bare balsa so I can't tell exactly how much difference it makes, but all of the hairspray test panels are a tad lighter with no ill effects to the resin.
I mixed the resin in the standard 1:1 ratio and applied it with a plastic spreader. After letting it cure overnight I sanded them lightly with 120 grit and then with 220. I put a second coat of resin on 4 of them. After letting those sit overnight I sanded and weighed them and I was quite surprised to see that the second coat added almost no weight and filled the weave extremely well.
Following Terry's lead I used drywall joint compound as a filler on 4 of the panels, 2 that had 1 coat of resin and 2 that had 2 coats. I'm very happy with how it works. It's easy to apply, sands easily, fills well, and it's light. At this point I'm really happy with the panel with 2 coats of resin and 1 coat of joint compound. After sanding that panel is very light and very smooth. It looks to me that it would take very little primer to get it ready to paint.
I'll do a work up of all the weights once I have all the panels ready to paint, but at this point the one with hairspray, 2 coats of resin and 1 of joint compound has only gained 2 grams since bare balsa and it's smooth as a baby's butt. And that's with 1.5 ounce cloth. With light cloth it should take less resin and be even lighter.
Pictures
1. Test panels after glassing.
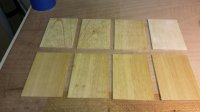
2. Lower 4 have 2 coats of resin the top 4 have 1 sanded coat of resin with the far right one also having on coat of joint compound filler.
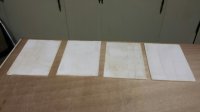
3. 4 panels with joint compound.
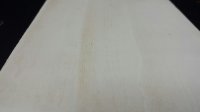
4. A closeup of a panel with unsanded joint compound.
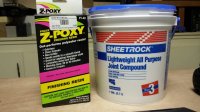
5. Resin and joint compound used.
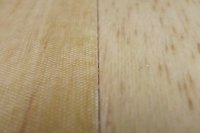
6. A side by side comparison of two panels, the left one with 1 sanded coat of resin and the right one with 2 sanded coats.
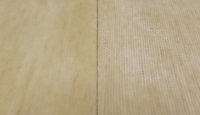
7. A side by side comparison of two panels, the left one with 2 coats of resin and 1 coat of joint compound and the right one with 1 coat of resin and 2 coats of joint compound.
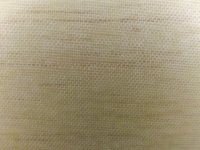
8. A closeup of a panel with 1 of resin and 2 coats of joint compound.
9. A closeup of a panel with 2 coats of resin and 1 coat of joint compound.
