You are using an out of date browser. It may not display this or other websites correctly.
You should upgrade or use an alternative browser.
You should upgrade or use an alternative browser.
89" SkyWing Laser 260 V2 Assembly Thread
AKNick
640cc Uber Pimp
Installed a J&Jstandard tailwheel. Given these guys are designed for larger airframes I was skeptical. But after putting one on my 91ARS I am sold. Love them! You can harrier land without breaking the rudder and or tailwheel asst.
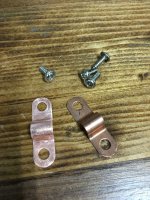
They don’t supply any hardware other than the straps and springs. You’ll need to source the wires, and mounting hardware.
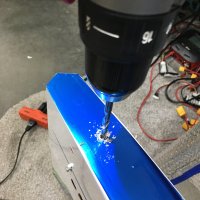
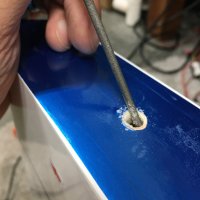
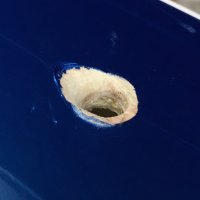
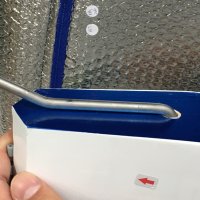
So I painted the straps, and screws that I found lying around, made a rudder tiller/steering arm out of G10 and painted it. Spacing was 3” hole to hole and I matched the rudder bevel. I put a balsa block in the tail for a little extra support. To make things easy on myself I used my soldering iron to melt the glue on the blind nut for the OEM tailwheel, and it popped right out. I enlarged that hole to use for the J&J wire. Once everything fits I harden the holes with CA and used silicone on the rudder steering plate before screwing in place.
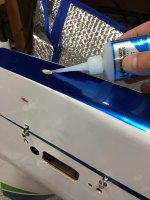
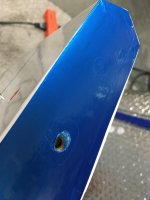
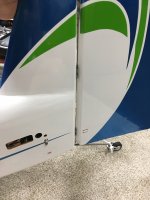
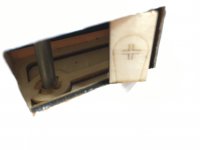
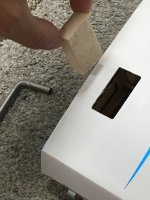
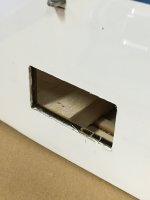
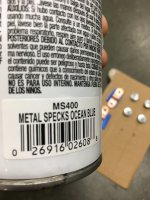
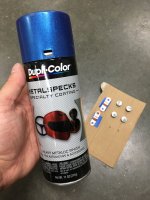
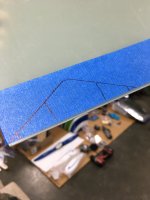
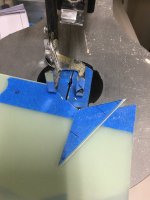
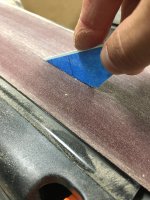
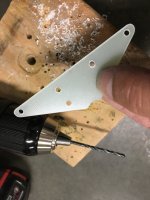
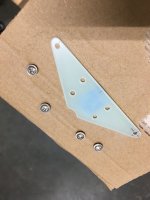
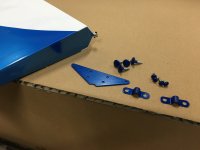
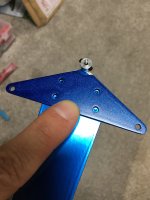
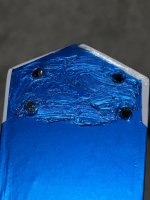
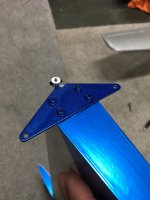
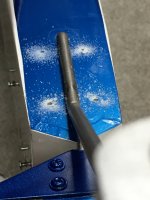
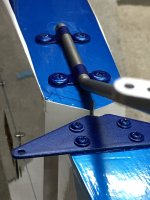


jbeech
30cc
I have to agree, the black FRP laminate looks great, and opting for black on the foam turtledeck is another nice touch. Is SuppaTim the driving force behind this brand? Anyway, how does the wing attach, is the root flush with the fuselage, or does it inset against a flat structure beneath the surface? I've got similar size models that do both (Skylinerc and PAU) and like the inset method best because it gives a cleaner more finished appearance.
AKNick
640cc Uber Pimp
I have to agree, the black FRP laminate looks great, and opting for black on the foam turtledeck is another nice touch. Is SuppaTim the driving force behind this brand? Anyway, how does the wing attach, is the root flush with the fuselage, or does it inset against a flat structure beneath the surface? I've got similar size models that do both (Skylinerc and PAU) and like the inset method best because it gives a cleaner more finished appearance.
Tim is the US distributer. Extreme Flight has been good to him, but was getting limited shipments and demand was high. Skywing has upped their game with innovation and aircraft size. They’ve been around a while, but Tim really made it all happen here in the USA.
The foam turtle deck and tunnel is light and cheap. Total win win.
As for the laminate, let me hit on that in another post.
wings are not recessed.
I’ll also make another post for the steel pins with magnetic retainers and horizontal latch assemblies.
AKNick
640cc Uber Pimp
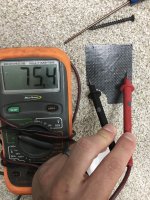
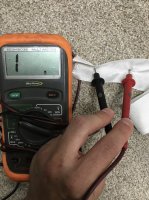
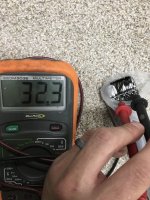
Thanks for bringing up the fiber ply laminate. There is a lot of people that look at all the black and out of pure deception think it’s carbon fiber when it’s actually dyed of blackened fiberglass. How can one figure it out? Carbon is conductive while glass is not. So does it have resistance? There must be a better test out there, but a crude way is a simple ohm test. Let me know if you guys can tell me a better method as it doesn’t work on the carbon tubes and stringers. At any rate, you won’t have signal loss issues due to carbon fiber shielding, so rest assured.
Here is a carbon sheet I layer up last year (conductive):
Here is fiberglass (not conductive)
Raw carbon fiber is super conductive
And here are some exposed fibers on the fuselage frame (not conductive)
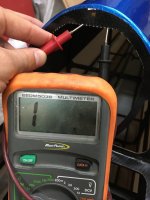
So while the entire fuselage appears carbon. It’s not. It’s thin blackened fiberglass Laminated to light plywood.
Here is a carbon sheet I layer up last year (conductive):

Here is fiberglass (not conductive)

Raw carbon fiber is super conductive

And here are some exposed fibers on the fuselage frame (not conductive)

So while the entire fuselage appears carbon. It’s not. It’s thin blackened fiberglass Laminated to light plywood.
AKNick
640cc Uber Pimp
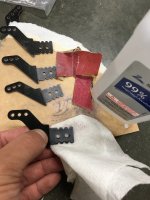
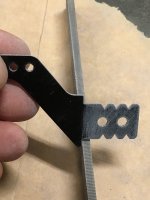
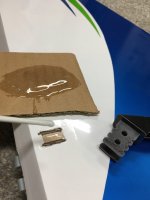
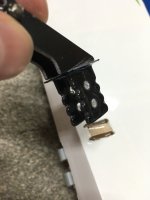
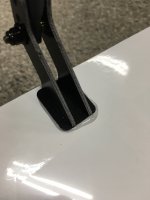
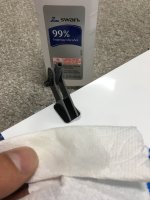
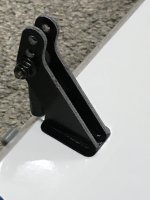
Prepping and installing control horns. I scruff the part that inserts I to the control surface with 220 followed by 100 grit then clean off with isopropyl alcohol in case the peel ply had some sort of mold release on it. Test fit the control horns with the ball links installed and try to get the center of the holes above the hinge line (control surfaces taped in place). I used 30 min epoxy, filled the control surface waist some epoxy and put a light coat on the horns themselves. Then clean up with isopropyl alcohol. I used to tape off, but I find this method easier for me.


AKNick
640cc Uber Pimp
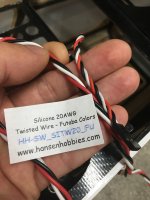
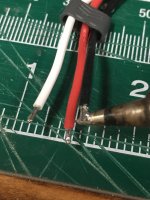
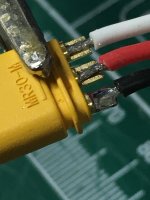
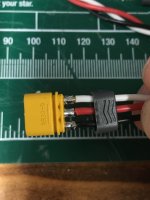
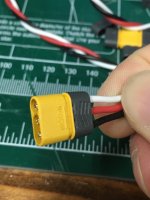
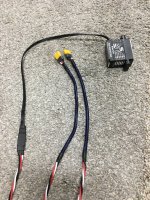
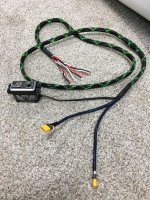
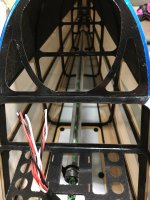
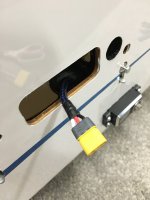
Changed out the servo wires to the tail with Hanson Hobbies 20AWG silicone wire.
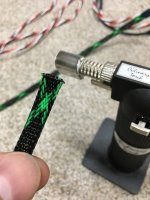
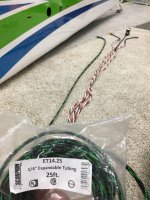
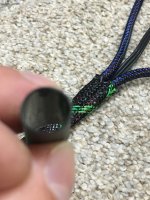
Also used 1/8” and 1/4” expandable looming with marine heat shrink (adhesive type) on the ends.
I saw a post on social media with a guy that used AMASS MR-30 connectors for the servo wire connections in the tail. No need to use safety clips or bust off the locking tabs on the fancy skywing connectors. I am very pleased with the outcome.
I’ll terminate the receiver ends once I figure out where to put them.


