• If you are new to GiantScaleNews.com, please register, introduce yourself, and make yourself at home.

    We're 1st in Giant Scale RC because we've got the best membership on the internet! Take a look around and don't forget to register to get all of the benefits of GSN membership!

    Welcome!

89" SkyWing Laser 260 V2 Assembly Thread

Jetpainter

640cc Uber Pimp
I've become very interested in Skywing lately. One of our club members Ryan has the 120cc version of this in the same scheme. Very cool airplane. Ryan, as @pawnshopmike can tell you could 3D an anvil, so it's hard to judge how good it is, but it looks like the airframe is great.
Yesterday a member maidened a 60" electric Skywing Edge. Very cool airplane with some very neat features. He said it was one of the easiest assembling ones he had done. It was a raffle prize at our recent 3D bash that came from Tim at Northwest. Awesome guy!
 

pawnshopmike

Staff member
I've become very interested in Skywing lately. One of our club members Ryan has the 120cc version of this in the same scheme. Very cool airplane. Ryan, as @pawnshopmike can tell you could 3D an anvil, so it's hard to judge how good it is, but it looks like the airframe is great.
Yesterday a member maidened a 60" electric Skywing Edge. Very cool airplane with some very neat features. He said it was one of the easiest assembling ones he had done. It was a raffle prize at our recent 3D bash that came from Tim at Northwest. Awesome guy!
Ryan is liking his more each time he flys it.

0250B66B-74EA-4474-A9BD-72CC75AEBB12.jpeg
 

AKNick

640cc Uber Pimp
If I wasn't scared in buying a 120cc airframe the 101" SW Laser 260 is getting glowing reviews. I've seen people say it flies better than the 89"
 

AKNick

640cc Uber Pimp
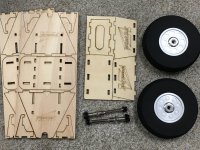
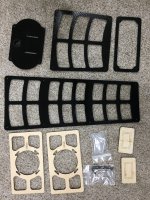
Here is what’s in the wheel bag.

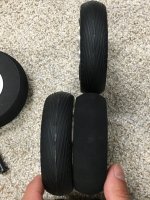
some hard foam tires with aluminum hubs, some neat plywood fixtures to keep your tires off the ground in storage, and of course the AMAZING stepped axles.

34B3EC7F-2902-4B10-A926-CEC9BE15B721.jpeg

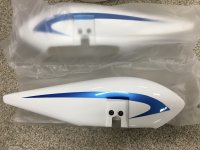
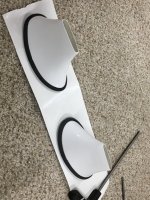
also provided are some wheel pants. These are white with a blue stripe. Other versions I’ve seen are just metallic blue.
A0BE3AE3-4377-452D-BB88-5B5A7D631CD6.jpeg

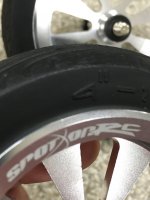
I’m opting to use the 4” spot on RC tires. I’ll have to add a bushing as they are narrower at the axel. They are slightly taller too. I’m probably going to not use the wheel pants.
A8AA99CA-9CC5-4C8B-8143-AA7D415198B2.jpeg 01F313C0-B524-4A6B-B642-5459A635561B.jpeg 6584F0C9-0E63-47C4-8C28-1BA0A41A2DD6.jpeg
 

Snoopy1

640cc Uber Pimp
Man that plane looks good. Also what is nice it looks like they do not cut corners. And while you are building the plane you find nice little extras that you were not expecting, that is hard to find nowadays. Enjoying the build.
 

AKNick

640cc Uber Pimp
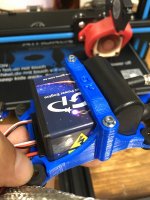
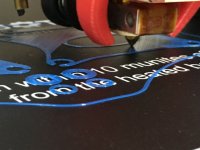
As I’m writing this I’m printing a new version of my GP Ignition Mount. It has bigger vibration dampeners on it, with more robust towers, and a refitted tray to accept some of the irregularities found in the ignition module itself. Took a lot of trial and error and sourcing of parts. Took 5 hours to print one... ooffff

9805F9C7-6330-4CE2-8E88-205B22387FC0.jpeg
Printing some more along with spacers for the steppes axels to a come date my spot on rc tires.
9FD61B67-C48B-43A6-9690-F09A02FAFB6B.jpeg

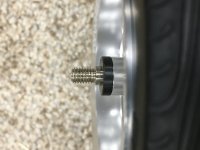
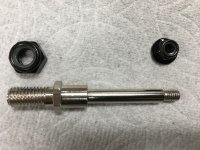
here is a better picture of the axel:

173F9CBB-8615-4A48-A720-5B0DC2717E27.jpeg
 

Snoopy1

640cc Uber Pimp
As I’m writing this I’m printing a new version of my GP Ignition Mount. It has bigger vibration dampeners on it, with more robust towers, and a refitted tray to accept some of the irregularities found in the ignition module itself. Took a lot of trial and error and sourcing of parts. Took 5 hours to print one... ooffff

View attachment 115724
Printing some more along with spacers for the steppes axels to a come date my spot on rc tires.
View attachment 115725

here is a better picture of the axel:

View attachment 115723
Are you going to put it on that special site the GP ignition holder, so that a can try and find someone around me to print one or would you be so kind to send a copy to me.
 

AKNick

640cc Uber Pimp
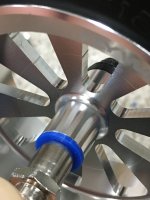
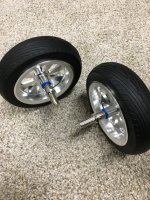
First off, I got my 3DP spacers all sized correctly. Now with the axels nuts bottomed out, the tires spin with a tiny bit of friction that will wear in nicely for a zero tolerance fit. Pretty happy.20BD453C-05FF-4839-B83B-5C2839A3F902.jpeg
1E32DE1C-6F1B-4D3F-A41D-DC0CBEA3C1CB.jpeg

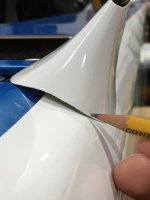
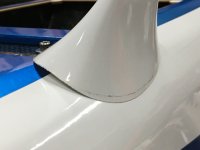
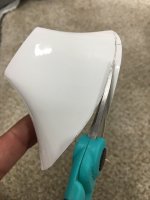
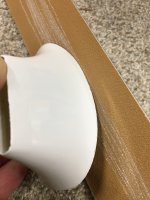
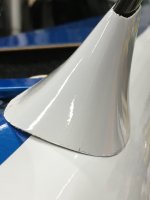
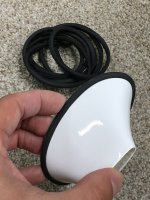
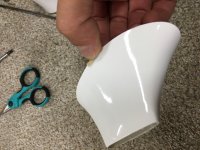
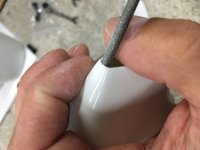
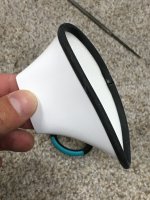
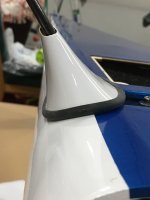
next is the gear leg fairings. One tip I taught myself was to slide the fairings on, and what ever the gap is, I cut the circumference off the excess fairing material. Then fine tune sand with 150 grit until I’m satisfied with the fit.

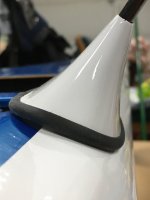
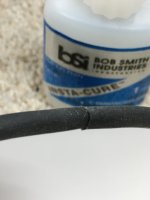
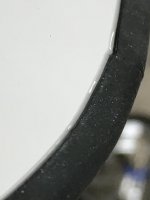
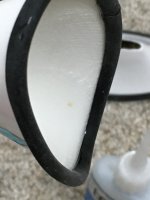
The fairing edging is a cool rubber c-channel... it’s nice not to have to Attempt to cut a tube to do this. It also glues on superbly with CA. I’ve used medium and thin with success.

I cut the rubber channel to length and tack on one open end on the middle inboard section of the fairing. Then I’ll tack the other end to close the loop.
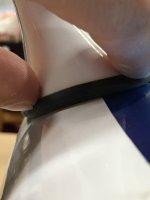
Slide the fairing on the gear leg, and while pinching the daring against the gear leg, I’ll gently push down the rubber channel up against the fuselage to get a perfect fit.
Slide it off and put a bead around both sides and set aside to cure fully.

marking with a pencil
06EB30BC-57DF-47D2-B2E6-7BC01A70A2B6.jpeg 9AFC3AE9-52DF-48C1-8741-8AD41F714F9B.jpeg

cutting with scissors
6C421730-6E3D-40A4-98CB-018728EFAC6D.jpeg

150 grit
BF20F8BE-FA04-41CD-BF25-0F3DDF7AE319.jpeg 2F2C7A46-3A1C-42FD-8545-6F36E3932361.jpeg BC95CF22-C0FA-4030-91D3-522196CF495B.jpeg B059F9EA-41BA-458B-9C2A-BDB446ADEB4C.jpeg 8DC0FAC3-6C0E-4046-B114-0F7C5829C181.jpeg 5C23BD9C-36C0-4A90-87FE-6EC221DCAF67.jpeg 689BEE67-BC70-40B0-92ED-1D1CAEC3F6B1.jpeg AD3F5FDF-6393-49C9-B59B-1EBB9591EC34.jpeg 7EEC3B35-D8A6-46EB-8056-48923EFDEE20.jpeg DC03A328-AC14-4521-9572-2FD35DF2D5B8.jpeg 74FDE662-190A-45F1-AE53-F105C66F3DD2.jpeg 5D529403-EC57-43B3-BF6B-AC8D82CCFA4B.jpeg 0AEF5418-6683-4880-9F3F-FAD1AF079441.jpeg
 
Top