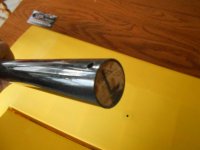
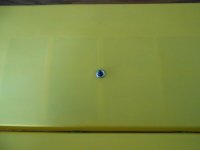
LOWER WING ATTACHMENT
Putting the lower wing on using the Hanger 9 method is a BIG PAIN in the A!!. Their method also calls for the bottom of the airplane to be left open so that your hands can attach the wing bolts thru the lower side of the fuselage and into the lower wing. Leaving the bottom open also allows for exhaust oils to get inside the plane, something that I'm not too keen on.
So I went with a simpler approach that has been done on many planes that I have owned. I am just using a simple bolt thru the wing into the wing tube.
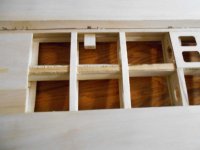
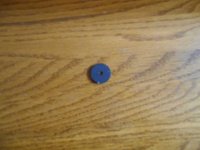
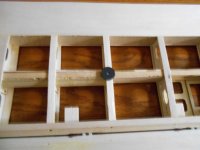
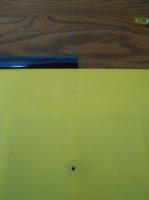
But first I put in place a "Crush Washer" that would spread the load from the screw head over a wide area. I then inserted a 1 inch long wooden plug just inside the end of the wing tube. Once I had it installed I assembled the wing (temporarily using the supplied wing bolts) and drilled thru the center of the Crush Washer and into the plugged wing tube. I then tapped the hole with a 8-32 tap, soaked it in thin Cyano and then re-tapped the hole. Many planes use just a 4-40 long bolt, but I opted for a more substantial bolt that has more bite into the wood as it is screwed in.
So now instead of 4 bolts to hold the two lower wings on, I only need 2. And these two are MUCH easier to assemble.
I have now eliminated 4 screws to assemble the canopy and 2 for the lower wing. To date 6 screws have been eliminated making the field assembly just that much easier.
