• If you are new to GiantScaleNews.com, please register, introduce yourself, and make yourself at home.

    We're 1st in Giant Scale RC because we've got the best membership on the internet! Take a look around and don't forget to register to get all of the benefits of GSN membership!

    Welcome!

Scale Bud Nosen 1/4 Scale Cub?

Thanks! No need for apology though. I have a hard time catching up as well. Some times weeks before checking in. Keep up the good work on your Cub. Learning lots!
 
Today, after work, I decided to tackle the rear fairing. I wasn't quite sure how to proceed, so I just jumped in. I decided to put the wing on and use my incidence meters to match up the wing and stab. I also matched up the stab with the wing tube for parallel while everything was just clamped in place. Once I was happy, I glued some blocks below the fairings before removing the clamps and gluing the fairings in place. I rechecked after the glue set and all is good.
 

Attachments

  • IMG_4567.JPG
    IMG_4567.JPG
    480.1 KB · Views: 154
  • IMG_4568.JPG
    IMG_4568.JPG
    538.2 KB · Views: 130
  • IMG_4570.JPG
    IMG_4570.JPG
    495.2 KB · Views: 125
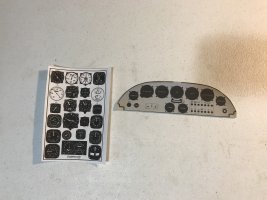
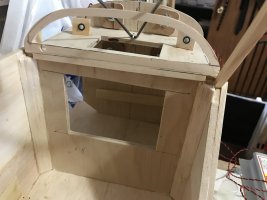
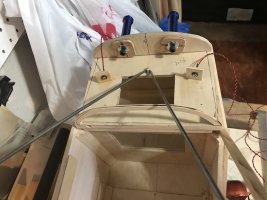
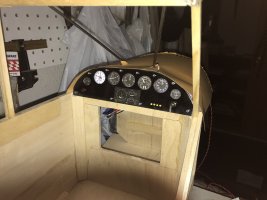
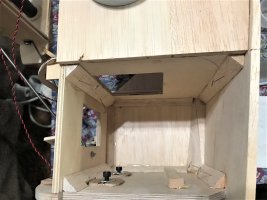
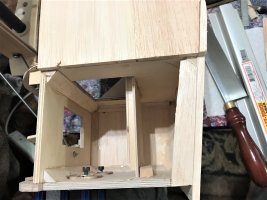
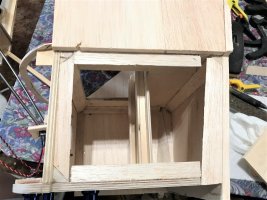
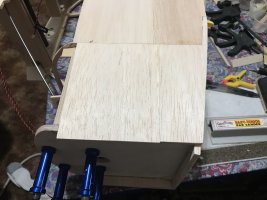
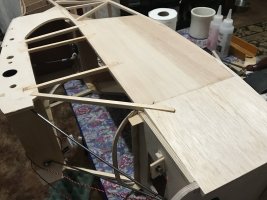
Well, I spent the better part of the last two days brainstorming an instrument panel. I've not done very many of these and I don't have the right equipment to make a realistic one, but I gave it a go anyway. I wanted something back lit, and I've seen one done on another forum, so I gave it a go. I'm using lights from the light kit I purchased for the plane. I built a new F5 for a more Super Cub look. I also found a template online I decided to use for the layout, at least part of it anyway. I couldn't get a good photo with the lights on, my phone picks up too much of the light, but I did get a couple that were ok. I also picked up a Nelitz instrument kit from B and B to use.
 

Attachments

  • IMG_4581.JPG
    IMG_4581.JPG
    568.2 KB · Views: 103
  • IMG_4604.JPG
    IMG_4604.JPG
    439.9 KB · Views: 112
  • IMG_4605.JPG
    IMG_4605.JPG
    470.9 KB · Views: 116
  • IMG_4615.JPG
    IMG_4615.JPG
    422.2 KB · Views: 126
Several small epoxy batches and several hours later I got the front end tri-stock all glued in place, as well as the tank mount. I was finally able to close up the big hole in the side!
 

Attachments

  • IMG_4622 (2).JPG
    IMG_4622 (2).JPG
    420.4 KB · Views: 101
  • IMG_4625 (2).JPG
    IMG_4625 (2).JPG
    448.7 KB · Views: 108
  • IMG_4626 (2).JPG
    IMG_4626 (2).JPG
    497.1 KB · Views: 101
  • IMG_4627.JPG
    IMG_4627.JPG
    582.6 KB · Views: 114
Top