• If you are new to GiantScaleNews.com, please register, introduce yourself, and make yourself at home.

    We're 1st in Giant Scale RC because we've got the best membership on the internet! Take a look around and don't forget to register to get all of the benefits of GSN membership!

    Welcome!

Scale Bud Nosen 1/4 Scale Cub?

After checking the landing gear plate, I found that it was cut too small. I built a new one and installed the blind nuts for the Robart gear before gluing in place. I also glued in some stock for strength under F7. Mixing up several small batches of epoxy is time consuming and wearing on my mixing cup supply. The gusset was also added. This kit is testing my resolve!
 

Attachments

  • IMG_4301.JPG
    IMG_4301.JPG
    539.3 KB · Views: 156
  • IMG_4306.JPG
    IMG_4306.JPG
    508 KB · Views: 118
  • IMG_4307.JPG
    IMG_4307.JPG
    481.3 KB · Views: 133
  • IMG_4313.JPG
    IMG_4313.JPG
    514.9 KB · Views: 124
I also found another mistake I made. The front vertical hardwood 1/4 x 1/4 should have been cut shy on top by 1/4 for the cabin top cross member. I drilled it out and squared it up for proper fit.
 

Attachments

  • IMG_4305.JPG
    IMG_4305.JPG
    401.8 KB · Views: 116
I've been using the 2oz cups with measuring marks on the side. The old ones were thicker and I could re-use them a few times. The new ones are very thin and not as easy to remove the epoxy from. Maybe I need to start eating applesause! :)
 
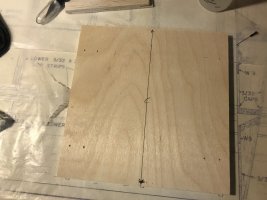
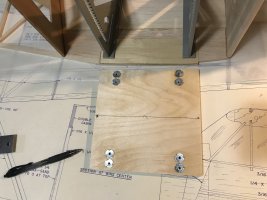
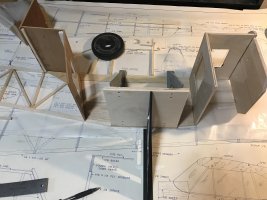
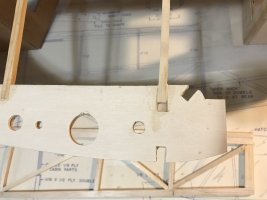
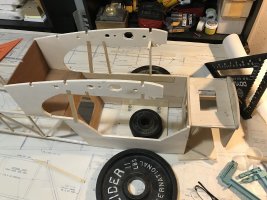
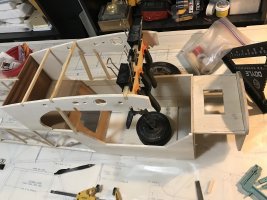
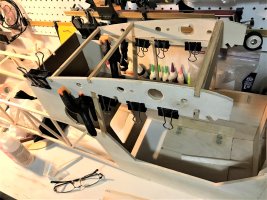
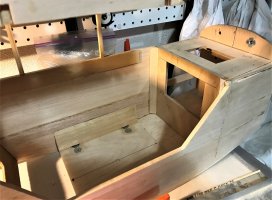
After getting some of the forward sheeting in place, I found another "revision" that needs to be done. When I cut the new firewall, I didn't acount for the top sheeting. So I'll have to adjust for that soon. I may also have to recess the bottom of the firewall a bit, for better air flow. I'll figure that out once I have the cowl in place. For the sheeting, I started with an oversize bottom piece, then cut some stock for the bottom corner. Once that was in place, I added the side piece. I've never really done a freehand front end like this, so it was an experiment. I'm leaving the left side open for now, to add gussets and a tank mount, as well as the upper wire supports.
 

Attachments

  • IMG_4324.JPG
    IMG_4324.JPG
    465.7 KB · Views: 107
  • IMG_4325 (2).JPG
    IMG_4325 (2).JPG
    313.6 KB · Views: 112
  • IMG_4326 (2).JPG
    IMG_4326 (2).JPG
    390.4 KB · Views: 137
Got some of the reinforcements done. I also added some extra blocking for the landing gear. Installed some tri stock infront of F5 as well. I installed one T-Nut in the firewall and it protrudeds out the front a bit. I'll have to cut some 3/16 shim stock and glue it in on the back side of the firewall for each T-Nut.
 

Attachments

  • IMG_4329 (2).JPG
    IMG_4329 (2).JPG
    353.7 KB · Views: 106
  • IMG_4334 (2).JPG
    IMG_4334 (2).JPG
    504.9 KB · Views: 101
  • IMG_4335 (2).JPG
    IMG_4335 (2).JPG
    472.9 KB · Views: 101
Top