You are using an out of date browser. It may not display this or other websites correctly.
You should upgrade or use an alternative browser.
You should upgrade or use an alternative browser.
Scale Bud Nosen 1/4 Scale Cub?
- Thread starter Stevendavis
- Start date
Stevendavis
100cc
Sure makes it easyer!
Stevendavis
100cc
Got some catch up to do,
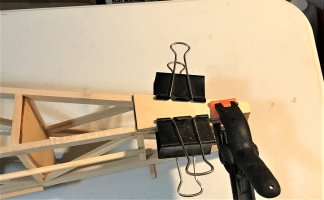
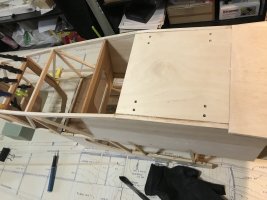
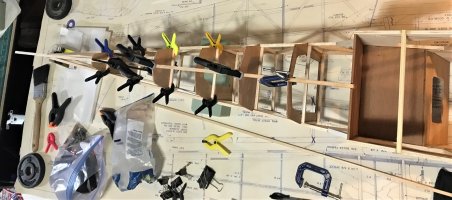
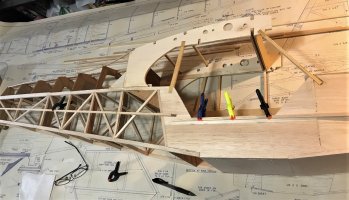
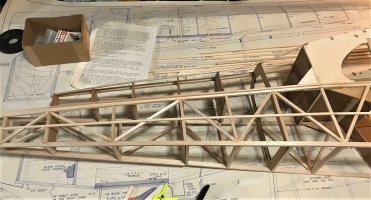
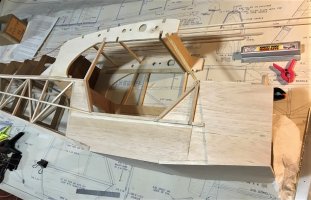
I added some extra cross bracing to the aft of the fuse, since this plane will spend some time in knife edge flight.
I added some extra cross bracing to the aft of the fuse, since this plane will spend some time in knife edge flight.
Attachments
Stevendavis
100cc
Stevendavis
100cc
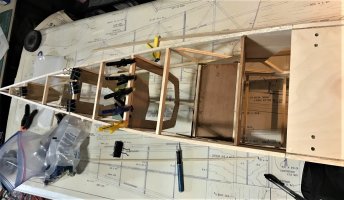
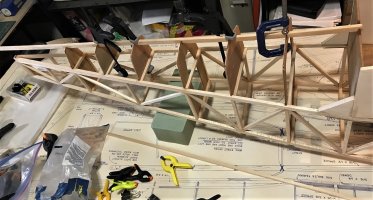
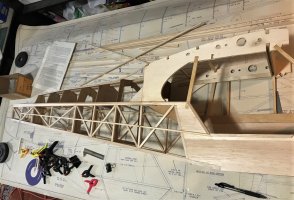
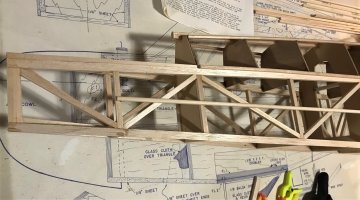
These next steps are not all that clear. But I looked through several build threads, mostly the BUSA Cub, and went with some of those instead of stock. I used the 3/16 round stock included with the kit for the top sides, but ripped some 1/4 x 1/2 spruce down to 3/16 x 3/16 for the side stringers, as they will glue better. Then rounded the tops. I'm loving that new saw!!
Attachments
Stevendavis
100cc
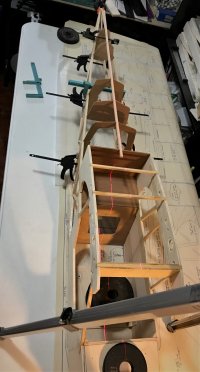
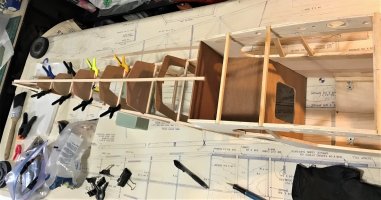
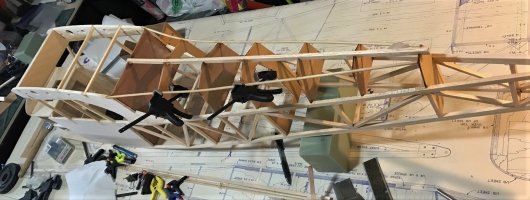
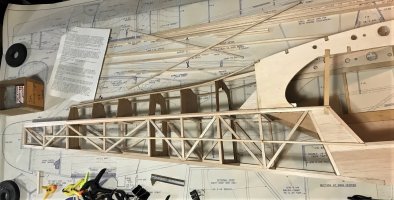
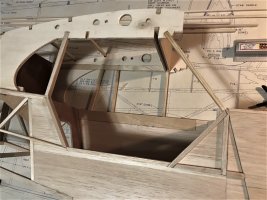
These next steps are very confusing on the Nosen plans. Took a lot of looking at other builds to get an idea of how this is supposed to go, but I think its close, though I probably did it wrong. The Nosen plans don't show a lower vertical stringer at the front of the cabin, but I may put one in anyway, following the BUSA builds. The area around the upper cabin is also a bit confusing and not sure how covering will go.
Attachments
Stevendavis
100cc
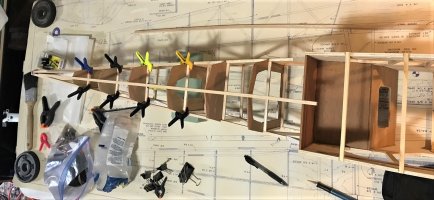
Couple more.
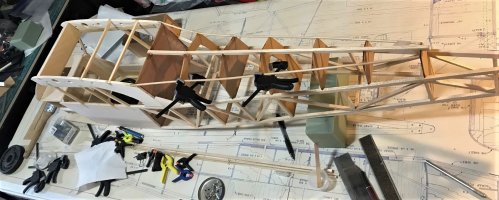
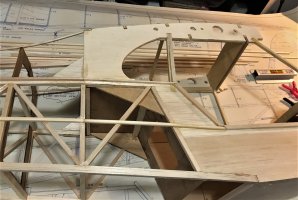
I also found that with the added 1/8" forward sheeting, the firewall is the right shape for the upper sheeting.
I also found that with the added 1/8" forward sheeting, the firewall is the right shape for the upper sheeting.
Attachments
Stevendavis
100cc
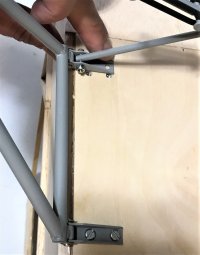
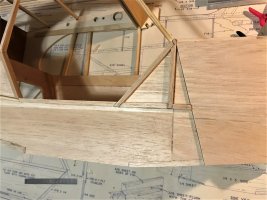
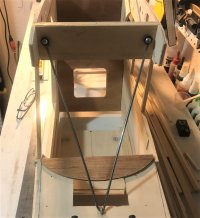
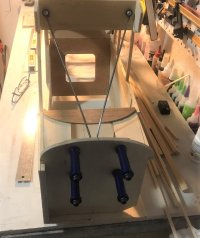
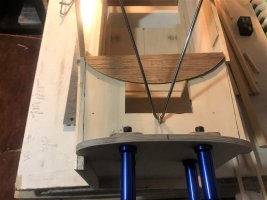
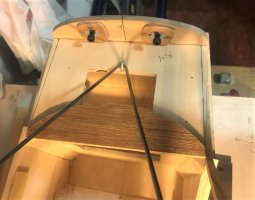
Got the front wire brace in place. Hope it will hold up, as it is the structural integrity of the front cabin top. Has anyone got any advice? I plan on using a lock nut on it and glue! I also have a tow hook I'd like to use on this Cub, but I would have to leave the top fin off. I had to heat up the V-brace wire to make it fit right, as one side was a tad longer than the other. I've got the engine standoff bolts running through the back of the blind nuts for now. I may cut the heads off, or just keep it like it is.
Attachments
Stevendavis
100cc
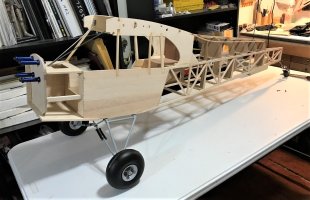
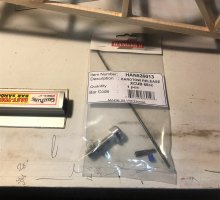
Did a little work today and found another issue. The template that came with my Robart gear doesn't match up with the gear, so double check it if you use it. I used it before I glued the gear plate in, so I'll have to fix it. Got the tail gear plate installed. I recessed it a bit. The Hanger 9 tailwheel is a little big, but I think it will work out.