It's not enough to realize you bit off more than you first imagined. More accurately put, is it enough to be able to admit it? LOL... Between the Velox, the Mustang and Christmas... I have been quite consumed. Nevertheless, I have made some progress in all departments. With Christmas '18 over with now, I plan to utilize the time off from work to get some things accomplished. I have actually made a little progress on the Mustang..."AND" the Velox. I have about 200 photos I have been working on editing so I can update the threads. I am however going to proceed in a different direction. At first I thought I would be able to work on both builds at the same time. Yeah, that ain't happening so well. I get sidetracked too easily with two planes side by side. Keeping building materials and parts separate has been easy. But with two of them so close in proximity, it is just way too easy to get stopped while thinking of one thing then realizing you are trying to put retractable landing gear on a aerobatic plane. LOL... Not really, but you all get the drift right?
So starting with the Mustang, The photos are a progression from day to day. I truly understand why so many of these Don Smith Mustangs have been started and threads have been created. But rarely are they ever finished. I have yet to read one completed Don Smith Mustang thread. They are "A LOT" of work. And that is fine. It would be nice if the wood supplied with the kit was of higher quality. And "ALL" parts included. I am a little upset that so many parts of the kit were missing. And so much of the wood was of basically "JUNK" quality. One bundle of 1/8" balsa sheeting was clearly marked "BUD NOSEN" and extremely dense and hard. And yet I was clearly and specifically informed that genuine Italian quality wood was selected for the kits. Not so much boys. Ok, my little rant is over.
The design of the plans and the plane are actually pretty nice in my opinion. But there are some things I would do differently if I were to build this plane again. Another problem I have noted is most, actually every thread I have read... the guys are sheeting the entire fuselage, prepping and glassing the fuse and wings and such. Then when it comes to adding specific construction, such as tail gear mounts or other things...it is way too hard to cut back into the sheeting to find the correct location to mount everything. Not to mention a real pain in the butt to do. Fortunately I thought about all this before sheeting the entire fuse. I wanted so much to get all the sheeting on. But as it is, I am dealing with areas that have been sheeted already and would have been much easier to work on had that sheeting not been there. So lets get to the photos and some information shall we? These first photos span from Dec. 17 thru to Dec. 21. Please note, these photos may or may not be in proper sequence.
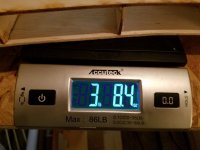
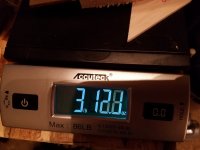
We begin with the weight of the fuse as it was before continuing with the construction. It has been foremost in my mind to watch the weight but still build "STRONG". I think I am on the right track and hope I can continue. At this stage, just three and a half pounds.
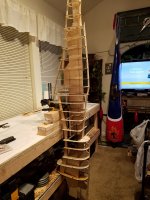
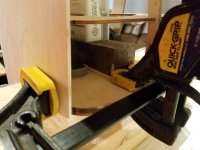
Front of radiator scoop structure and wing bolt plate clamped to work bench to insure a perfectly flat joint.
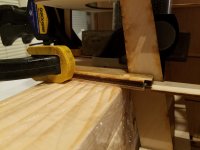
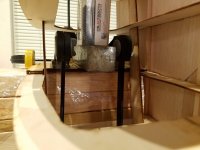
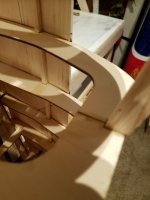
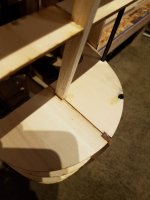
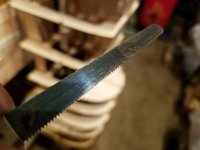
I apologize as I don't remember who asked, but this is the saw I used to cut the elevators and rudder from the structure on the Velox. I meant to get this information to you guys sooner.
https://www.ebay.com/itm/Hobby-Mini...e=STRK:MEBIDX:IT&_trksid=p2057872.m2749.l2649
It is an awesome and handy saw to have. For many reasons.
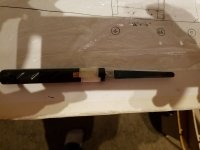
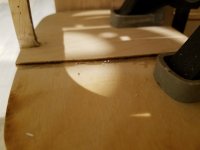
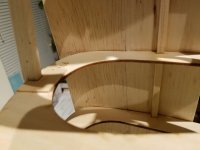
I didn't like the fact that the formers of the fuse are simply "glued" together. So I decided to add backer plates to all joints to strengthen those glue joints.
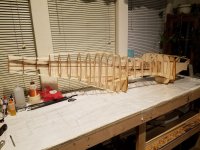
Aaaand we have the skeleton of a dinosaur on my building table. LOL.
Next I went back up front to start working on the bottom forward part of the fuse. This is where the leading edge of the wing will sit. I also doubled that structure with lite ply.
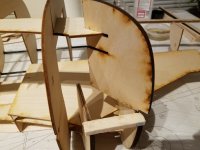
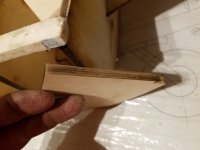
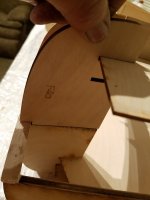
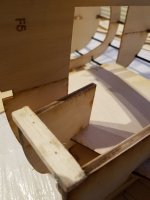
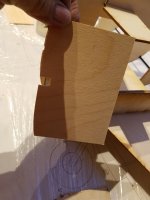
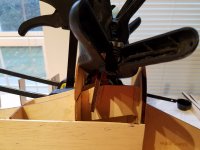
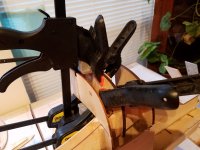
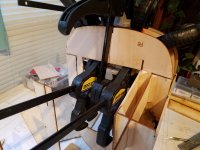
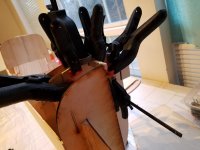
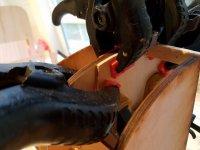
Basically the first half of the fuse builds pretty straight forward. Once a few sheets of fuse sheeting is glued in place, the fuse half can be removed from the building table to be flipped over.
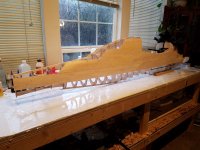
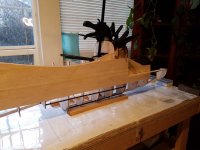
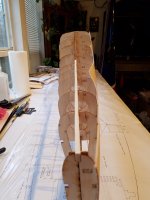
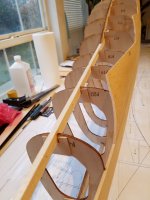
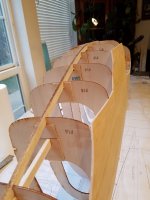
For the right side fuse construction, it is suggested using 3/8" balsa strips to support the fuse crutches. I really felt from it would not be enough to support the fuse and keep it straight. Yeah, I know...many guys have probably done it that way. But I just did not want to take chances of a crooked banana shaped fuse. So I cut 31 jig structures from 1/4"x2" pine stringers (home depot) and 1"x2" firing strips (also home depot). Then glued them together to give me 31 really STRONG and STABLE jig posts.
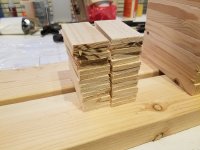
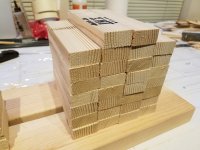
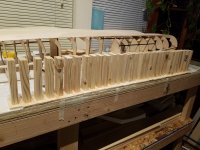
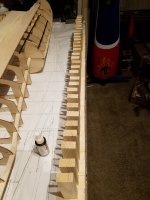
With the fuse half supported and weighted down, I could begin sheeting the opposite side of the fuse.
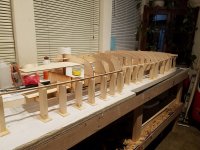
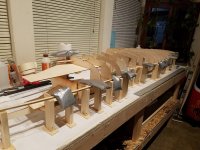
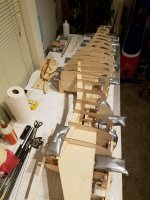
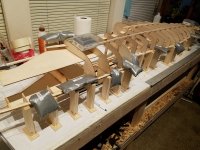
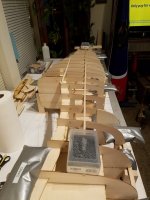
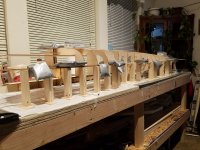
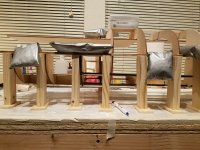
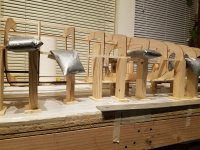
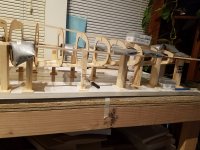
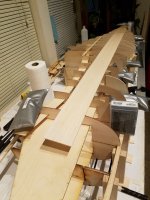
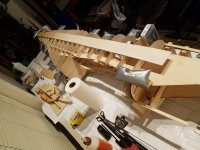
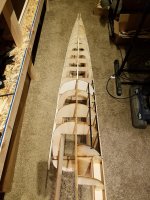
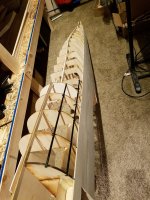
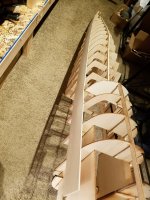
At this point, the fuse is pretty straight, but very flimsy. But thankfully it does get better.
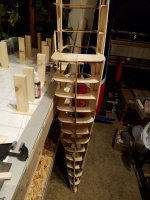
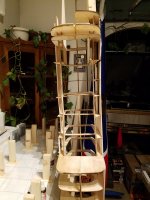
At this point I have gained 4 ounces.
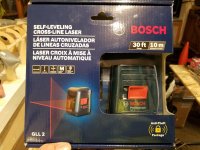
I have been very worried about getting a perfectly straight fuse and perfectly aligned tail surfaces. I remember back when I did the Pitts build, I fought that danged vertical fin something fierce. Not going to happen here. I broke down and started buying some tools I have really needed for some time. One item that was a must was this little animal.
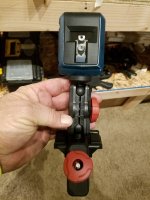
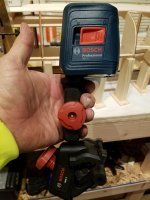
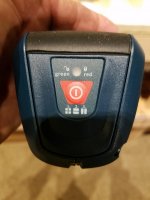
It has a vertical line, horizontal line and if you want, both at the same time. Also has self leveling feature. Pretty cool little tool for 40 bucks. I sure wish I had this sooner.
To be continued....


