You are using an out of date browser. It may not display this or other websites correctly.
You should upgrade or use an alternative browser.
You should upgrade or use an alternative browser.
Eflite Beast 60e
- Thread starter gyro
- Start date
gapple 12.........I sprayed a little silicone lube on the strut pins then pushed them in with needle nose pliers. Make sure everthing is lined up. I also use the lube on carbon wing tubes and the bolts used as axels. Does not collect dirt like the reccomended oil. Another prop to try is the Xoar 18x8 E prop, perfect with this motor.
Richard
Richard
Last edited by a moderator:
Drew
70cc twin V2
gapple 12.........I sprayed a little silicone lube on the strut pins then pushed them in with needle nose pliers. Make sure everthing is lined up. I also use the lube on carbon wing tubes and the bolts used as axels. Does not collect dirt like the reccomended oil. Another prop to try is the Xoar 18x8 E prop, perfect with this motor.
Richard
Cool, I didn't really force the pins since I was just testing the fit. I will give that a try. I'm sure after a few POP TOPS from Gary they will loosen up.
gyro
GSN Contributor
Cool, I didn't really force the pins since I was just testing the fit. I will give that a try. I'm sure after a few POP TOPS from Gary they will loosen up.
No full throttle walls?
Drew
70cc twin V2
Sure, just make sure the camera is rollingNo full throttle walls?
Drew
70cc twin V2
Well, didn't get much done this weekend on the Beast since I have been sick with a wonderful stomach bug.:cursing: Anyways, here is what Ive done....
Got the elevators installed, nothing special here, just epoxy in the wing joiner till dry, then CA the hinges like we did the rest.
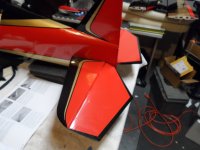
Next you need to set up the tail wheel assembly.
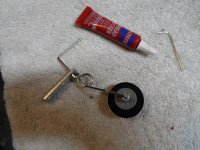
Use a file or dremel and make your flat spots on the rod for the wheel collars to keep from sliding off. I also use the red thread locker for the collar screws. Never have had one come off.
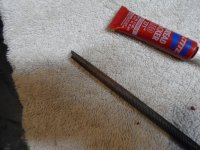
Then add a little epoxy to the rod where it will meet with the hole and wood surface. I went ahead and used the epoxy to glue in the elevator and rudder control horns at this time.
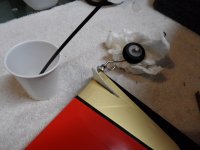
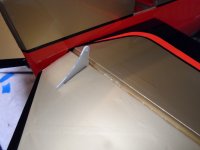
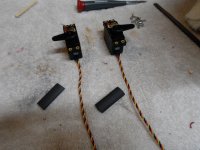
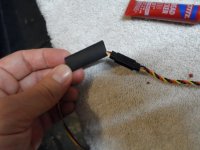
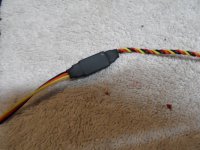
Last thing I did tonight was start getting the tail servos ready for install. I like to use heat shrink for the connections to keep them from coming off.
Got the elevators installed, nothing special here, just epoxy in the wing joiner till dry, then CA the hinges like we did the rest.

Next you need to set up the tail wheel assembly.

Use a file or dremel and make your flat spots on the rod for the wheel collars to keep from sliding off. I also use the red thread locker for the collar screws. Never have had one come off.

Then add a little epoxy to the rod where it will meet with the hole and wood surface. I went ahead and used the epoxy to glue in the elevator and rudder control horns at this time.


Last thing I did tonight was start getting the tail servos ready for install. I like to use heat shrink for the connections to keep them from coming off.


Drew
70cc twin V2
Little more done......
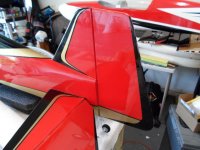
Rudder Hinged and tail gear installed.
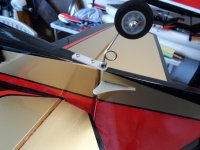
Elevator servo installed and linkage.
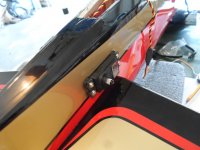
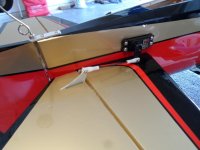
Had to use a small arm since any longer arm wont clear the stab. Turns out it gets full throw with the smallest arm included with the servo.
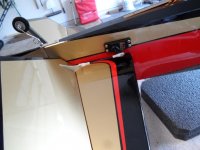
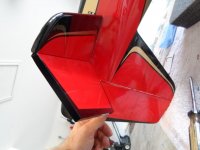
Rudder servo installed with linkage.
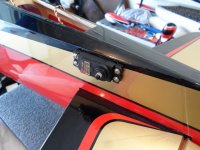
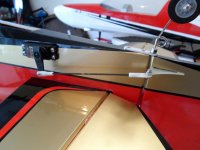
Good throw.
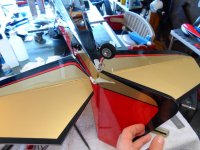
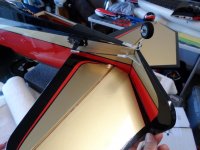
There are little slots to guide your servo extensions threw. I like to put a little tape where the wire ties will go in case the vibration cuts threw the wire.
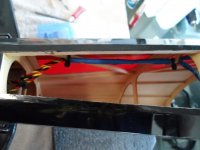
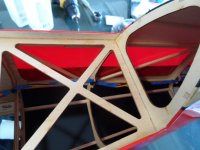
Rudder Hinged and tail gear installed.


Elevator servo installed and linkage.


Had to use a small arm since any longer arm wont clear the stab. Turns out it gets full throw with the smallest arm included with the servo.


Rudder servo installed with linkage.


Good throw.


There are little slots to guide your servo extensions threw. I like to put a little tape where the wire ties will go in case the vibration cuts threw the wire.


Drew
70cc twin V2
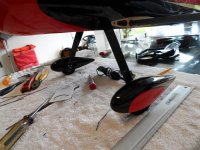
Main gear done. Lot of guys including my self like to install gear first thing, but I understand on this kit why they have you install it last. During assembly of this kit you are constantly flipping the plane over and moving it around. Easier with gear off.
Nothing special here.............just pics
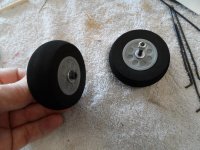
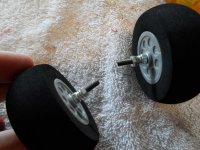
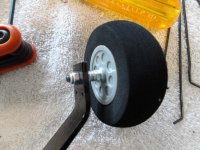
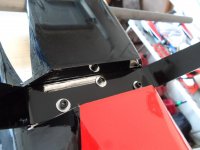
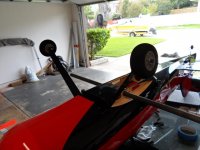
Wheel pants.....
Nothing special here.............just pics


Wheel pants.....


