• If you are new to GiantScaleNews.com, please register, introduce yourself, and make yourself at home.

    We're 1st in Giant Scale RC because we've got the best membership on the internet! Take a look around and don't forget to register to get all of the benefits of GSN membership!

    Welcome!

Extreme Flight 91 Yak

emtp275

100cc
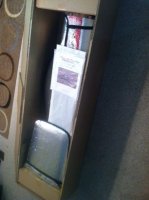
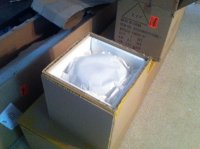
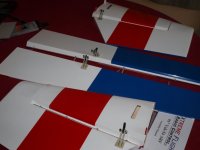
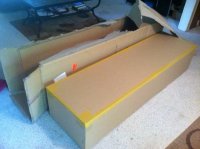
Ok I am going to attempt to document my experience with EF and the building of the 91" Yak. First off I must say buying this airframe was hassle free, It was delivered by Freight which was awesome I had it in two days and the driver is able to contact you for any questions and to set up a time to drop the package off. Miles ahead of getting any thing UPS or FedEx. So it arrives in perfect condition double boxed and the inner box is more like plywood than it is cardboard extremely ridged. All the continence packaged nicely and in an orderly fashion every bag was labeled so no guessing where any thing goes. Gold star so far on customer service and quality of the packing and shipping.
image(21).jpeg image(22).jpeg image(20).jpeg
 

emtp275

100cc
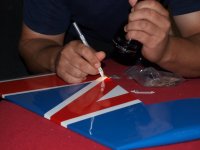
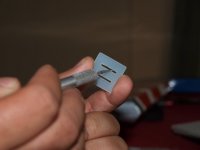
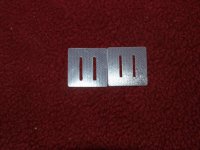
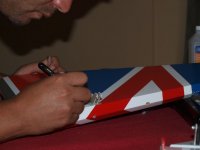
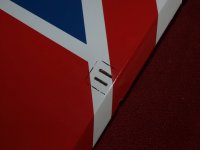
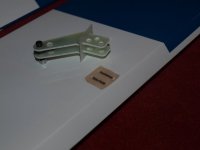
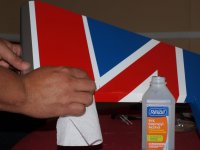
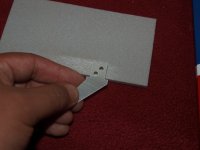
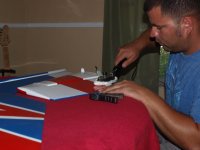
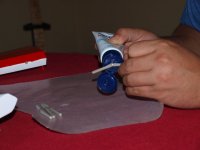
Ok now on with the build, First off this is my first attempt at this so any input or suggestions are welcome. After going over all the items included and looking over the manual yesterday I started, Oh yea did I mention this actually arrived at my door with a printed manual...... Who would have ever thought! I started by prepping the control horns and slots in the control surface, Some trimming was needed on the bases for the horns and also the slots had to be cleared of any glue or uncut wood. Notice the uncut base next to the trimmed one, it didn't take much to achieve the "perfect" fit. I have found that it works good to shine a good flashlight directly into the slots for the control horn to aid in trimming that area. After achieving a good fit I then sand the areas of the horns and base that will be in contact with glue, then they are inserted in the control surface and traced with a pen, It is suggested to use a felt tip pin but i lightly trace with a gel pin as the ink will not adhere to the covering. Once this is completed trim the covering inside the mark and clean up with alcohol. blend up 30 min epoxy and glue the horns in cleaning up any mess, fairly easy so far. I did notice that EF used two separate horns on this airframe's rudder, Not sure if it is a weaker link than a solid horn pushed threw the rudder but it was much less hassle to install and get centered so I see it as an improvement for now.
P7312579.JPG P7312581.JPG P7312582.JPG P7312583.JPG P7312584.JPG P7302573.JPG P7312585.JPG P7312586.JPG
 

emtp275

100cc
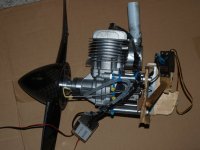
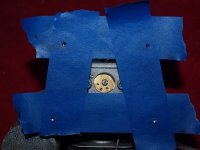
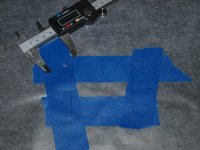
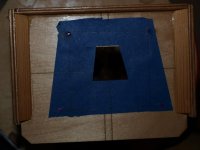
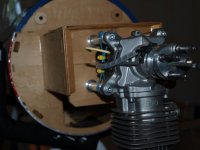
All is left to dry, Time to harvest the DLE 61 from my 89 slick. This was fairly easy to get to as the plane and motor decided to get a divorce after a rough patch of dirt in the hay field... LOL oops. I make a template for this motor by running painters tape across the stand offs and cutting the bolt holes out, I then find center lines by measuring and marking and the template is removed from the wax paper and stuck to the fire wall like a crude sticker for drilling, DLE decided to be "different" so this bolt pattern is unique and not marked on the fire wall like the DA 55,60. What do you know perfect fit, I will how ever have to use shorter standoffs to get the recommended distance from fire wall to thrust washer I have several sets of SWB laying around just have to get bolts the correct lengths.
P7312588.JPG P7312589.JPG P7312590.JPG P7312591.JPG P7312595.JPG P7312596.JPG
 
Last edited:

emtp275

100cc
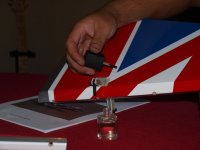
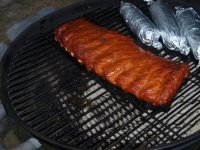
Well to wrap up my day before I throw a rack of ribs on the grill I decided to be OCD and go over all the seams on the control surfaces with a iron at med heat this is the best time to accomplish this while the hinges are unglued and I can get to every seam. I also use clear fingernail polish to tack down any angles in the covering that may tend to lift after a few good beat downs, IE any points 90deg 45, 30, 25 it doesn't matter they all tend to lift after time and I always notice at the wrong time... "when I want to fly and have to use packing tape on an expensive Plan" but that's just me trim seal pins work just as good but I cant get those for free like I did fingernail polish.
P7312597.JPG P7312598.JPG
 

emtp275

100cc
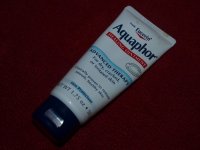
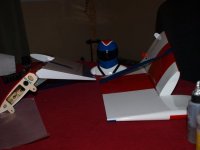
Decided to knock out a few hinge points, I used Aquaphor to lube the joints prior to gluing only for the fact that its nothing more than Vaseline and it comes in a convenient tube.... that and I was told to use this on my last tattoo and it works much better for this than a tat!! 30 min epoxy then clean up the mess and tape it to dry, I tape them in the direction of the control horn and keep the gap pulled as tight as I can with full deflection. Clean up the extra glue and repeat for all surfaces, both wings and rudder. Oh and I cut and glued helmet head's face shield down, now he's watching the build, Kinda creepy. P7312601.JPG P7312602.JPG P7312607.JPG P7312608.JPG P7312610.JPG
 
Top