You are using an out of date browser. It may not display this or other websites correctly.
You should upgrade or use an alternative browser.
You should upgrade or use an alternative browser.
Hostetler Cessna 336 Skymaster
- Thread starter Patto
- Start date
Patto
70cc twin V2
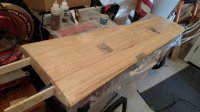
So..... I've been glassing like crazy, but it is slow going!
The right wing is upside-down in the photo, mounted on the left side temporarily while the primer dries. I'm also half done with glassing the left wing.
Yes, I'm not doing everything in the right order, I know. I wanted to prime the right wing before glassing too many pieces to see how the finished product would look. It's all a learning process for me since this is my first time.
I used an entire rattle can on the right wing. I'll need three more at the very least, probably four. This is much more expensive than Monokote!
Attachments
Patto
70cc twin V2
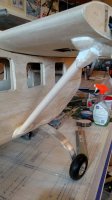
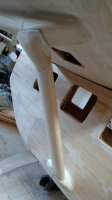
I've been busy working on the struts and mounting the cowls. The struts and fairings were just blocks of balsa, and after a lot of work are now complete. They attach using dowels and fit snugly into place with the center section attached.
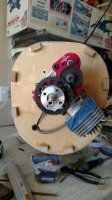
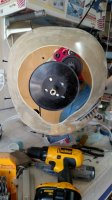
The cowls attach using several 6/32 bolts into hardwood blocks. I used filler to make them flush to the fuselage. The rear cowl is complete, and I had to rotate the engine to avoid doing too much surgery. I'm not happy with how much I had to cut up the rear cowl, but the front cowl will end up needing almost no cutting, even with the autostart.
Filling the area between the fuse and front cowl is going to take some balsa. I also discovered that it was very difficult to get the blocks and blind nuts installed for the front cowl mount.
Progress though!
Attachments
Jetpainter
640cc Uber Pimp
Looks like there is a lot of carving and sculpting on this airplane.
Snoopy1
640cc Uber Pimp
A lot balsa work on that plane. This reminds me of sometime ago I forget which kit supplier it was it could have been Pica or Sig when you opened the box all it was sheets and blocks of balsa and I always use to say well another plane you need to carve out of solid balsa.
Patto
70cc twin V2
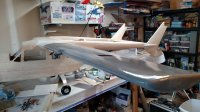
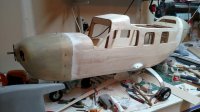
The messy work bench!!
I've pretty much finished with the cowls. Still trying to decide on how to conceal the wing bolt holes. I may end up re-drilling smaller holes and using metal bolts. I'm not happy with the way the first holes turned out at all.
I'm also working on glassing the remaining control surfaces. Only the left out flap and aileron remain.
There is SO MUCH sanding required. I need to get an electric or air-powered sander and see if that makes this job a little easier. My arms were getting tired working on the elevator earlier.
Attachments
Jetpainter
640cc Uber Pimp
I've been in a body shop all my life, so I feel your pain when it comes to sanding.
Patto
70cc twin V2
I've been in a body shop all my life, so I feel your pain when it comes to sanding.
Oh, I can't complain to you then. =-) You must have patience in your blood. Honestly, I like everything about building EXCEPT sanding!

