Hey Fellas, back to doing some covering on the Pilot 330 this afternoon. I can't tell you all just how painstaking this scheme decision has been. But finally, I have arrived on a scheme. I am doing a little altering to fit my wants, however the jest of the chosen scheme will remain fairly consistent with the original. (I think)

I have just about gone nuts looking at planes on the internet. Some of them were quite nicely done. Some of them just too blah. (in my opinion) Some of them too widely used. As you all may remember, I wanted something that has not been done or at least not widely used. I actually only found one rendition of the scheme. And just for sanity reasons, I am going to keep most of the scheme undisclosed at this time. Why? Well, cause I know I will go completely insane if I discover the scheme has been done "before" I get the 330 covered. Once it is done? Well I guess it will be just too late then won't it?

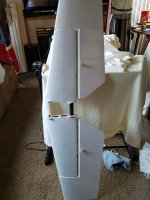
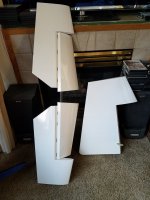
I figured the best place to start would be the bottom of the stabs/elevators. Mainly because they are already covered with the base color. Plus, it will pretty much set the stage for the rest of the scheme over the entire airframe. Some of you may remember, but for those that don't or have not visited the thread, My colors for this scheme will all be Ultracote colors. HANU870: White, HANU903: Apple Green, HANU881: Silver and HANU874, Black.
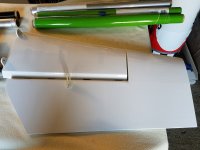
I also figured that if I don't like how it looks, what is put down won't be that difficult to remove. I did originally plan to do the bottom of the plane in the same scheme, (just different color) as Brad Wurstens MXS-R. Oh I would love to do that as I mentioned. However after looking at it, thinking about that "slanted" or scewed checkerboard, I just don't think I have it in me to cut all those silly squares at an angle and then lay them down. So what did I decide? My own style of the scheme that I found. I started by drawing out my lines on the bottom of the right stab/elevator. And once they were precisely drawn onto the bottom of the structure, It was time for the first stripes.
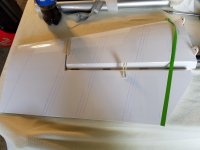
One at a time first the Ultracote HANU903 Apple Green, then the Ultracote HANU881 Silver. Back and forth and back again. Stripe by stripe, the color was starting to unfold.
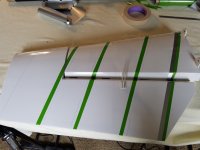
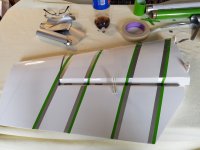
Once the green and sliver were down, it was time to put the larger width Ultracote HANU874 Black.
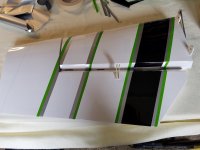
First one, then two black stripes.
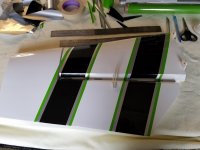
And (4) hours later, I have a completed bottom right stab/elevator.
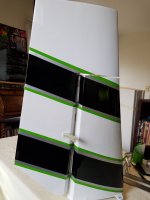
So as to allow for some overlap of each color to insure a good lip seal, the green and the silver stripes are 7/16" wide. This gives each color an over lap of about 1/16" to 1/8". The same overlap was allowed for the 3 3/16" wide black stripes.
I had thought about using the widely used Windex trick to lay down the black stripes so I wouldn't get any blisters or gas pockets underneath. However for such a small area, I relied on my old stand by technic. Shrink the base (White) real tight. Turn down the heat on my iron and slowly lay the black stripe down from one end to the other while working it with the iron. I must say, it turned out rather nice.
For the rest of the plane, (especially the top) I should not have to worry about any blisters or gas pockets. As the top will be split into sections of one color meeting with the next color.
A small side note: I decided on these colors mainly because I miss my Behemoth Yak (1). It looked pretty bad ass two inches from your face in a hover. Something about those colors together just really seem to make the whole plane "POP". On the ground or in the air...it looked pretty sweet to me.
That about does it for now. I'm going to try to get the wings stripped soon. Maybe tonight. I know... said a while back I would get to them. Just haven't had much time. LOL

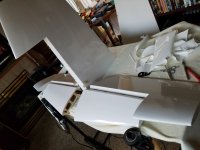
 I have just about gone nuts looking at planes on the internet. Some of them were quite nicely done. Some of them just too blah. (in my opinion) Some of them too widely used. As you all may remember, I wanted something that has not been done or at least not widely used. I actually only found one rendition of the scheme. And just for sanity reasons, I am going to keep most of the scheme undisclosed at this time. Why? Well, cause I know I will go completely insane if I discover the scheme has been done "before" I get the 330 covered. Once it is done? Well I guess it will be just too late then won't it?


