• If you are new to GiantScaleNews.com, please register, introduce yourself, and make yourself at home.

    We're 1st in Giant Scale RC because we've got the best membership on the internet! Take a look around and don't forget to register to get all of the benefits of GSN membership!

    Welcome!

3D Viper ST build continued part 2

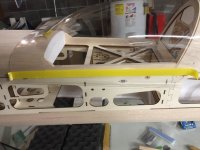
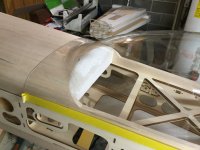
Pretty impressive what you guys did in 2.5 days. Seen another thread of a guy doing a build on a plane that was started in the 90's. LMAO.. Don't think I will be alive when some of these clowns finally get there planes built ( That's sarcasm for the guys who never finish there builds). Looks like a awesome build.
 

sweetpea

100cc
That is some BLING!

I'm not in the position to order a new plane yet, but soon.....I hope you get that figured out, I'd like that on a cowl!
 

ericb

Team WTFO
GSN Contributor
That is some BLING!

I'm not in the position to order a new plane yet, but soon.....I hope you get that figured out, I'd like that on a cowl!
Just so you can drool.:)

Viper 270 008.JPG
 

tylerzx9r

100cc
Save your pennys! Best Build Ever in my opinion..... and mine isn't finished yet! You will love this plane! This should be your first Giant scale Build!
 

tylerzx9r

100cc
image.jpg image.jpg As I said, knife came out on saturday! Step 1: get a rough fit for canopy to hatch. I first laid it on to where I liked the look and thought the fit would be nice. Then I drew some rough cut marks with a marker and some tape. Afterwords using scissors I cut close to the marks leaving room to final trim an sand to perfect fit after work is completed on hatch.
 

Attachments

  • image.jpg
    image.jpg
    77.3 KB · Views: 273
  • image.jpg
    image.jpg
    77.3 KB · Views: 258

tylerzx9r

100cc
image.jpg image.jpg Step 2: I thiought the hatch looked better with a slanted dash, so while fitting the canopy, I marked the hatch with tape to where the cut would be. Then I got the handy saw out and carefully made some passes to get my cut made. Then I used a sanding block to make a final edge for the dash.
 

Attachments

  • image.jpg
    image.jpg
    81.4 KB · Views: 297

tylerzx9r

100cc
image.jpg image.jpg image.jpg Last but not least! Step 3: final sand fit to cowl before fiberglass. As seen in pictures, I wanted to sand the hatch to a slight undercut to the cowl. This way when I glass the hatch it will be an even or flush surface. So with the hatch and cowl in place, I sanded the hatch to be slightly undersized for preparation for fiberglass!
 
Top