You are using an out of date browser. It may not display this or other websites correctly.
You should upgrade or use an alternative browser.
You should upgrade or use an alternative browser.
110" TIMBER Assembly Thread
- Thread starter AKNick
- Start date
john Derstine
50cc
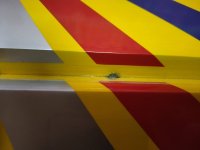
forced to improvise again, since I can't get Ultracote covering or Blenderm tape, I found Transpore 3M tape which is Identical to Blenderm but has tiny perforations to allow skin to breathe, seemingly useless for gap sealing it is not, as when you put it on both sides it renders itself impervious to air transfer. Bingo. and it sticks like Gummy Bears to new dentures. after applying just cut out around the hinges with a hobby knife.



john Derstine
50cc
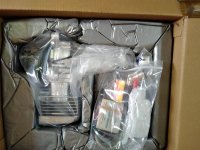
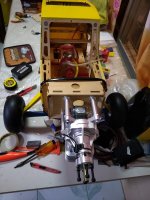
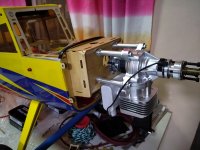
Engine came in this afternoon, two hours later ... can you tell I was chomping at the bit? just first mounting to get the throttle cable locations etc. getting exciting now. used the four smaller spacers in the kit to get the correct length to nose. surprised it came with an NGK plug, at least it's in a nice OEM box. first time I ever saw a DLE, impressed with the quality at first glance. I'm used to 3w and DA from the past.


AKNick
640cc Uber Pimp
Got out and flew the timber after my counter balance repair. Flies great still!
I’ve been trying to get my flying buddies to take the controls and fly circles, but they are too scared to fly something so big... I put in a tiny bit of flaps, and 1/4 throttle and showed him I was flying with just my right thumb for about 5min before he was like.... ummm ok! He loved it! Really made my day!

I’ve been trying to get my flying buddies to take the controls and fly circles, but they are too scared to fly something so big... I put in a tiny bit of flaps, and 1/4 throttle and showed him I was flying with just my right thumb for about 5min before he was like.... ummm ok! He loved it! Really made my day!

john Derstine
50cc
looking at the throttle arm supplied with the DLE, I'm a little iffy about how it is intended to be secured. Two set screws on to a round brass tube. are you guys at least filing a small flat on the brass shaft? it's hollow so not much room for error. I'm used to installing an extension on the opposite side arm, but looks difficult on this because of needle clearances. Is their preferred method? thinking of making something up to bolt to the steel arm somehow.
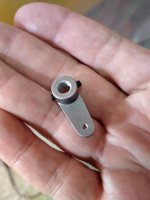
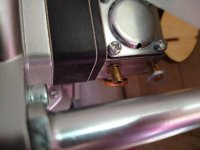
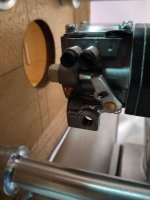
never mind got it done already, had all day to play with the engine install, just using the supplied arm, pointing up so as not to interfere with the choke. waiting on Nordlocs, should be here tomorrow then I can put it in for the last time, maybe.
AKNick
640cc Uber Pimp
never mind got it done already, had all day to play with the engine install, just using the supplied arm, pointing up so as not to interfere with the choke. waiting on Nordlocs, should be here tomorrow then I can put it in for the last time, maybe.
I used an aftermarket arm from VVRC. It gets tight in there with the choke and the throttle - no doubt. glad you figured it out.
john Derstine
50cc
CG consideration. Getting to the point where I can begin to check the CG location. The instructions are wrong, and most always err to nose heavy for safety reasons. Read about Nick's re calculation through trial and error to a reasonable CG.
There is really a good way to check and verify if your CG is safe and what kind of handling you will get with a given CG, but you have to know the neutral point of the aircraft or you are just guessing, most of us with experience get pretty good at guessing, but I always calculate the NP before I decide on a CG. If you don't know, the NP is the point aft on the main wing from the LE at which angle of attack has no effect on pitch, the plane is aerodynamically balanced. The CG is a center of mass calculation only. Static margin is the distance between the NP and the CG expressed as a %. CG is always for our purposes forward by a % of the NP. 7% to 10% is considered a middle ground for static margin on a conventional aircraft. less becomes twitchy, 15% becomes mushy.
I can usually guess a constant cord wing simple plane will balance at about 33% of cord. on the Timber I went conservative and guessed 30% which equates to 4.75 inches. I then ran the calculations for the NP and it more or less confirmed my guess, but It also can give me the static margin so I know what to expect. Long story short using a 7% static margin (on the crisp side) the CG calculated to 5.03" from the leading edge. (1 " ahead of the NP) using a more conservative static margin of 10% the CG came out to 4.63" The actual NP calculated to 6.03 " which is the point where any more Aft CG will result in an unstable aircraft. If you want to try this yourself, there are several online calculators that take the math out of the job.

