You are using an out of date browser. It may not display this or other websites correctly.
You should upgrade or use an alternative browser.
You should upgrade or use an alternative browser.
Scale 20cc DHC-2 "Beaver" Kit Build from Moustache Model Works
AKNick
640cc Uber Pimp
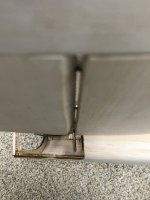
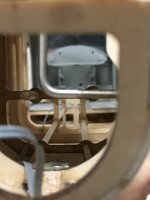
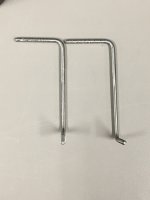
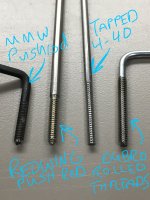
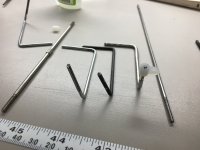
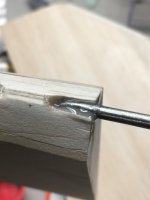
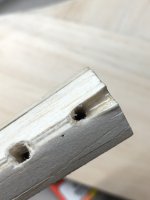
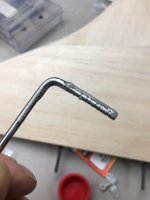
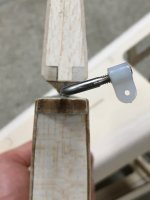
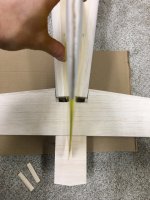
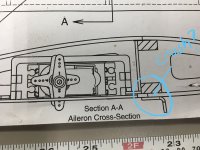
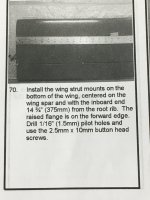
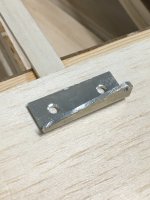
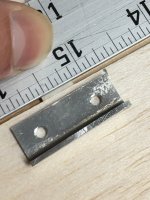
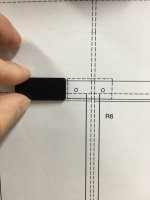
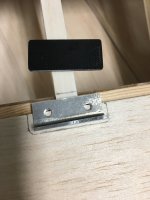
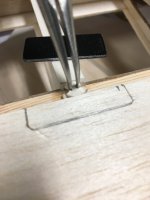
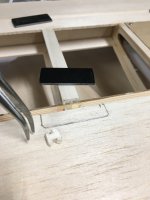
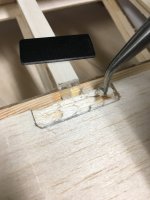
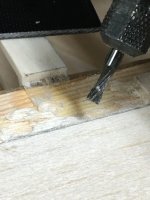
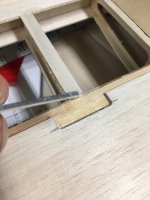
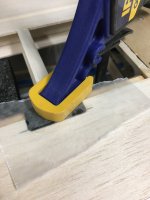
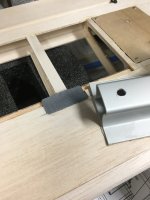
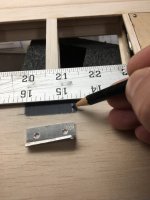
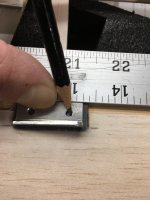
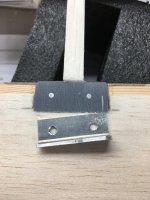
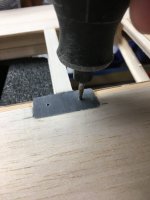
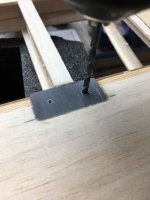
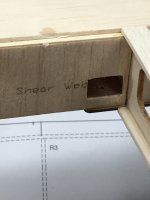
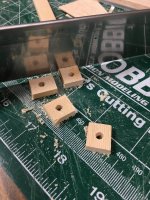
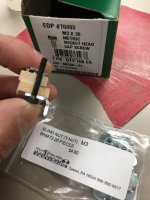
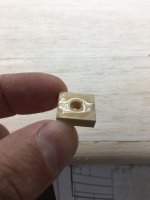
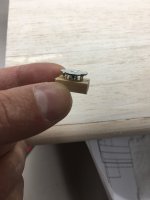
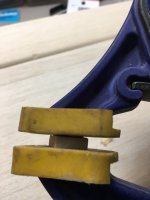
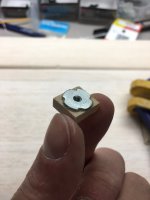
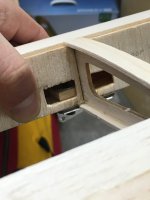
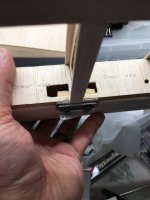
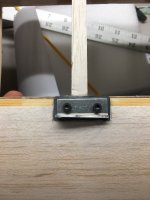
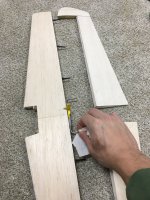
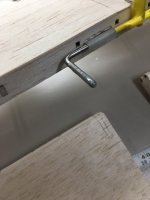
Wing strut mounts. Okay... so I’ve heard a few reports of the screws pulling out of the wing.... I didn’t realize there wasn’t much of a hard mount for the brackets.
so I made a plan.
Used M3x20 screws from McMaster
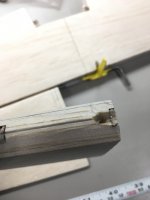
M3 T-Nuts (Blind Nuts) from Micro fasteners
Left over spar material to put the blind nut in and epoxy on top of the lower spar.
Carbon G10 board on the underside of the wing to help carry the load and prevent squishing the wood.
see my plethora of photos:


AKNick
640cc Uber Pimp
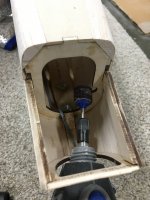
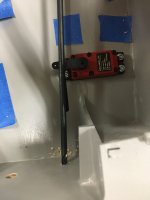
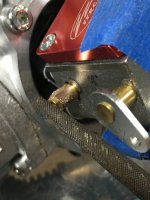
MMW gives an etched cutout for a possible throttle servo location. It looked pretty good for my Standard MG servo, so I decided to go with it. What I didn't realize is that my custom throttle arm linkage was slightly longer, so I ended up cutting more material out to move the servo aft a little bit. The manual shows using some spare blocks to go on top of the deck, I ended up putting them underneath the floor.
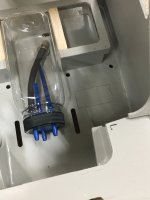
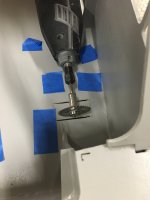
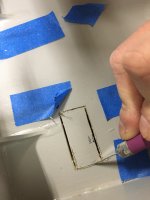
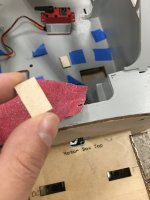
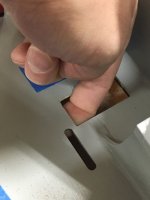
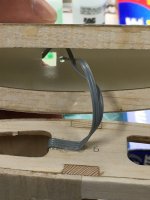
Measured the distance to the servo arm from the deck and transferred it to the fwd firewall. Looked from the top to get the angle from the servo arm to my custom extended throttle arm, drilled, and then elongated to get the right clearance.
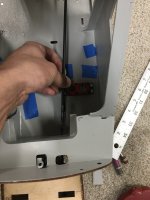
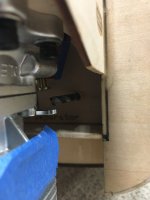
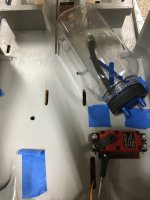
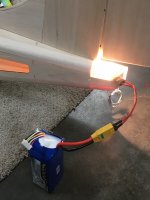
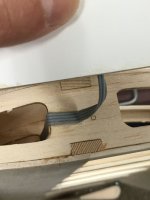
The Ignition module location is pretty obvious, right on top of the motor box. Found a spot I liked then made a couple slots to let the module fit snugly with a piece of foam underneath it.
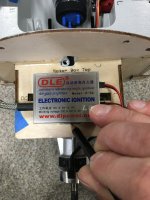
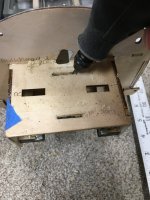
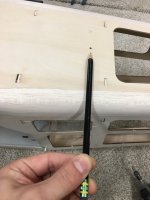
Then routed the ignition wire to make a smooth path to the plug, made a couple clearance cuts, and a little standoff to put a zip tie around so the wire wont float to the cowling and rub against it.
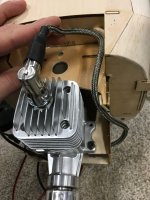
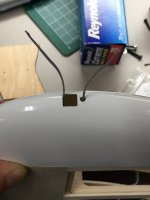
Got a little ambitious and made a hole for the fuel line vent. Thinking back I probably should have made it a little further away from the ignition wire, but its fine.
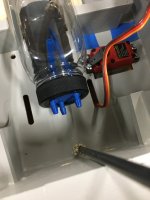
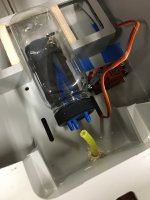
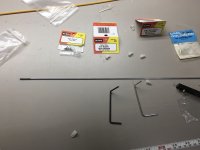
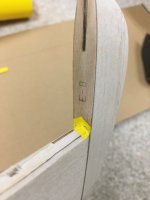
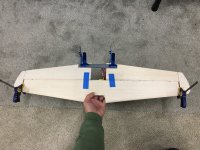
Joined my elevator halves FINALLY, used some clamps and standoffs to keep everything as true as possible, keeping in mind I can fine tune it a bit by bending and installing my robart hinges.


Measured the distance to the servo arm from the deck and transferred it to the fwd firewall. Looked from the top to get the angle from the servo arm to my custom extended throttle arm, drilled, and then elongated to get the right clearance.


The Ignition module location is pretty obvious, right on top of the motor box. Found a spot I liked then made a couple slots to let the module fit snugly with a piece of foam underneath it.


Then routed the ignition wire to make a smooth path to the plug, made a couple clearance cuts, and a little standoff to put a zip tie around so the wire wont float to the cowling and rub against it.

Got a little ambitious and made a hole for the fuel line vent. Thinking back I probably should have made it a little further away from the ignition wire, but its fine.


Joined my elevator halves FINALLY, used some clamps and standoffs to keep everything as true as possible, keeping in mind I can fine tune it a bit by bending and installing my robart hinges.


Last edited:
AKNick
640cc Uber Pimp
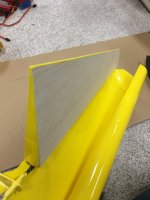
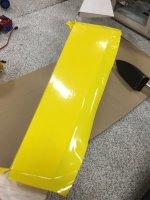
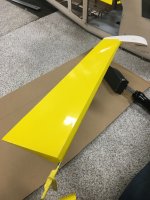
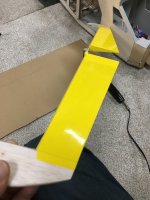
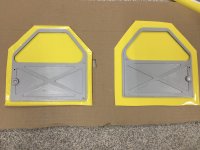
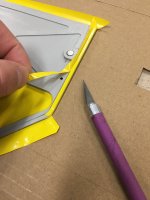
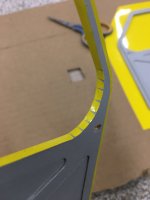
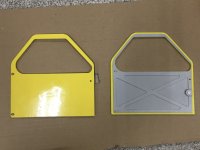
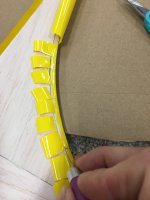
Made some long awaited visual progress. Covered the ailerons, flaps, and rudder using Hangar 9 Ultracote Brite Yellow.
here’s a photo dump of how I tackled it. I’m no expert here, but my process is low temp, bottom to top, overlap the seams in the direction of airflow.
Next up is the tail feathers. A bit nervous to cover the vertical as it has a sharp leading edge with a lot of curvature which will be easy to introduce warpage.
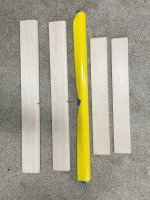
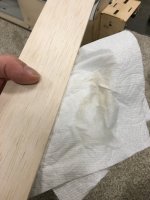
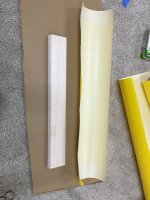
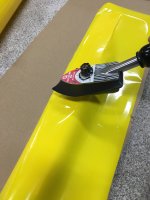
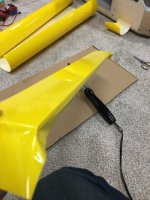
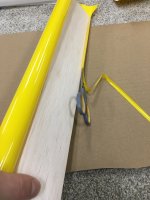
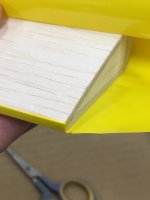
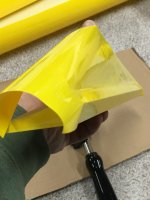
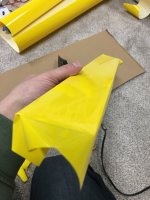
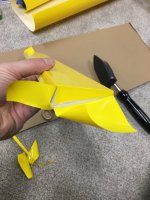
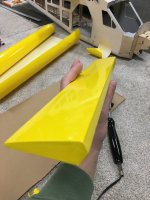
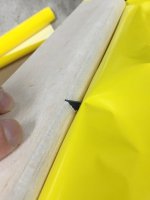
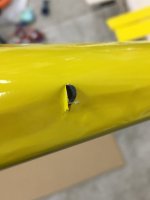
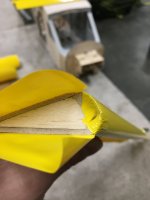
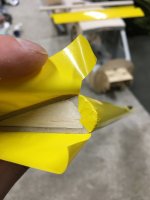
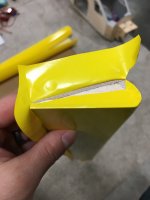
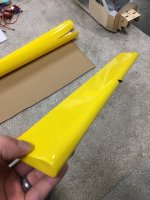
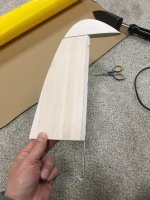
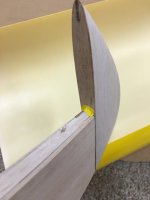
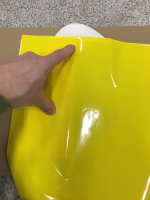
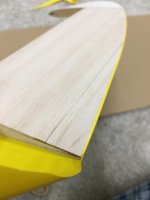
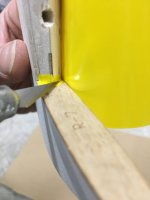
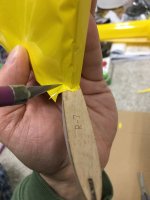
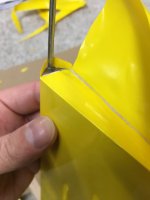
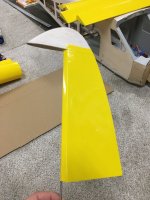
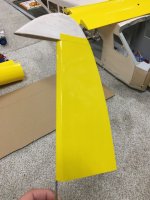


AKNick
640cc Uber Pimp
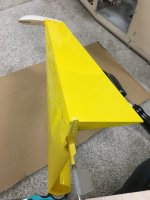
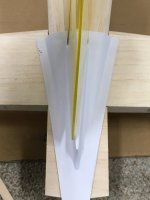
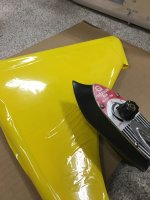
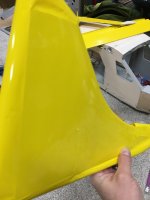
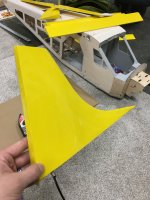
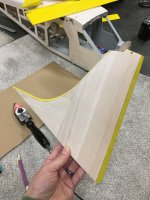
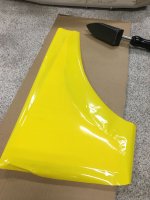
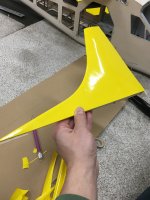
Covered the vertical stab.
first side I did the tack and low temp iron trick, it worked. The next side turned out much better ironing from back to front.
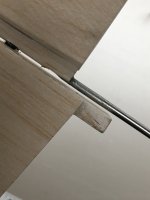
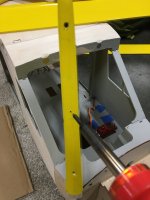
Now that all the surfaces are covered (except the trim, and horizontal - more on that later) I used my pencil Wellner iron to burn the robart pin holes out. This helps seal and leave a nice clean hole for glueing the pins later.
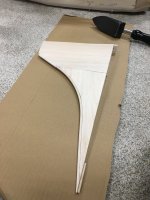
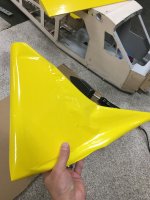


Snoopy1
640cc Uber Pimp
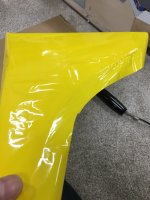
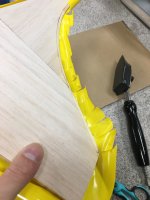
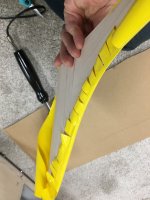
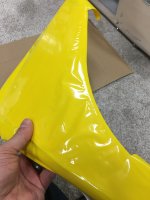
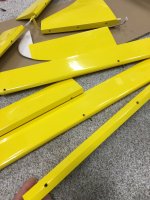
Got some warp in my rudder... hmmm not sure whether to live with it or try to fix it. Pretty sure it’s the build and not the covering.
View attachment 117192 View attachment 117193
Hard call to make unfortunate that is turning the plane to left. If it was to the right I would leave it, but to left try to do something, easier said than done. The only way I can think of doing is strip the covering of one side twist the rudder in the correct direction until some of the ca joints crack and then re glue it holding it flat or even a little to much. Just suggestion. Or fly it and see how much trim it needs and then decide.

