• If you are new to GiantScaleNews.com, please register, introduce yourself, and make yourself at home.

    We're 1st in Giant Scale RC because we've got the best membership on the internet! Take a look around and don't forget to register to get all of the benefits of GSN membership!

    Welcome!

110" TIMBER Assembly Thread

Which Gas Engine will you use!?!?


  • Total voters
    51
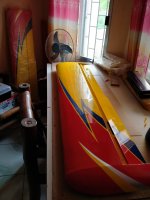
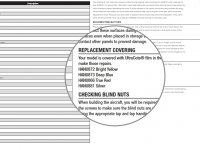
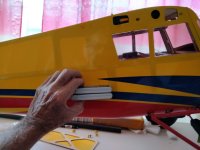
Good as new, well almost, question for @AKNick. I ordered 3 rolls of covering to repair the Timber, using the numbers provided in the manual. The Blue however doesn't quite match, it's a shade lighter. (HANU873 Deep Blue). Either they made a typo or changed the formula wondering how yours was? I'm not going to buy another roll just for that small amount, but I might buy a trim roll if I can find one for 12 bucks some day. IMG20210704063605.jpg
 

AKNick

640cc Uber Pimp
Good as new, well almost, question for @AKNick. I ordered 3 rolls of covering to repair the Timber, using the numbers provided in the manual. The Blue however doesn't quite match, it's a shade lighter. (HANU873 Deep Blue). Either they made a typo or changed the formula wondering how yours was? I'm not going to buy another roll just for that small amount, but I might buy a trim roll if I can find one for 12 bucks some day.View attachment 118244

pretty sure it’s midnight blue, true red, bright yellow. https://www.horizonhobby.com/product/ultracote-midnight-blue/HANU885.html
 
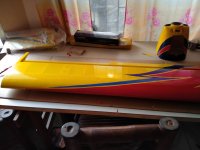
figured, the manual has it incorrectly printed a deep blue. my luck. it's not so bad, but hurts my OCD. To think I bought a whole roll for that little piece and have it turn out to be the wrong color. Was trying to find the trim sheet, that's only 12 bucks, but hard to find it. (Horizon is not shipping internationally BTW)
IMG20210704063552.jpg 186528941_10157597680275764_7943264568988675530_n.jpg
 

AKNick

640cc Uber Pimp
Time to call them out on it and have them send you a roll to the Philippines ;)
Honestly it kinda blends itself together and looks neat. You could even make another accent stripe between the colors (eg: silver/red) that tapers to the fwd side a bit. maybe that's just my artistic flair but, it doesn't have to look like the pictures - you can give it some character and use what you've got to work with.

Thanks for the encouragement, while waiting my cub gear to arrive I have time to think about it, I suppose the easiest thing to do is replicate it on the other wing.
 
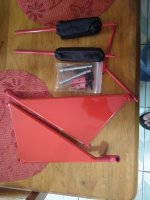
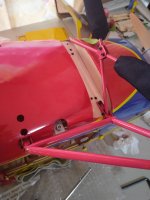
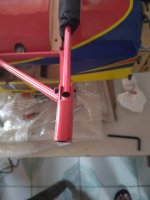
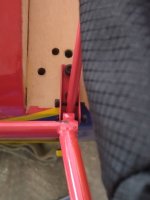
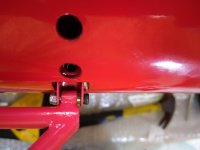
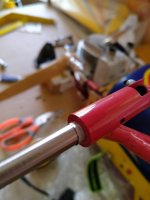
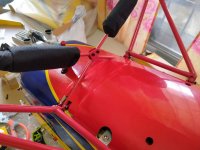
gear came today, did a trial fit, all the brackets bolt right on, no mis alignment, but there needs to be some adjusting and additional engineering of the pivots. loose as Nick mentioned and the brackets are spread some, no big deal but I will bush the holes in the triangle piece and use silicone compression bushings to take up the gap. Some moderate mis-alignment of the struts to the hangar bracket and in return to the main gear bracket as can be seen in the photos, but I was able to force it in, ag will try to use some silicone fuel tubing as a bush. I don't think I will bother to heat and bend the parts to a better alignment, for what it is it will work, at least at this point I think so :)nIMG20210716133348.jpg IMG20210716150338.jpgIMG20210716150408.jpg IMG20210716150458.jpg
 
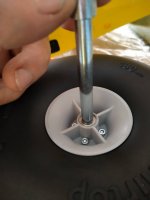
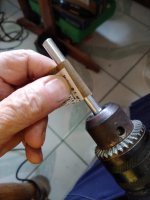
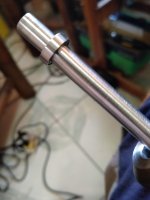
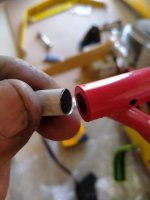
Ready to rock and roll again finally. Here is my take on installing the cub gear. a lot of finesse work left to the builder, but i like a challenge. pics show that I used "beer can" technology to fabricate needed shims to remove slop (both on axles and the main gear legs pivot ). added small sections of fuel tubing to take up slack where main gear attaches to brackets and act as a bush to take up slack and reduce vibration. I used the 8mm stock axles, had to grind them down to fit the 8mm wheel bearings, axles are exactly 8mm bearings slightly under. cut two slots for the set screw, shimmed the axles and good to go.

IMG20210717160301.jpg IMG20210718100727.jpg IMG20210718101640.jpg IMG20210718102858.jpg IMG20210718110056.jpg IMG20210718110336.jpg
 
Setup & Modification Video is up!

Also found out why the Timber 110” became discontinued. Turns out the vender for H9’s Timber 110 didn’t come back after the Chinese New Year.
Sounds like a lame excuse, but nothing is out of the question these days.
Hey, After watching your video, I am puzzled by something.
You added a ton of weight to the back of your Timber. I have the exact same set up now, but my batteries are located just behind the left side hatch opening and mine balances at 5", just a hair more nose heavy with the new gear. The airtops are quite heavy as well. so wondering why yours needed so much tail weight?
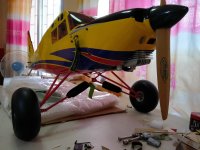
BTW had the re-maiden today in pretty windy conditions and it flies great with the new gear and repairs made. dropped it it a little hard and the gear didn't flex a lot which is the way it is supposed to be, as I see it. but it does move. I switched to a 22x10 prop and have 5" of ground clearance as is. Too early to tell much, but the performance is nearly the same with that prop. bites a lot more on initial acceleration it seems. have to wait and do more flights.

IMG20210720121131.jpg re maiden Timber.jpg
 
Top